Assignment 8: Final Project
For my final project I designed, 3D-printed, and constructed a "booknook"—a bookend shelf insert with a miniature city alleyway built inside.
Inspiration & Brainstorming
My inspiration for this project comes from the subreddit r/booknooks and looking up pictures of alleyways on Unsplash. I also created this moodboard on Pinterest with pictures of booknooks and alleyways with the vibe I was interested in producing for my own booknook
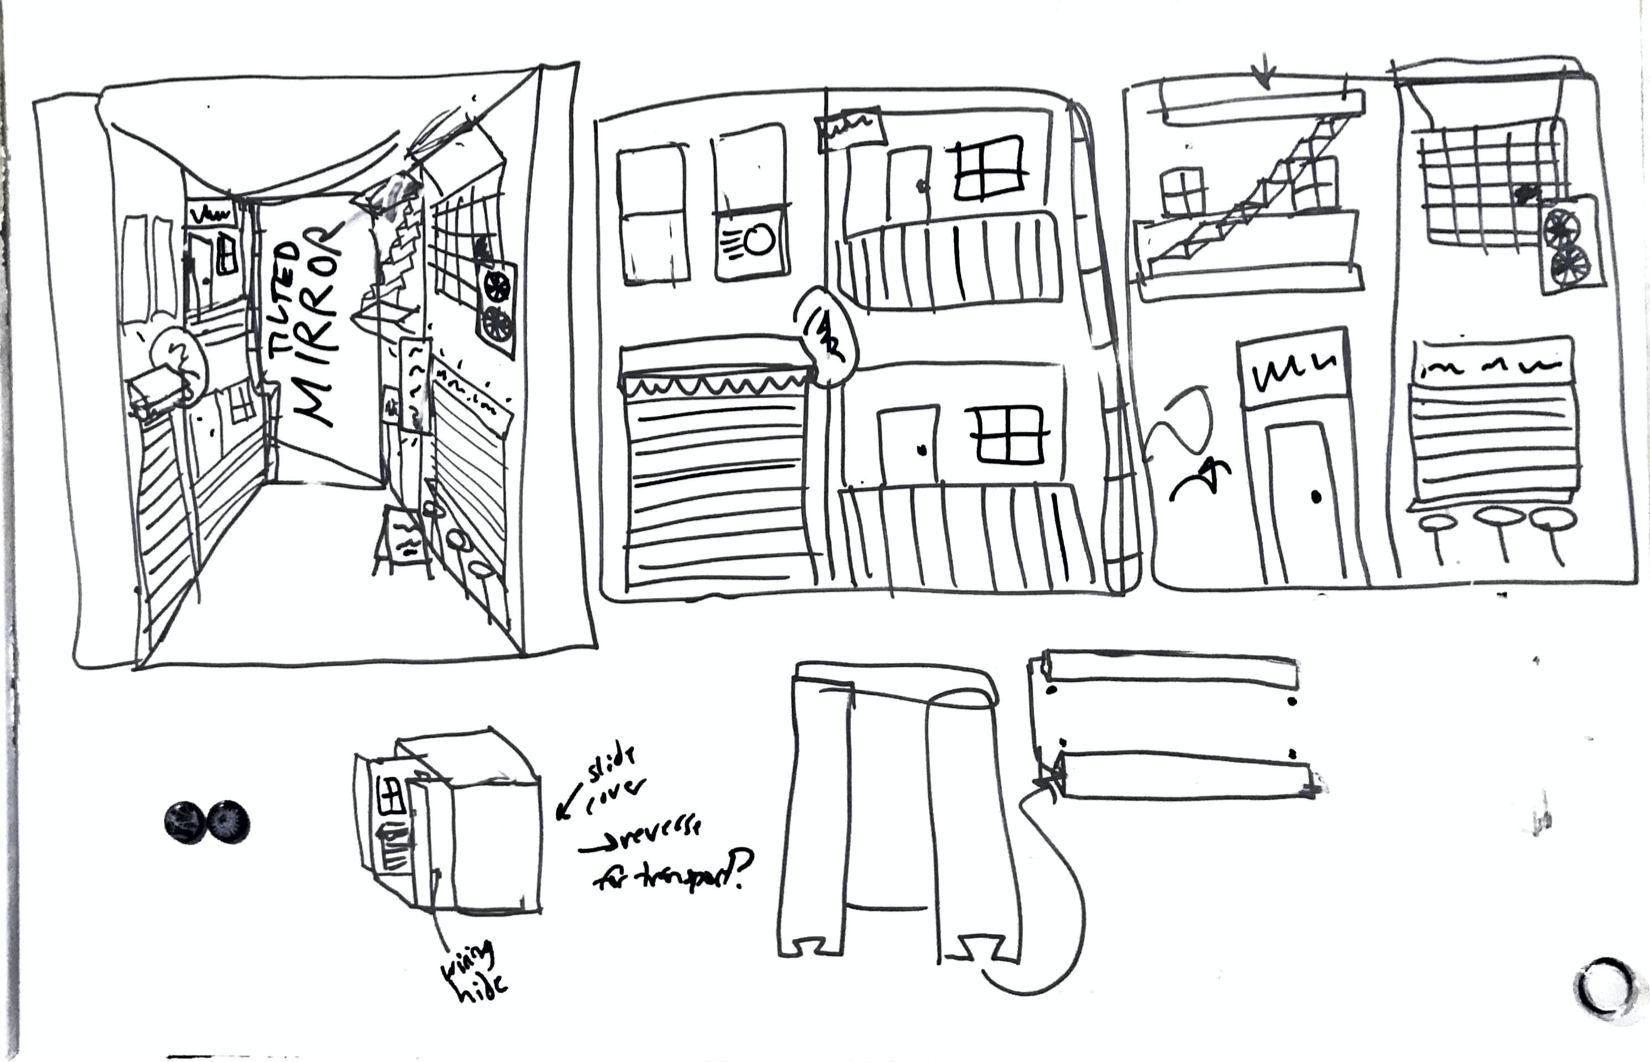
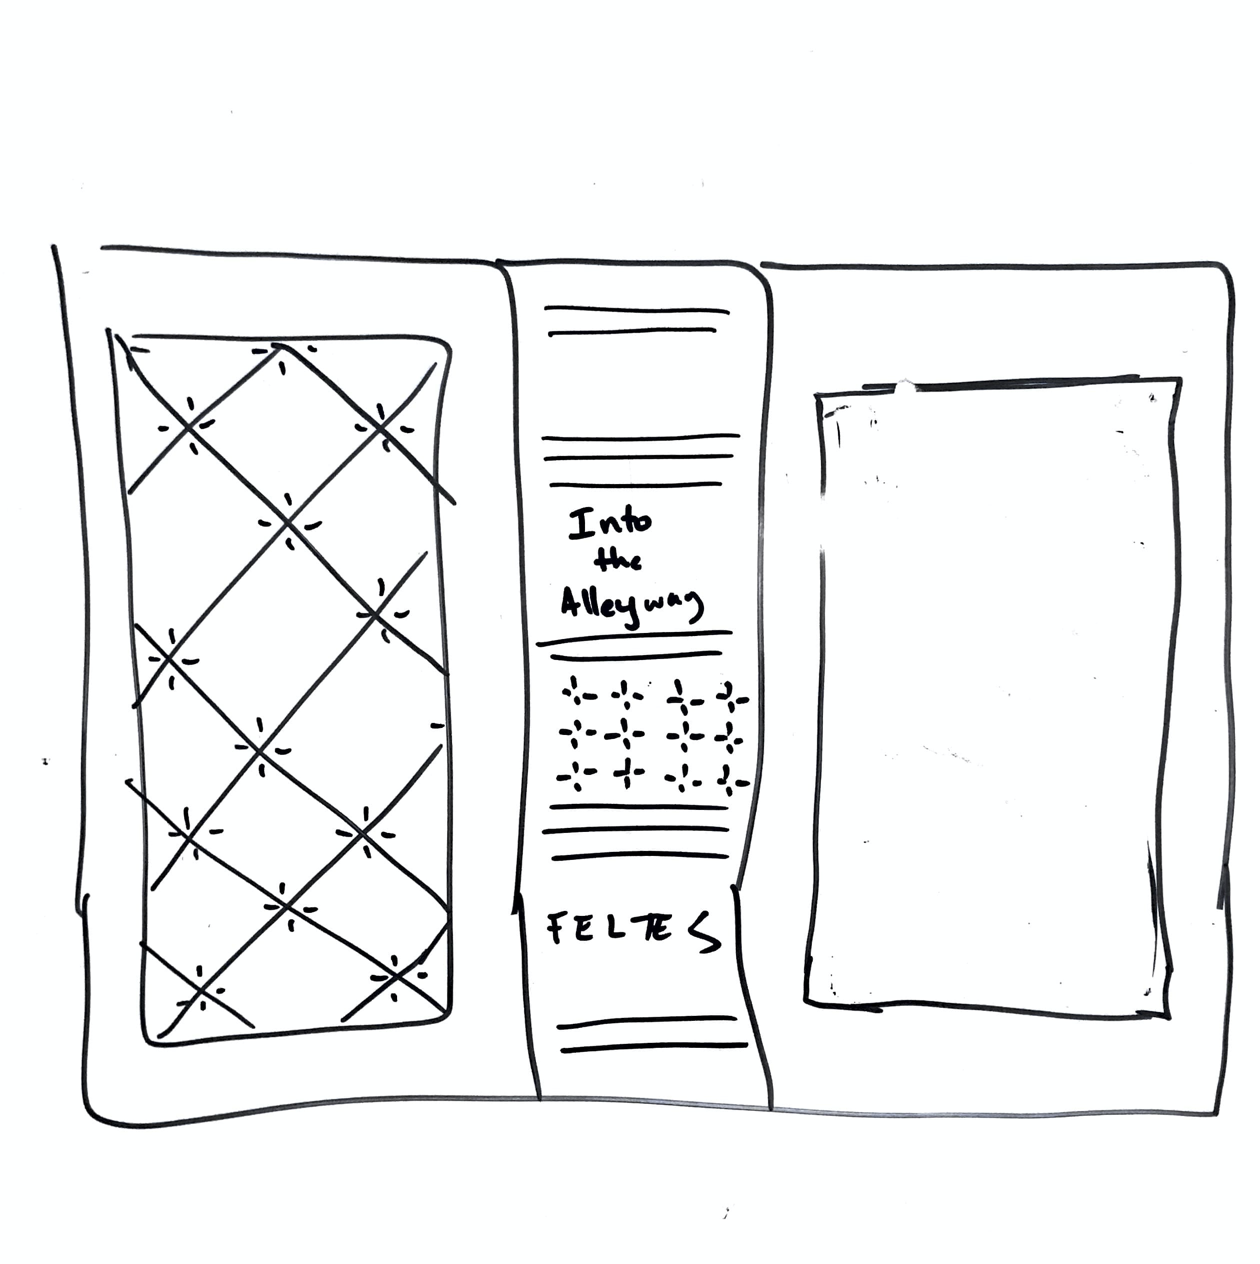
To kick off the project, I started by sketching a layout with a few ideas for interior elements out exterior design.
Prototyping
Since the prints required for my design were fairly detailed and thus would be painful to reprint should things go awry, I started by prototyping and testing smaller elements of the design. I was able to test out some ideas and make decisions before starting the process of printing pieces.
Structure
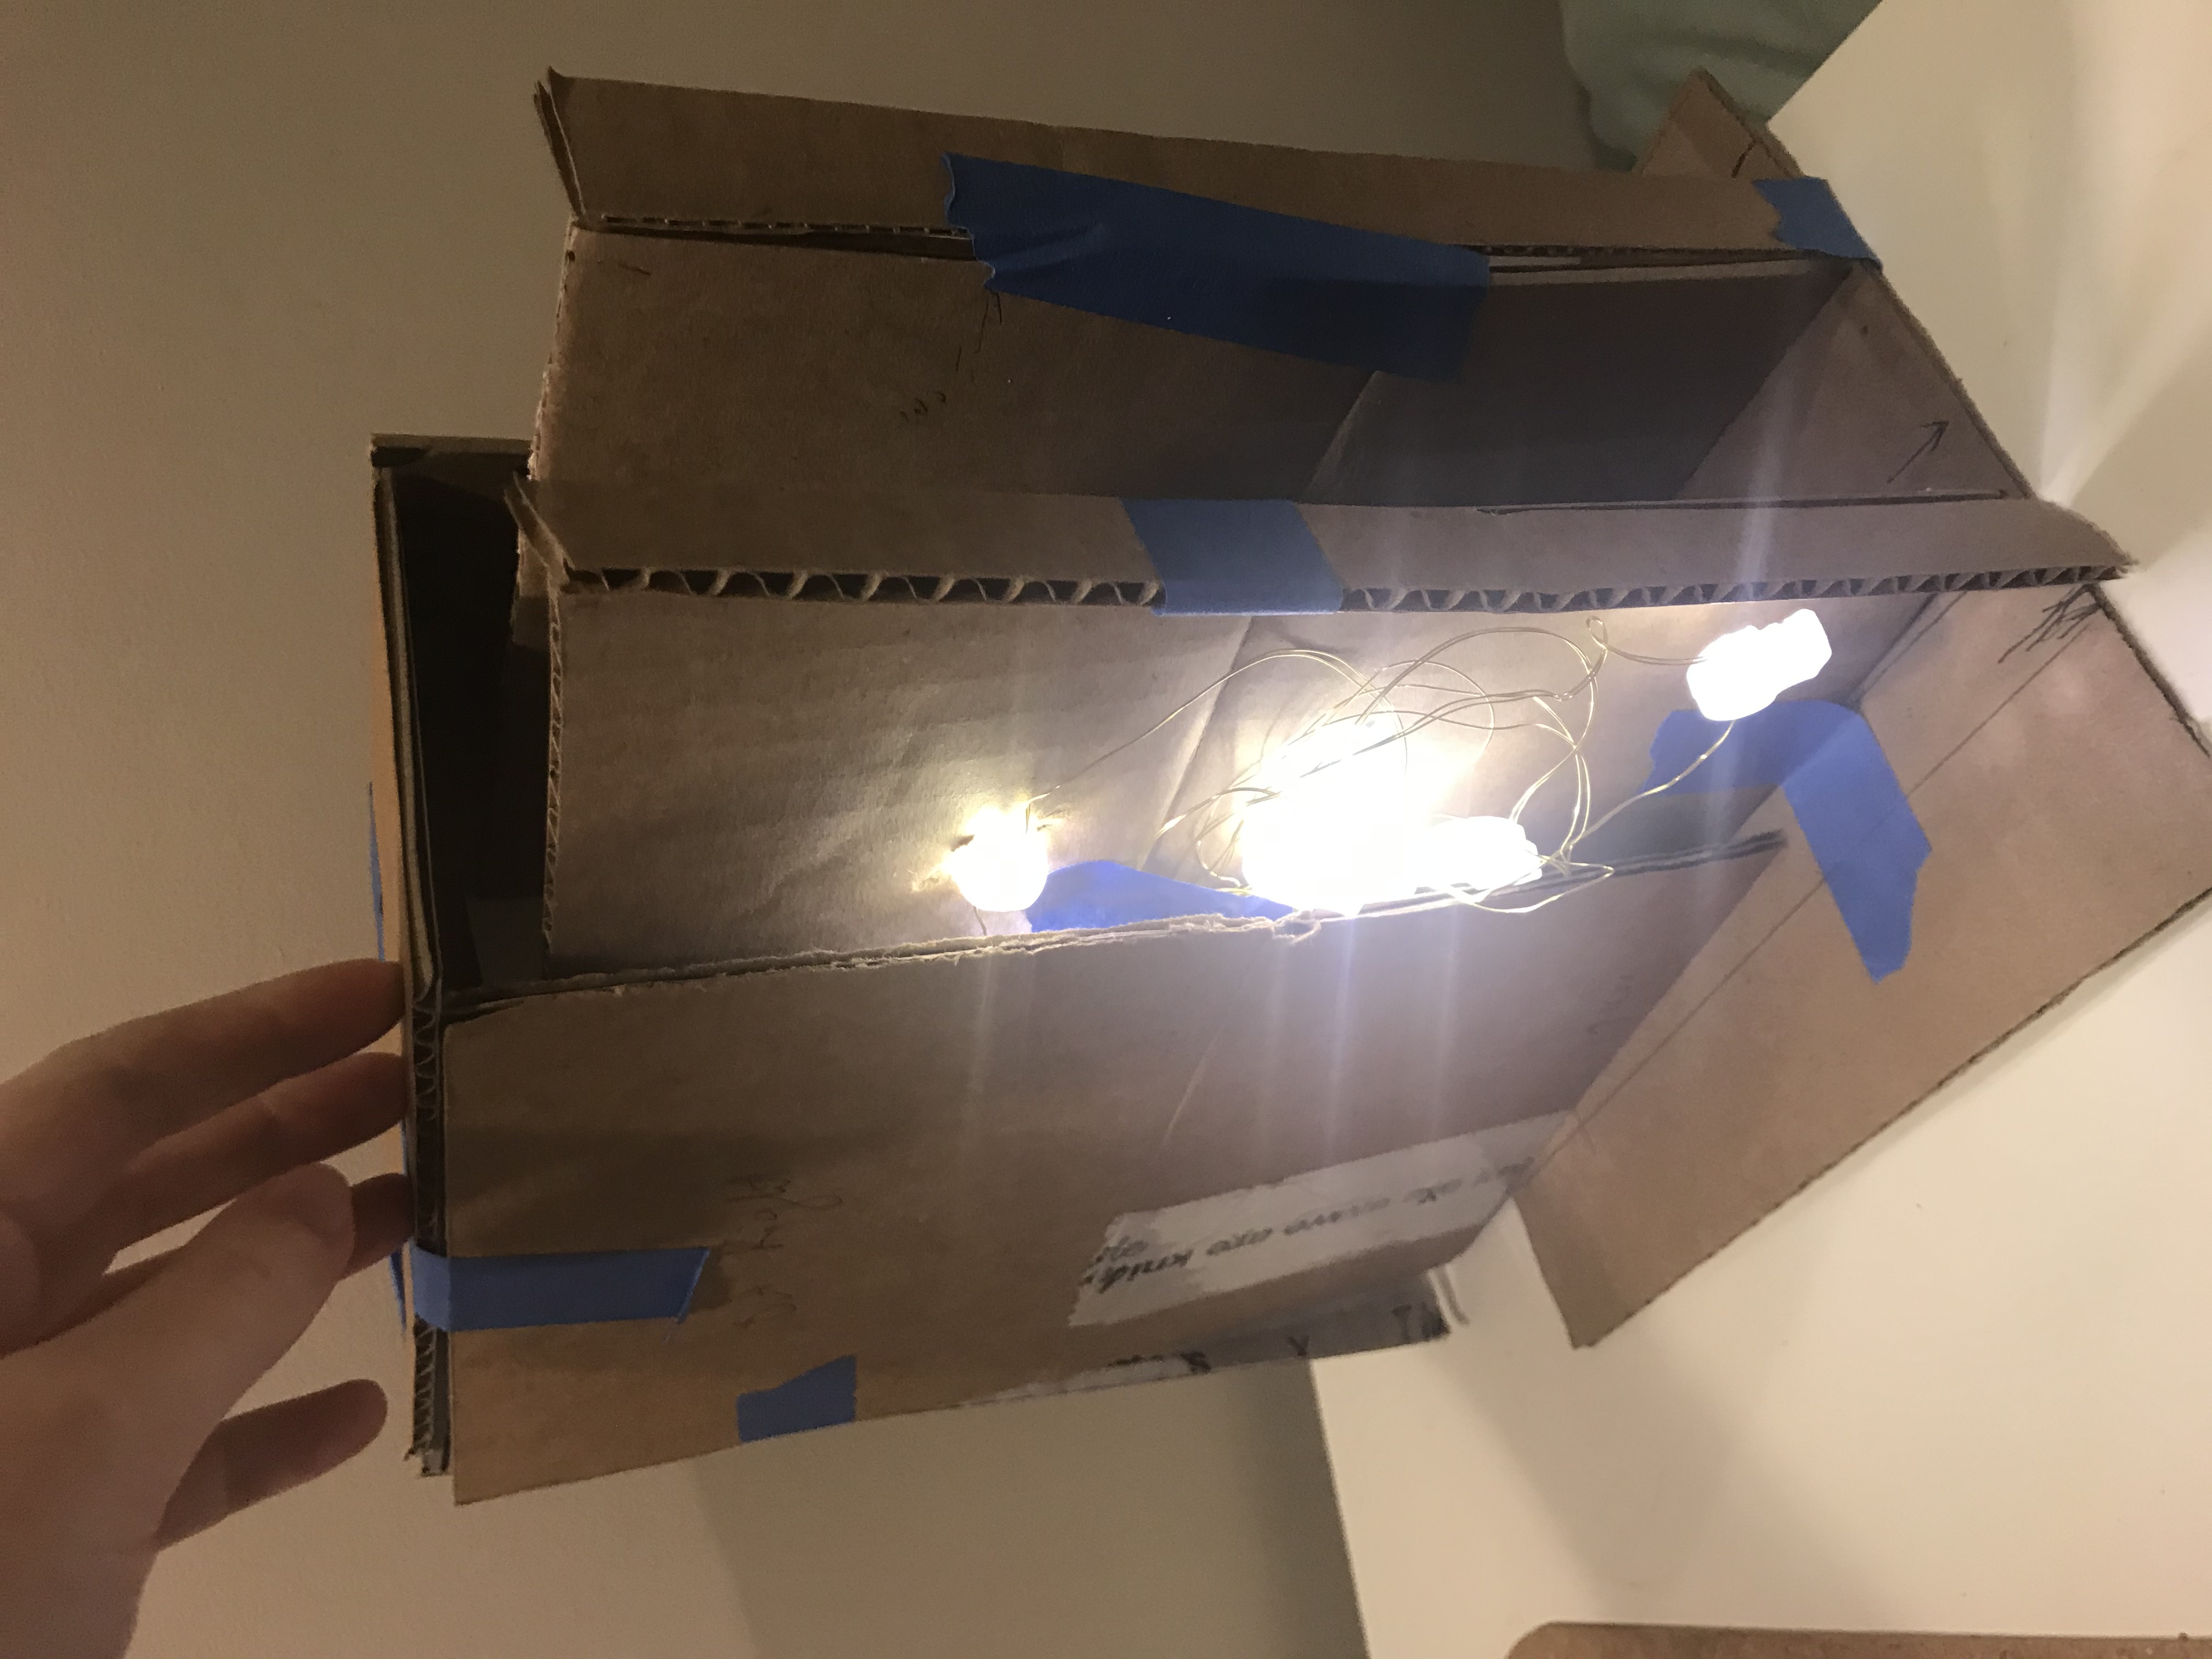
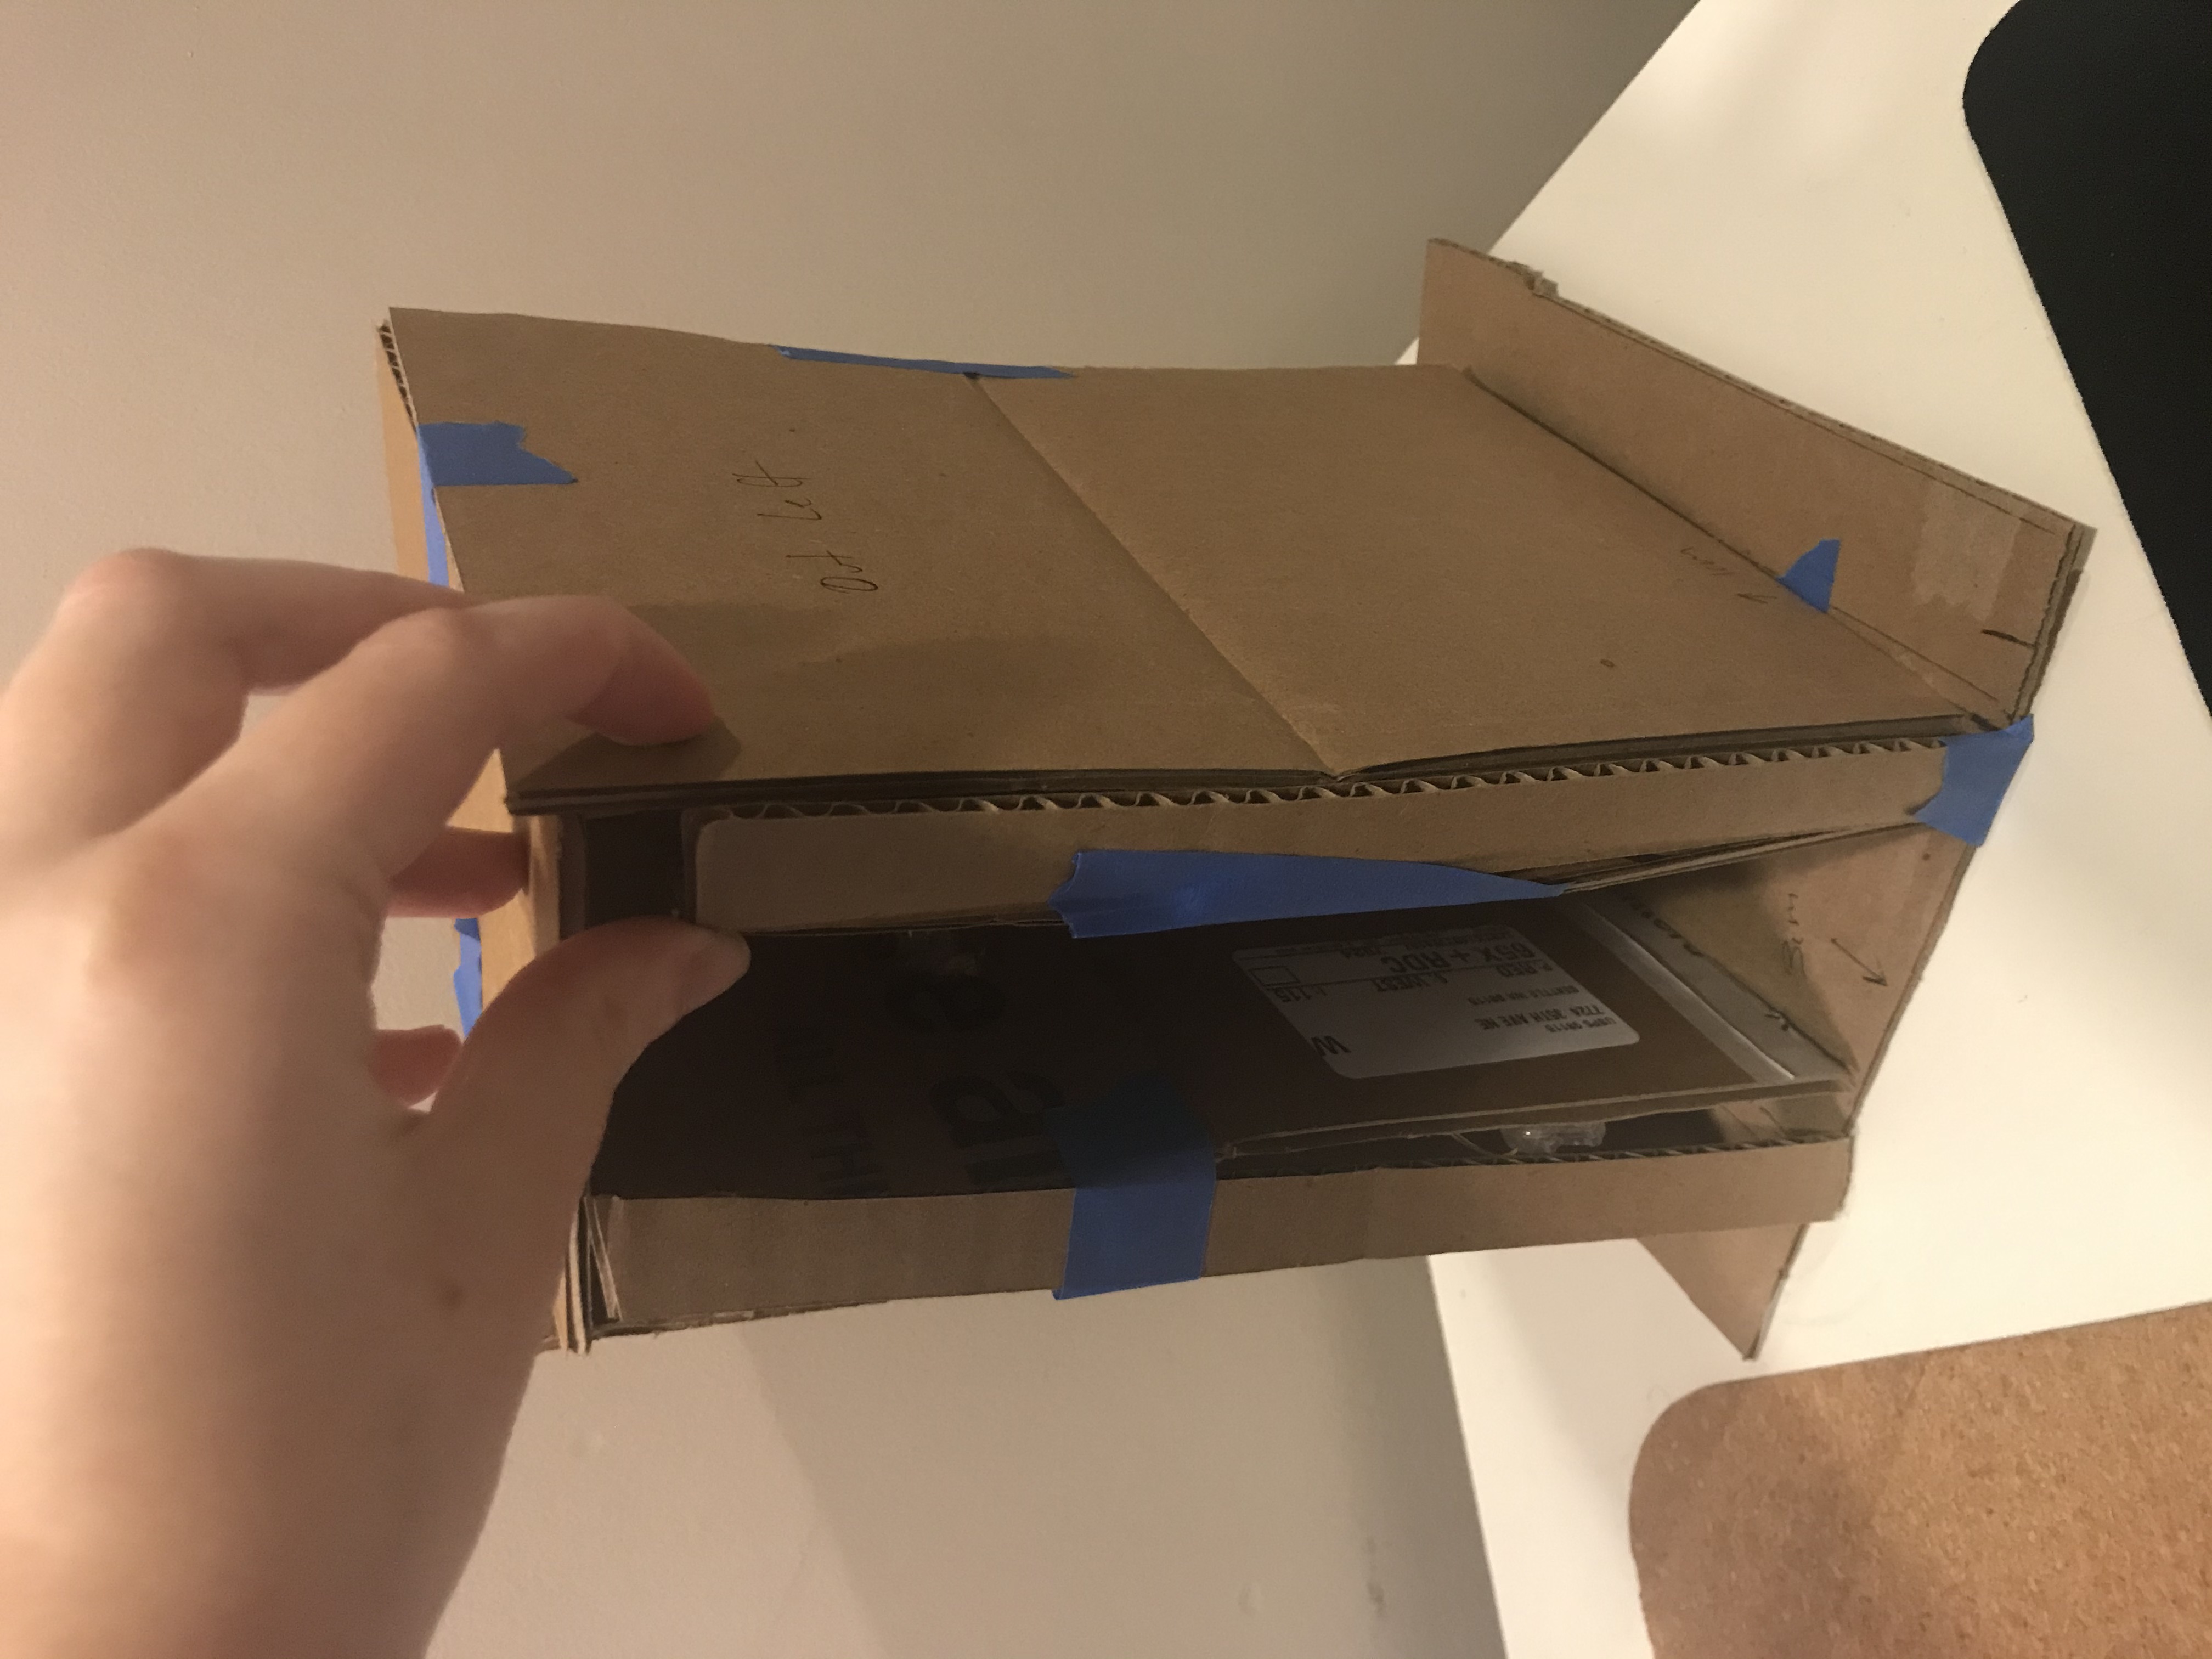
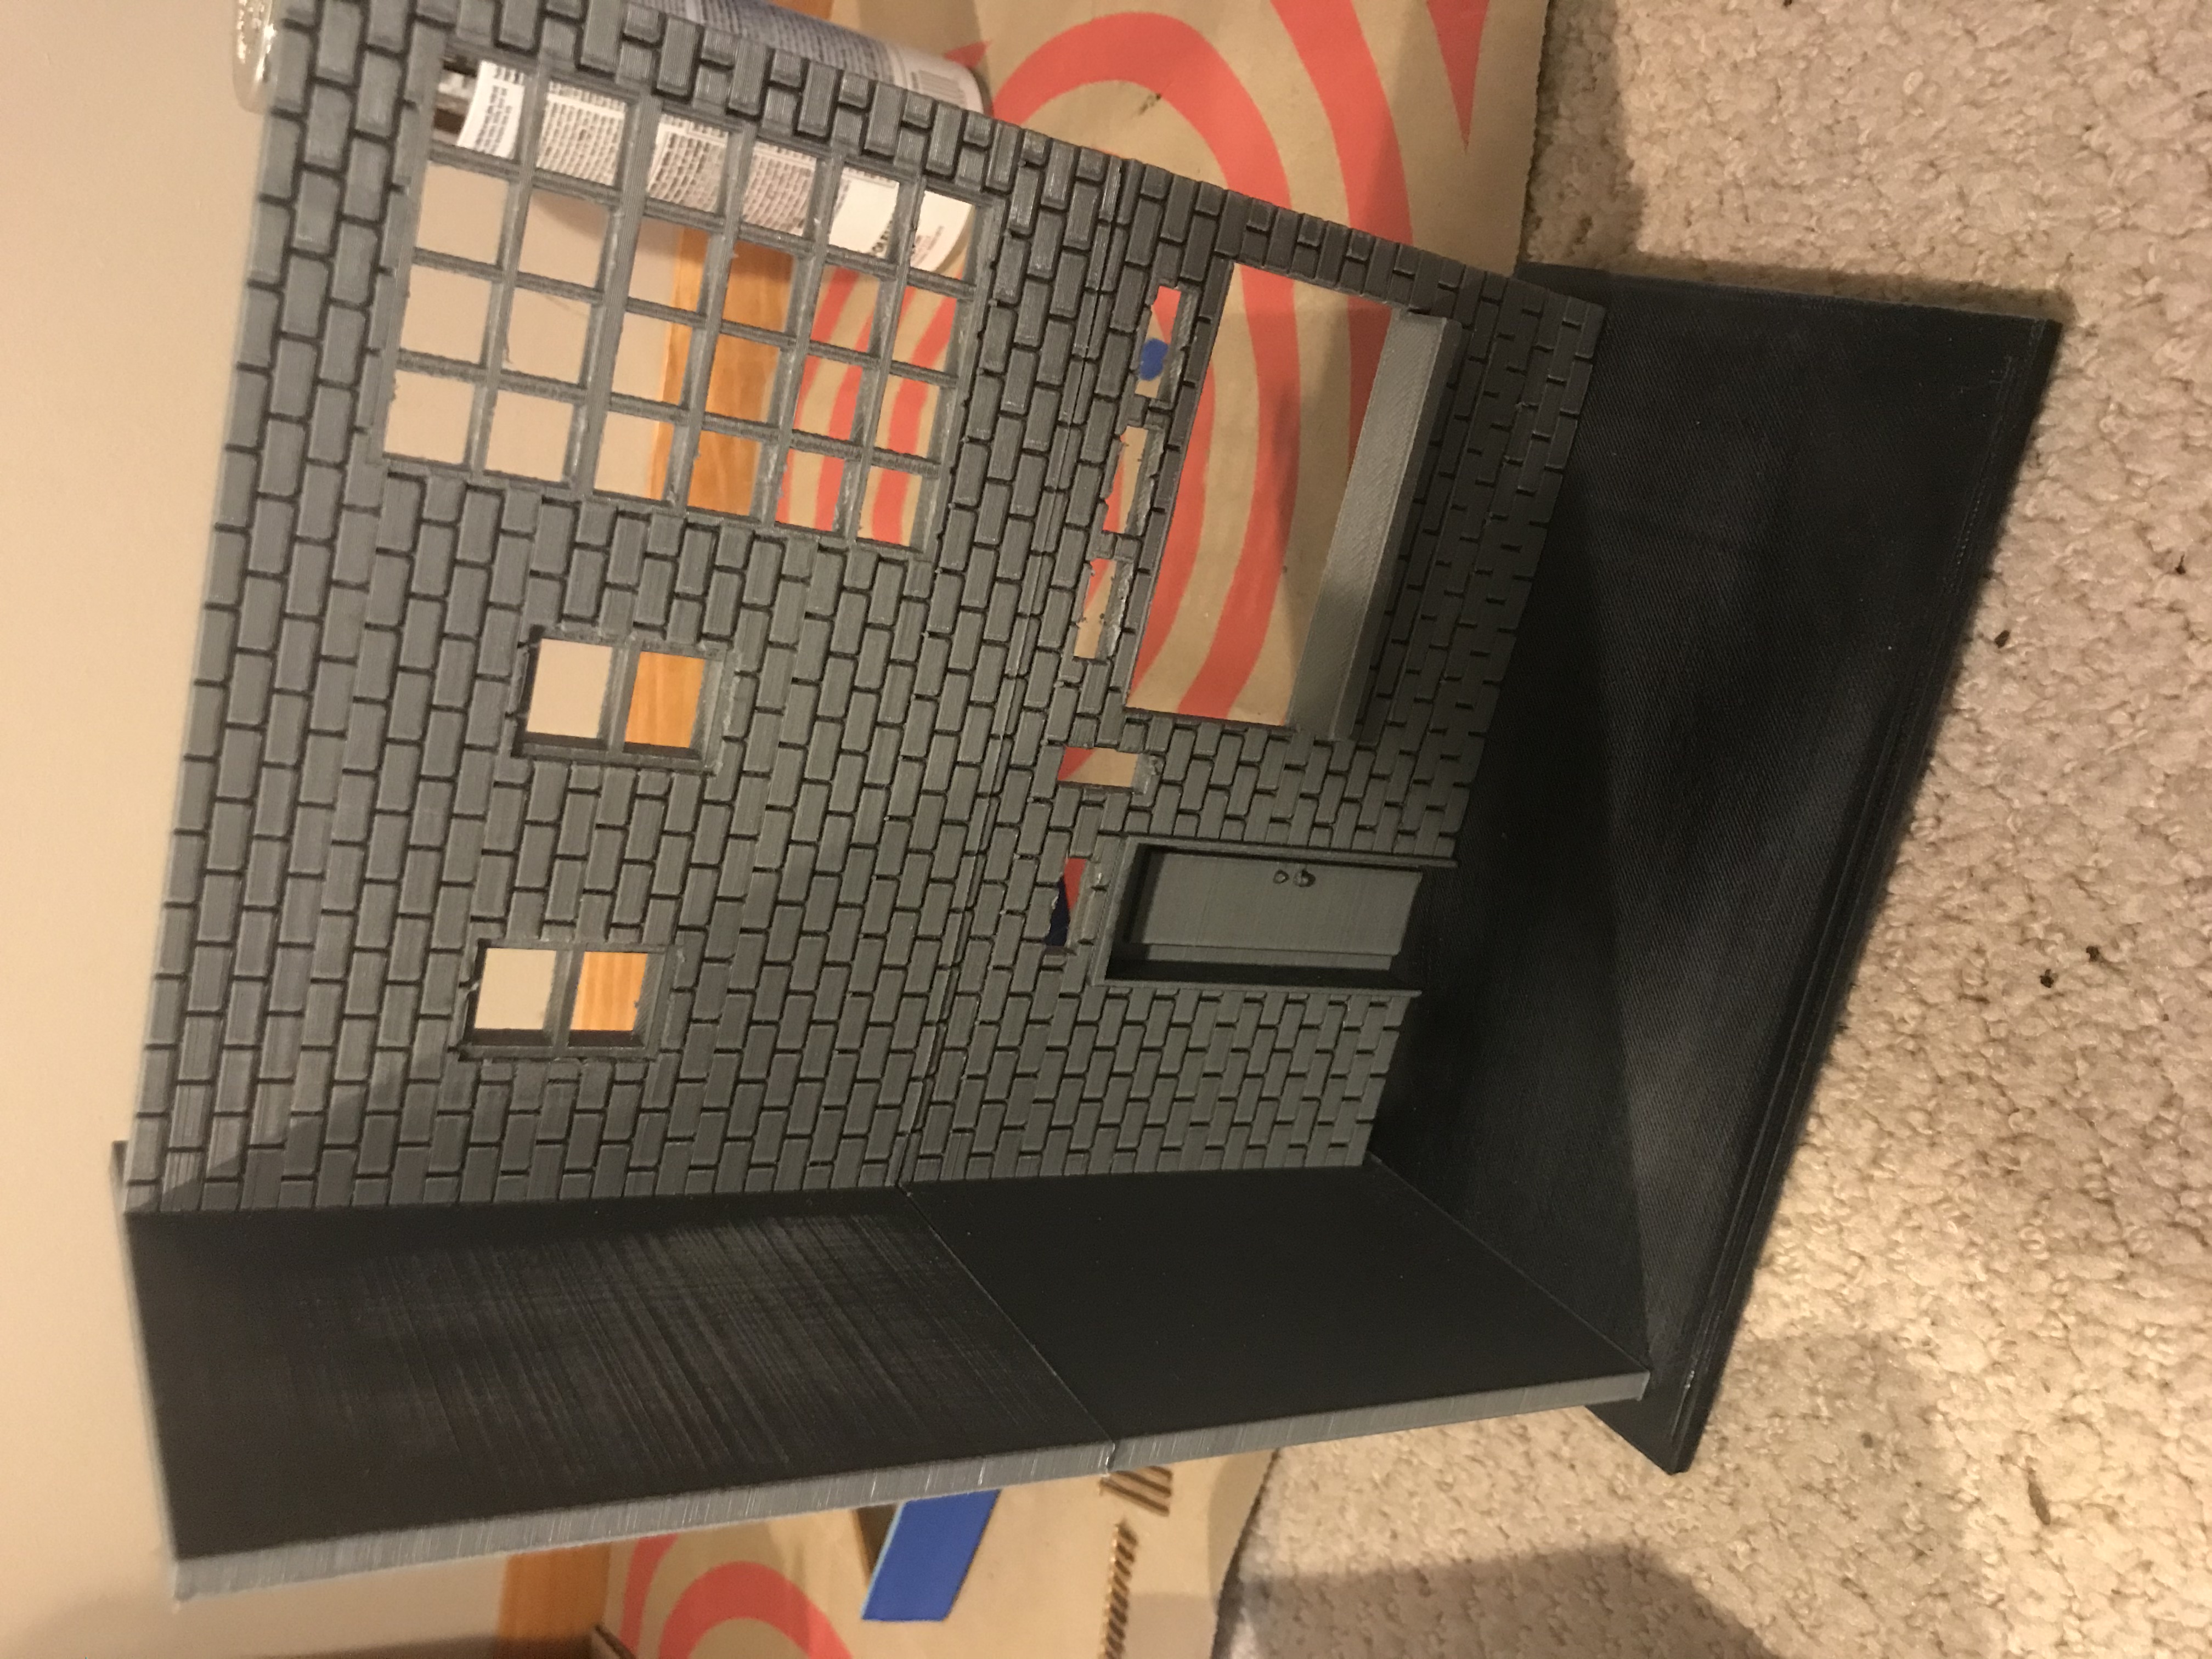
I put together this cardboard version of my booknook so I could prototype the dimensions and structure I wanted to use.
Sliding Track
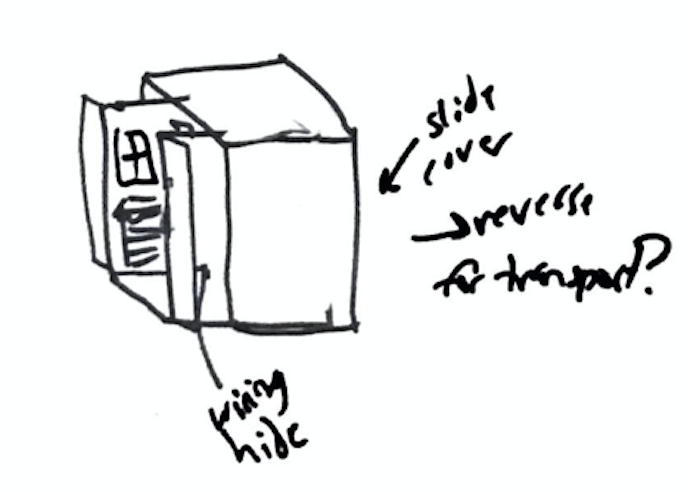
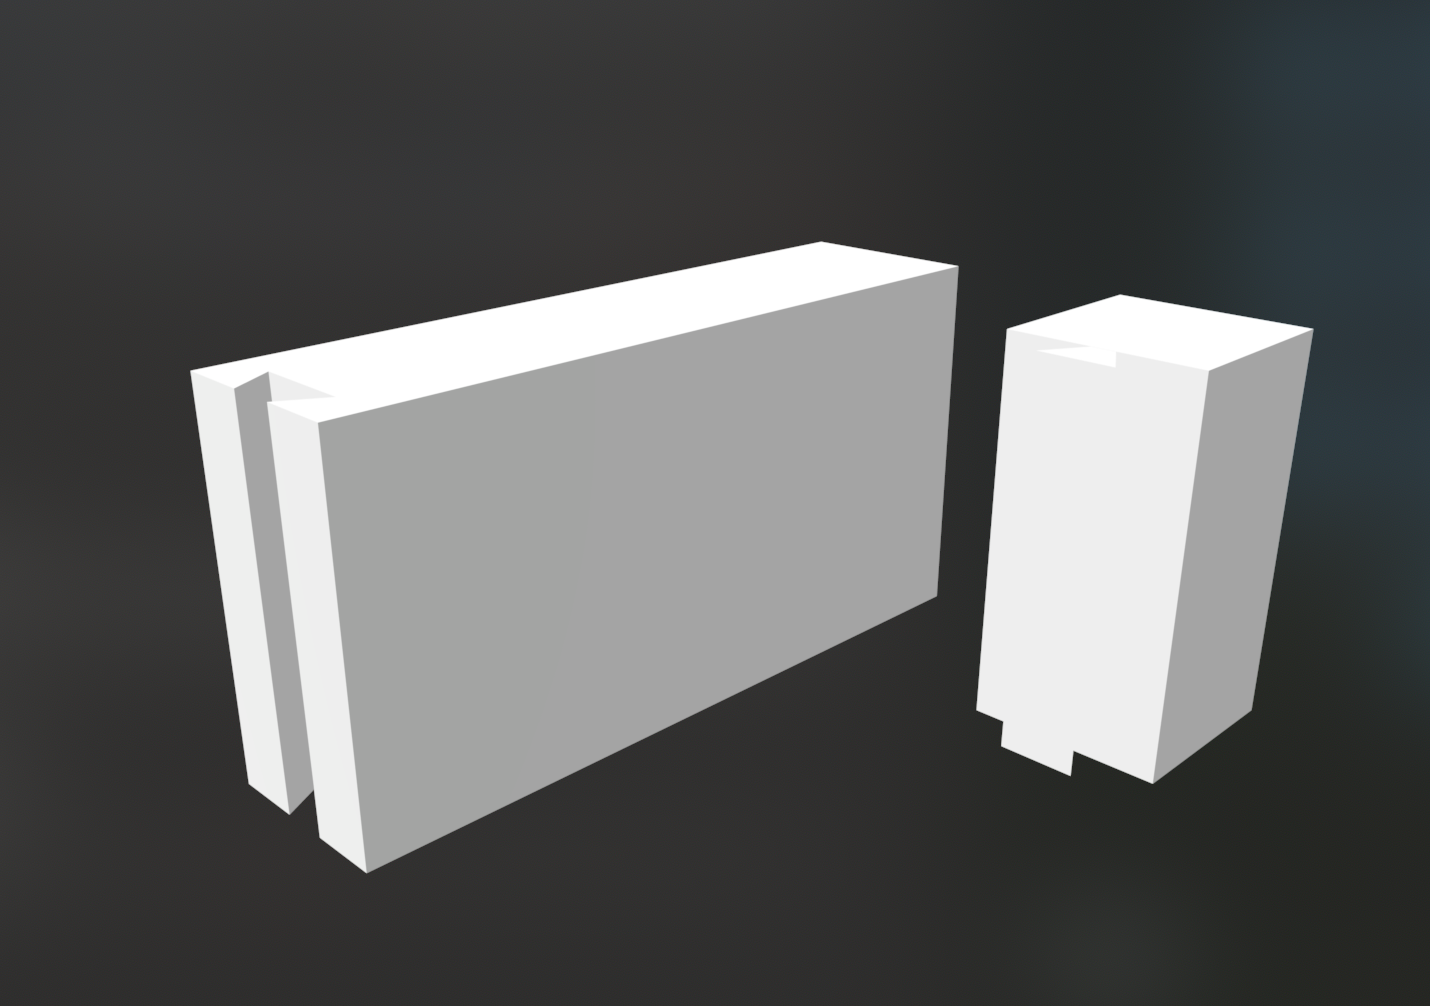
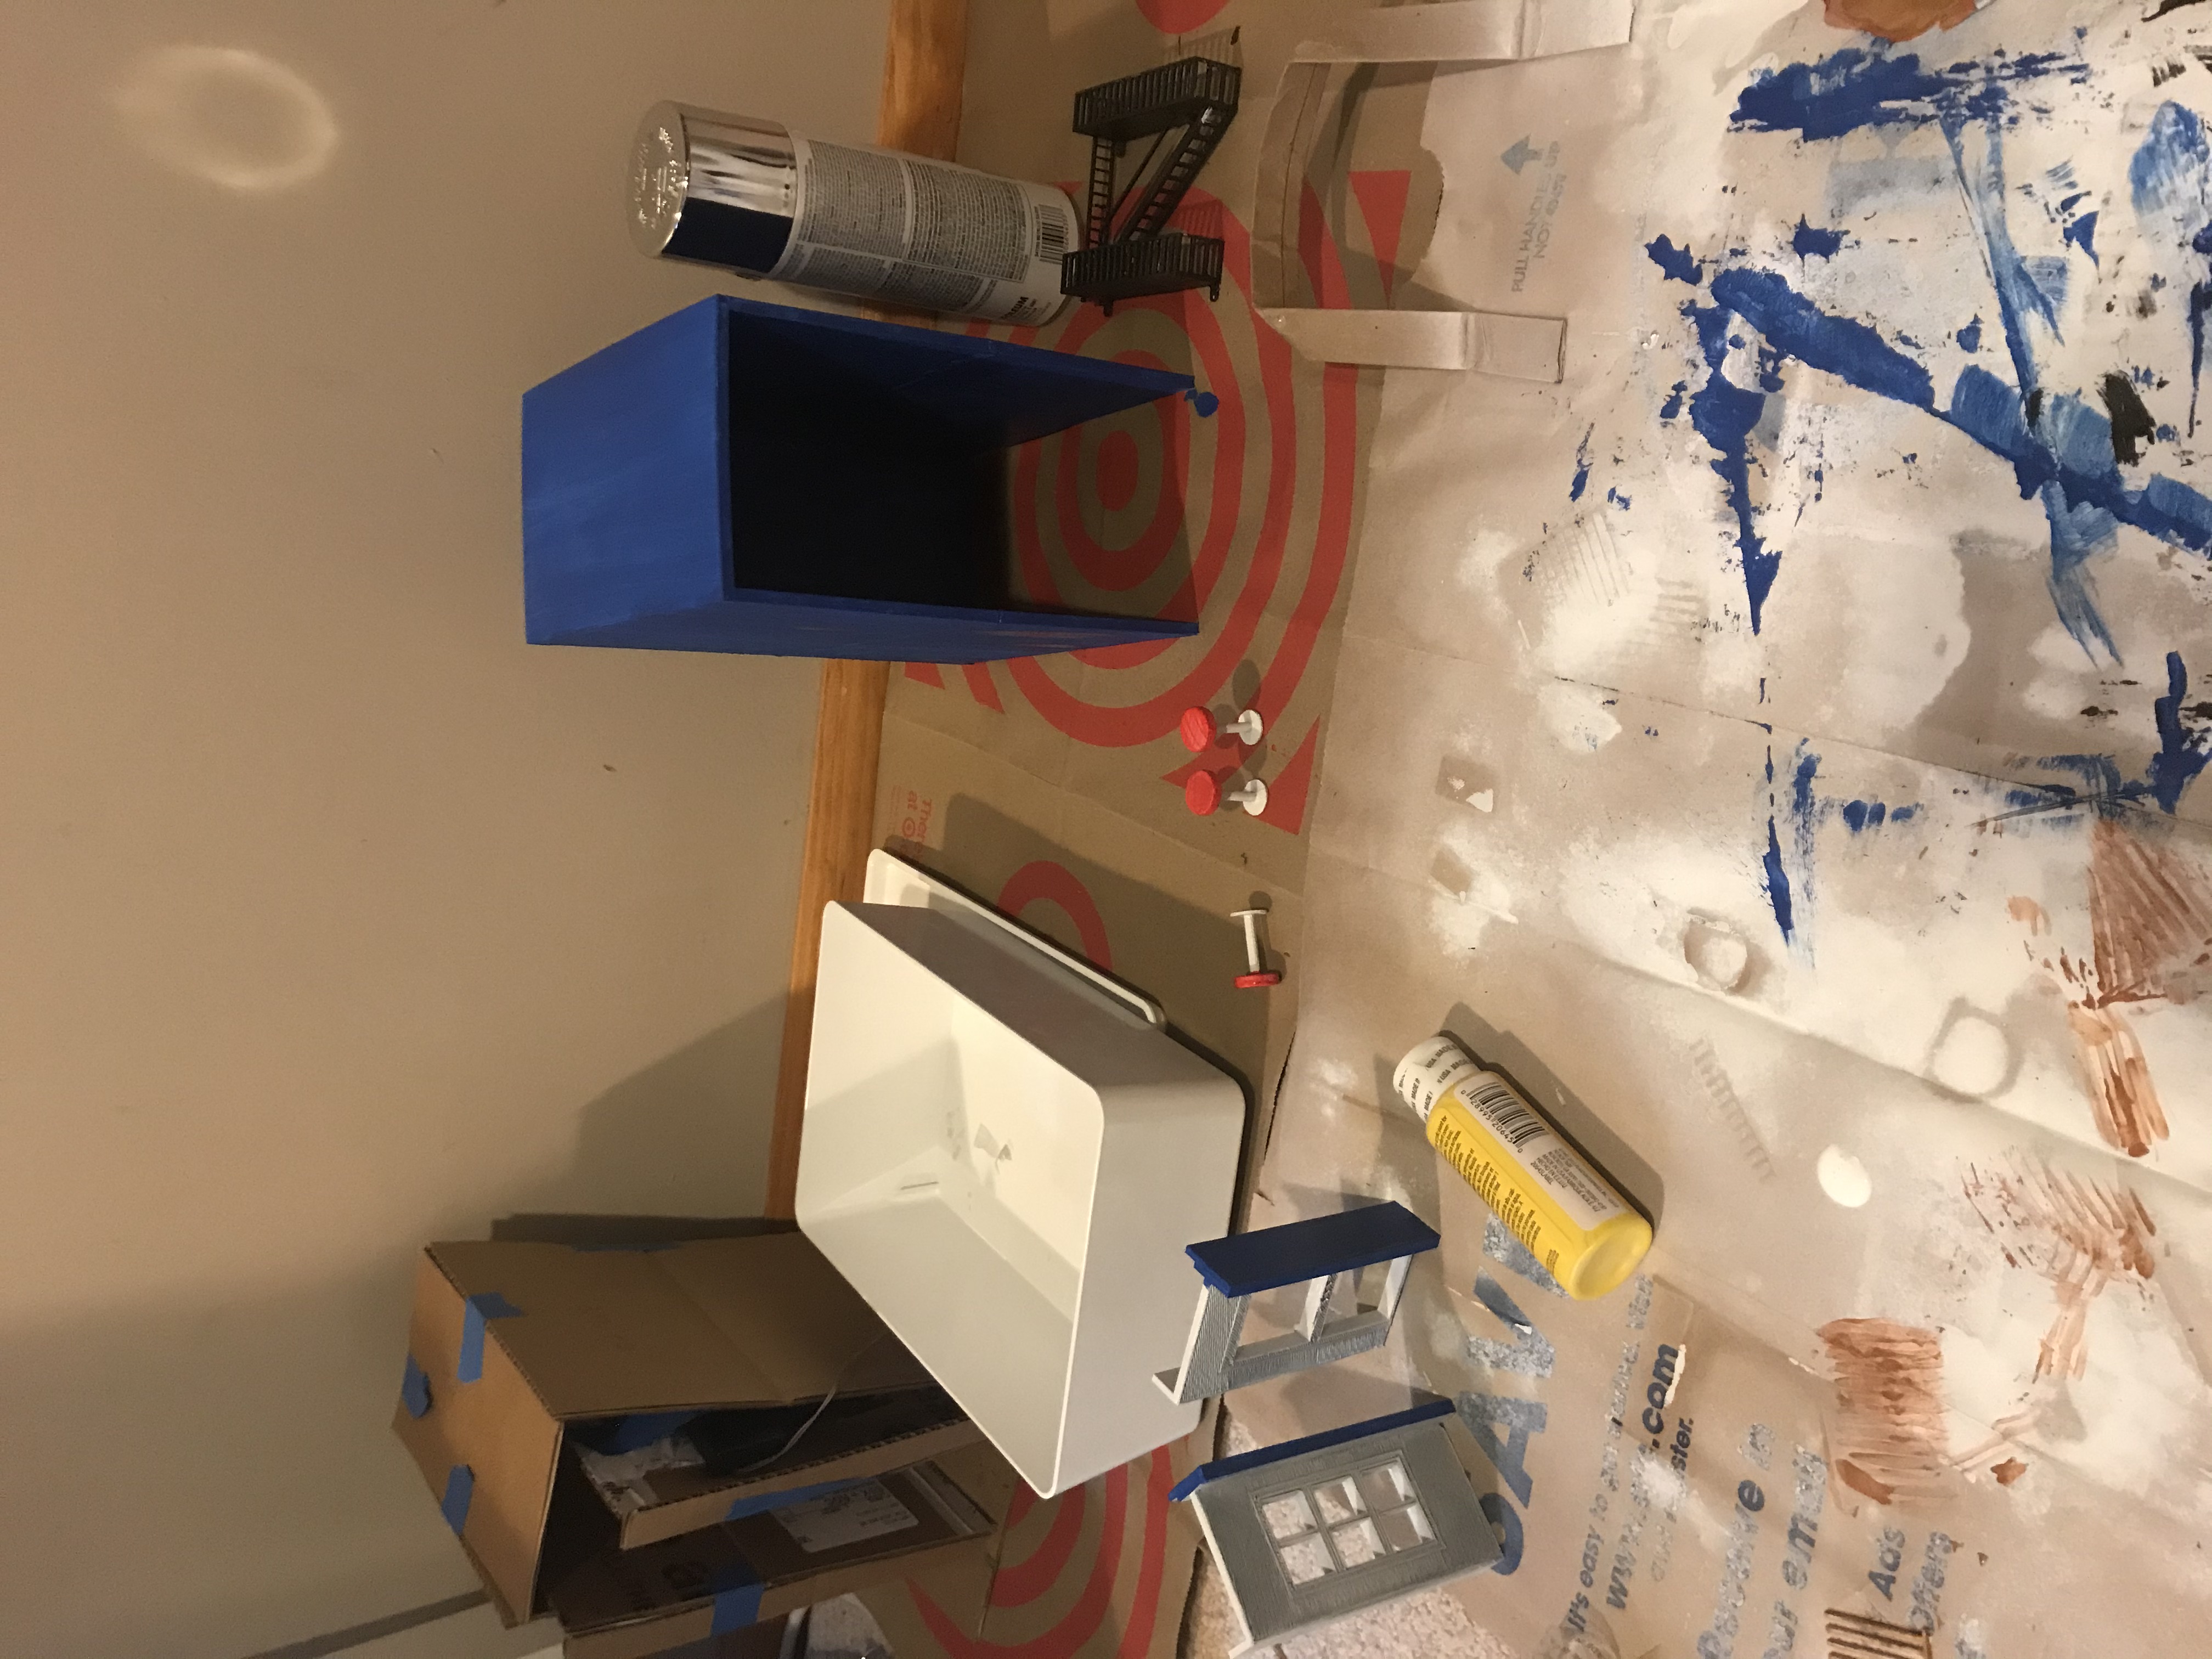
I wanted to have a removable exterior cover for the booknook that would hide interior wiring and could be reversed to enclose the booknook for transportation. I designed a sliding track that slid smoothly as a prototype.
This is a situation where I should have done more testing of the prototype before printing the large pieces. I realized after I painted the main pieces that the extra bulk and texture of the paint made the tracks not work smoothly anymore. I should have either not painted the track parts of my print or I should have designed with more wiggle room for the paint.
Windows
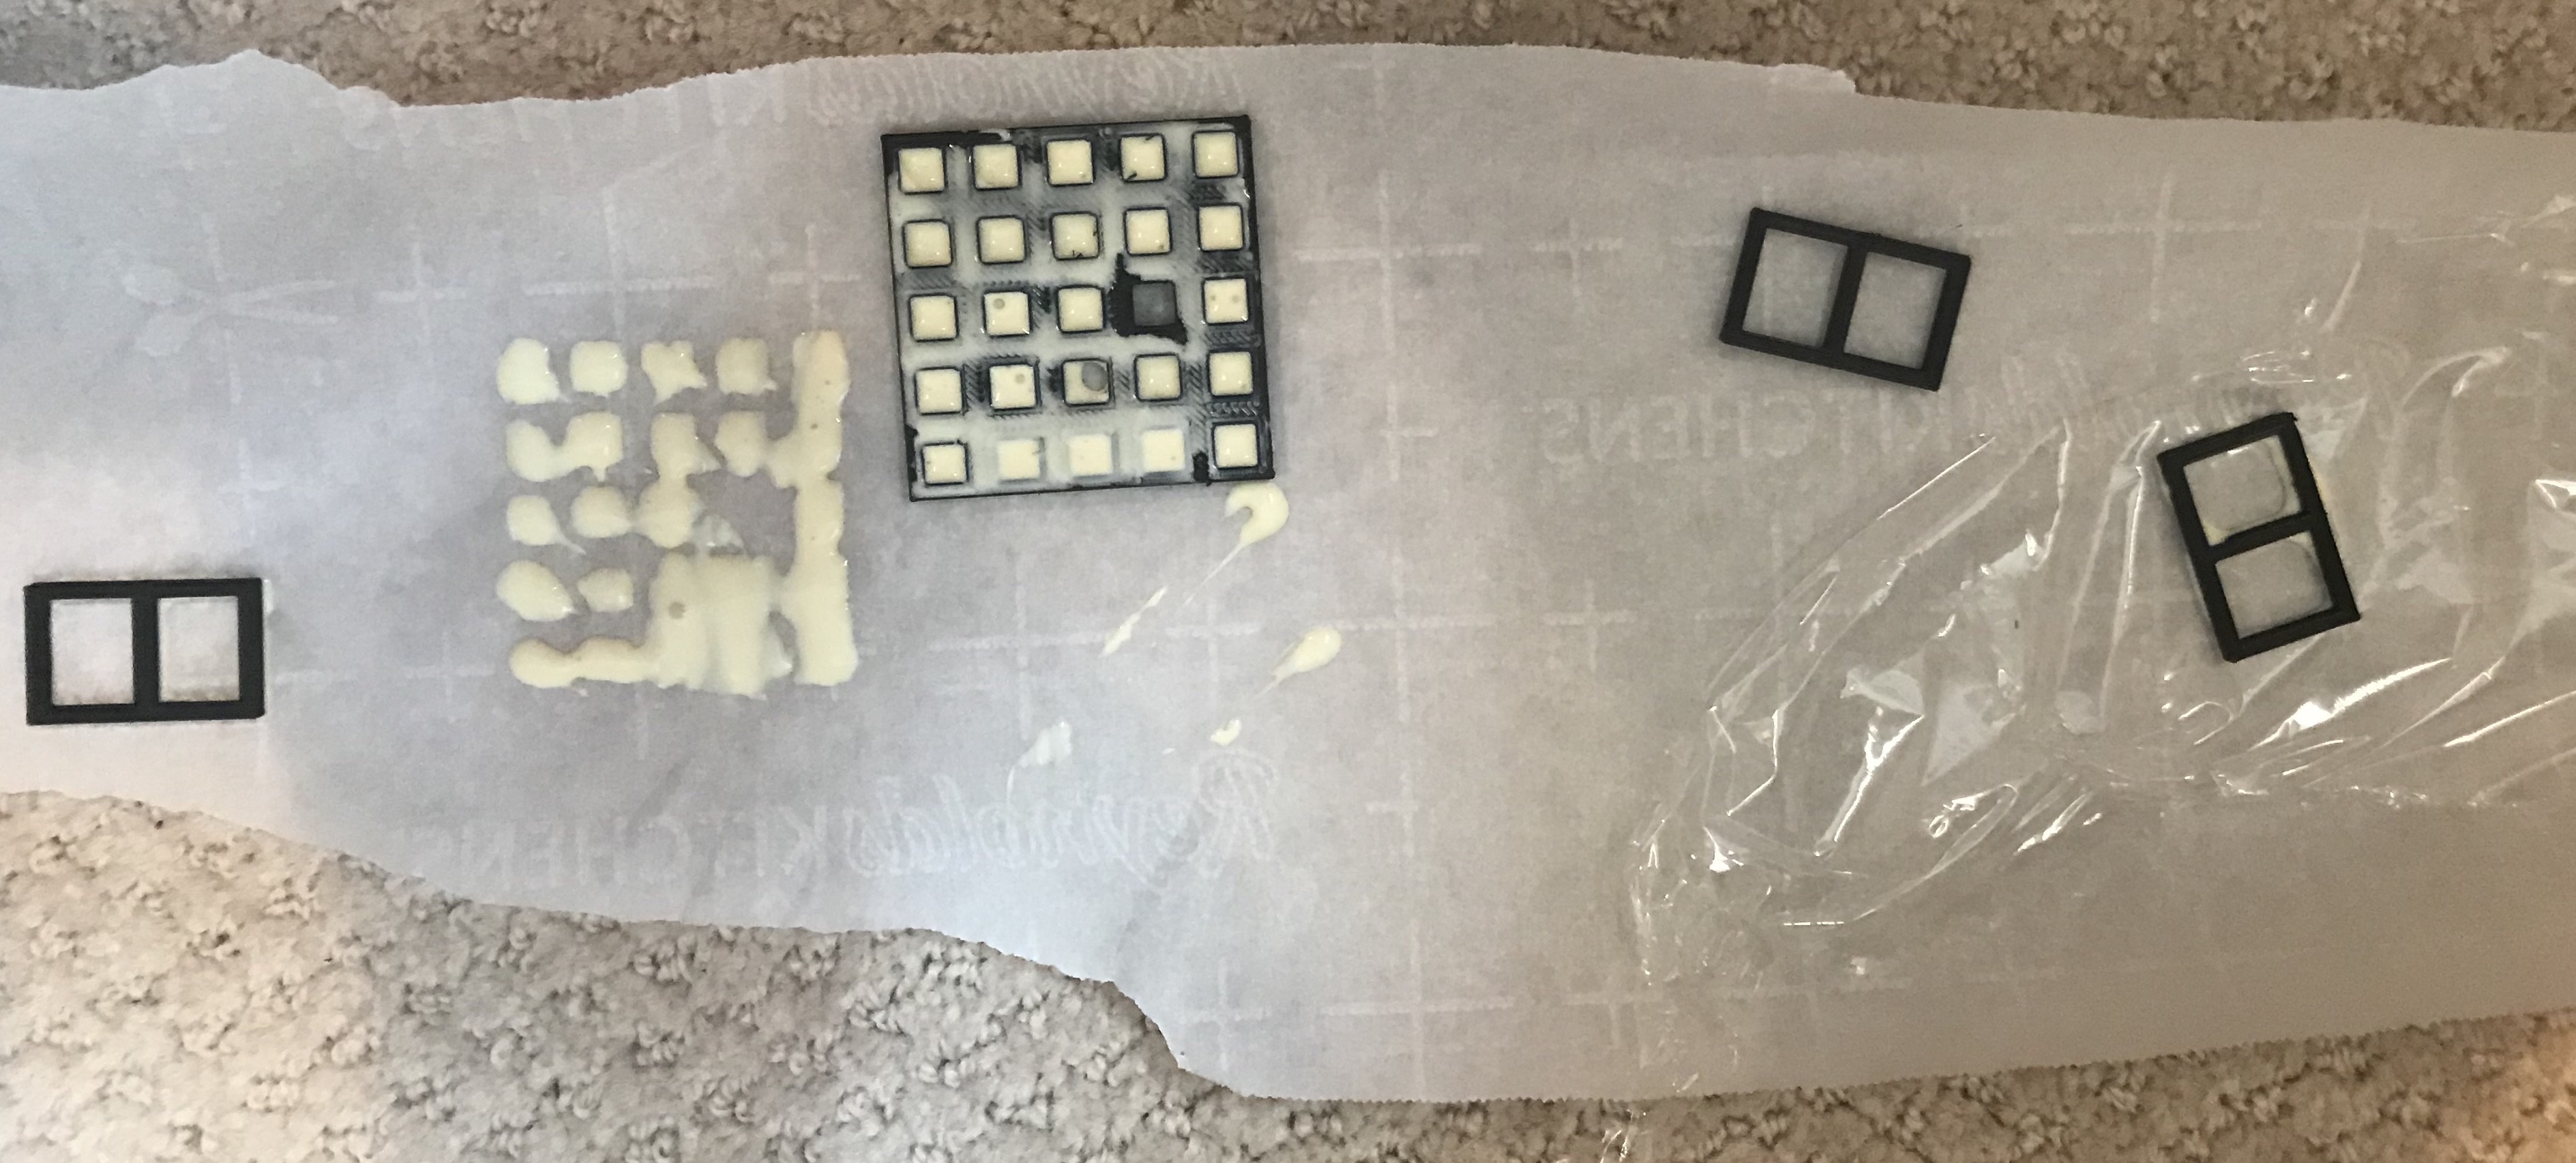
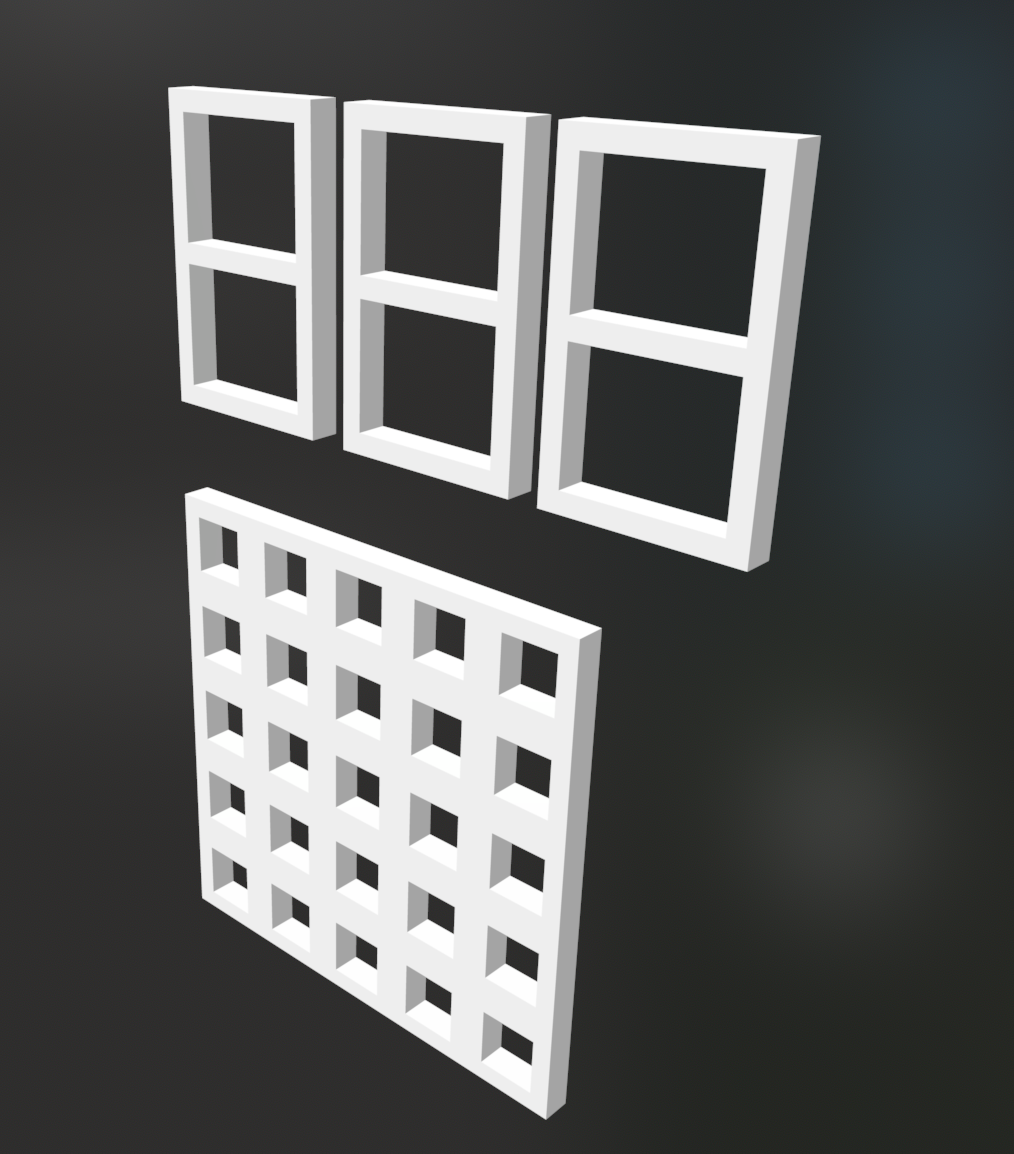
I also prototyped some windows so I could figure out the scale I wanted to use and determine what material to use for windowpanes. I tested parchment paper, dried glue, plastic wrap, and clear tape. I shone light through each of my test windows to test how well they diffuse light. I liked parchment paper best for the frosted glass vibe and clear tape best to emulate regular glass.
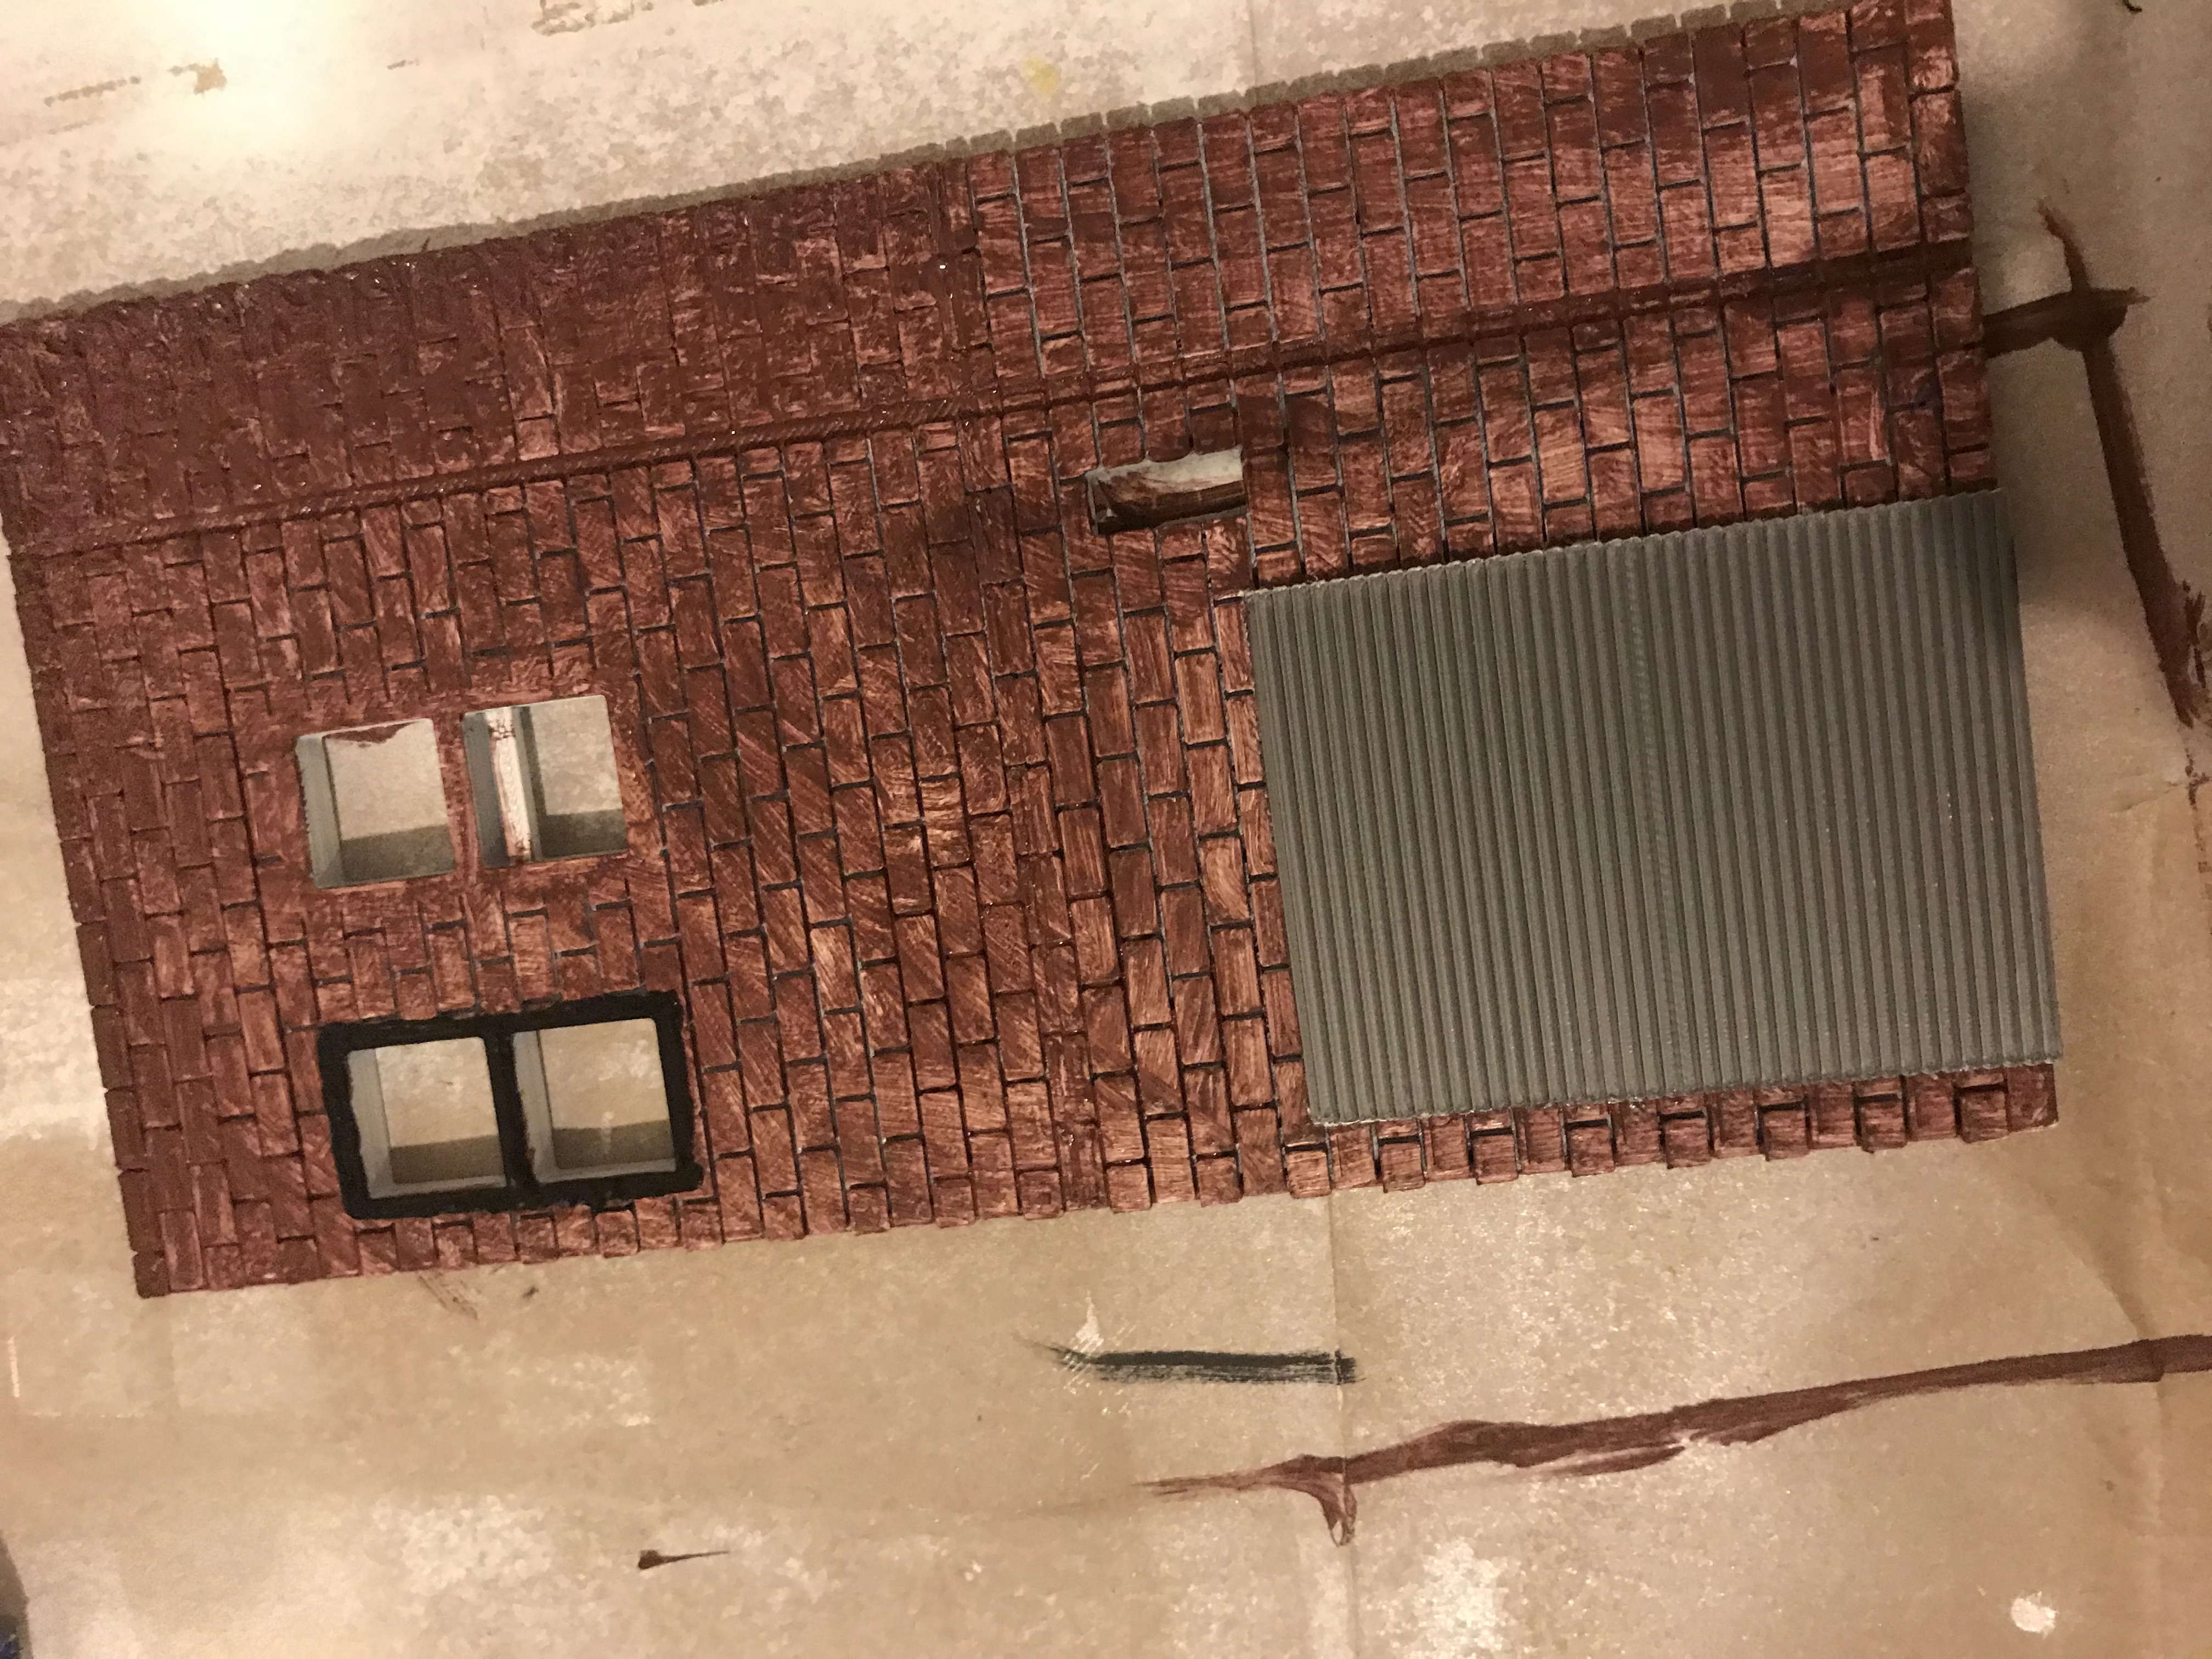
Brick
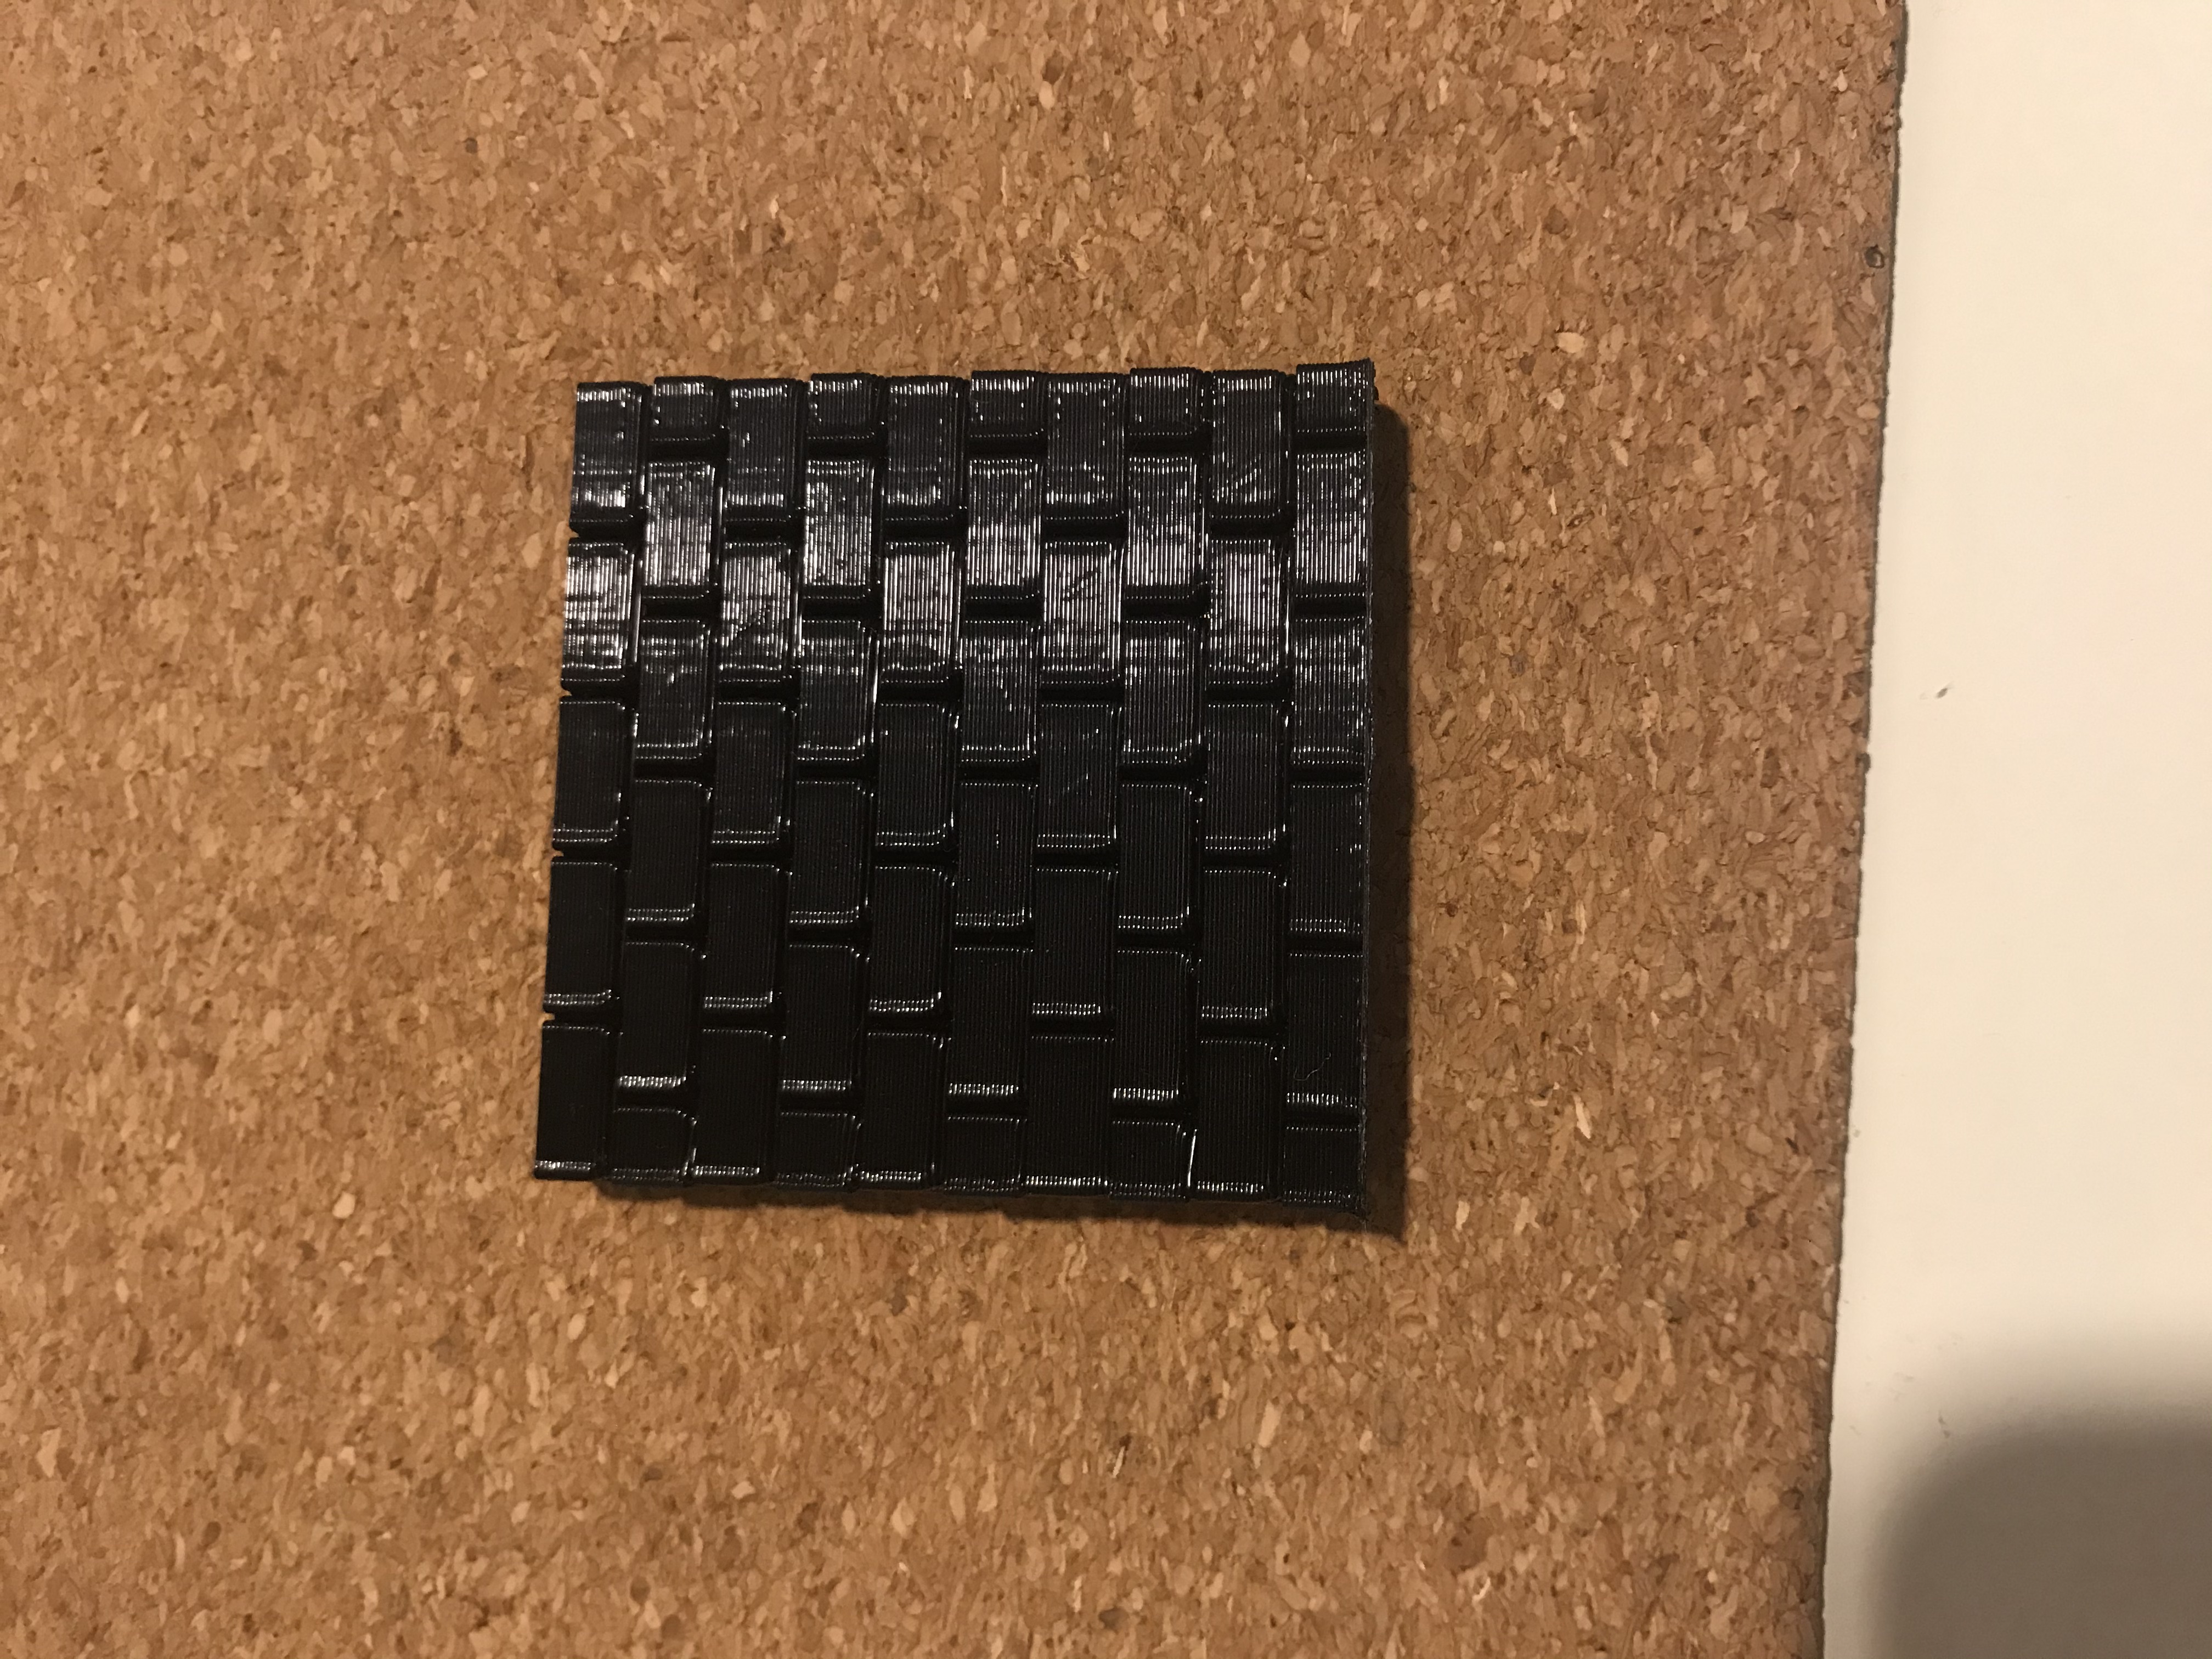
I also printed out a couple kind of brick patterns to test what I would use on the walls. I tried this brick pattern by Degus71 on Thingiverse and constructed my own brick pattern which I liked better.
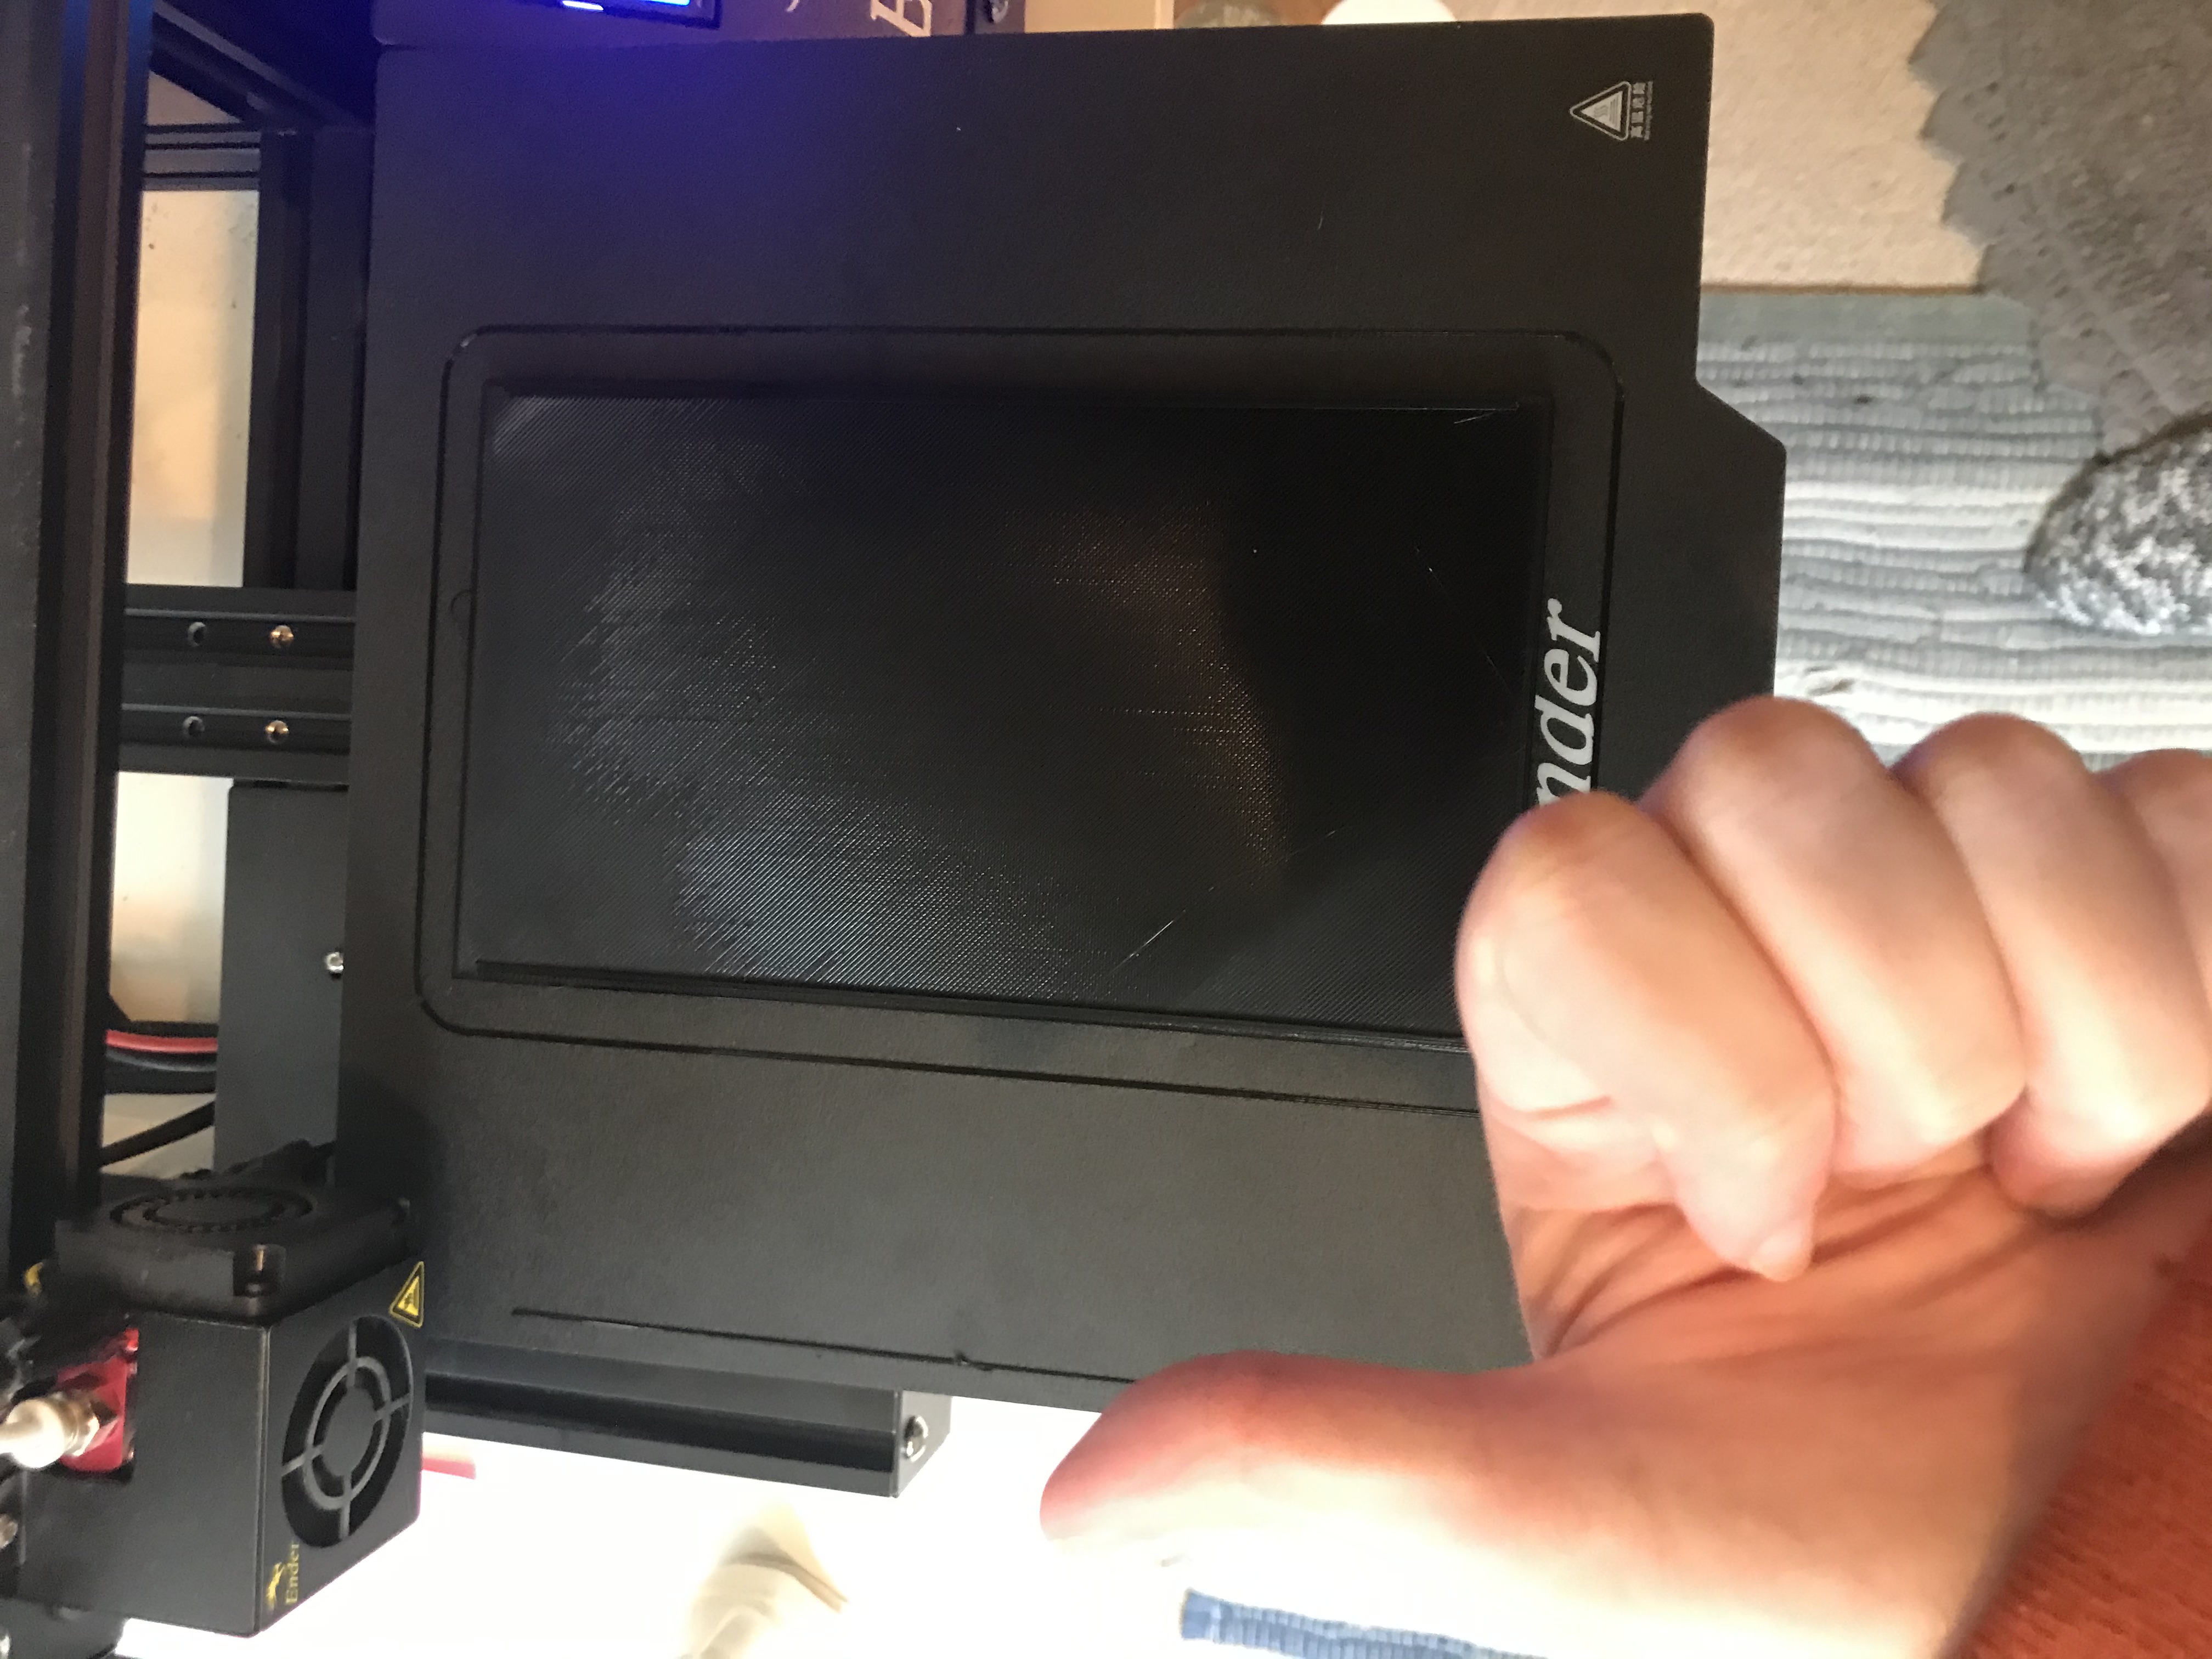
I took a really bad photo to illustrate this, but I also learned that I should not print with the brick part facing down, since it caused adhesion problems with all the tiny brick detail.
Signage

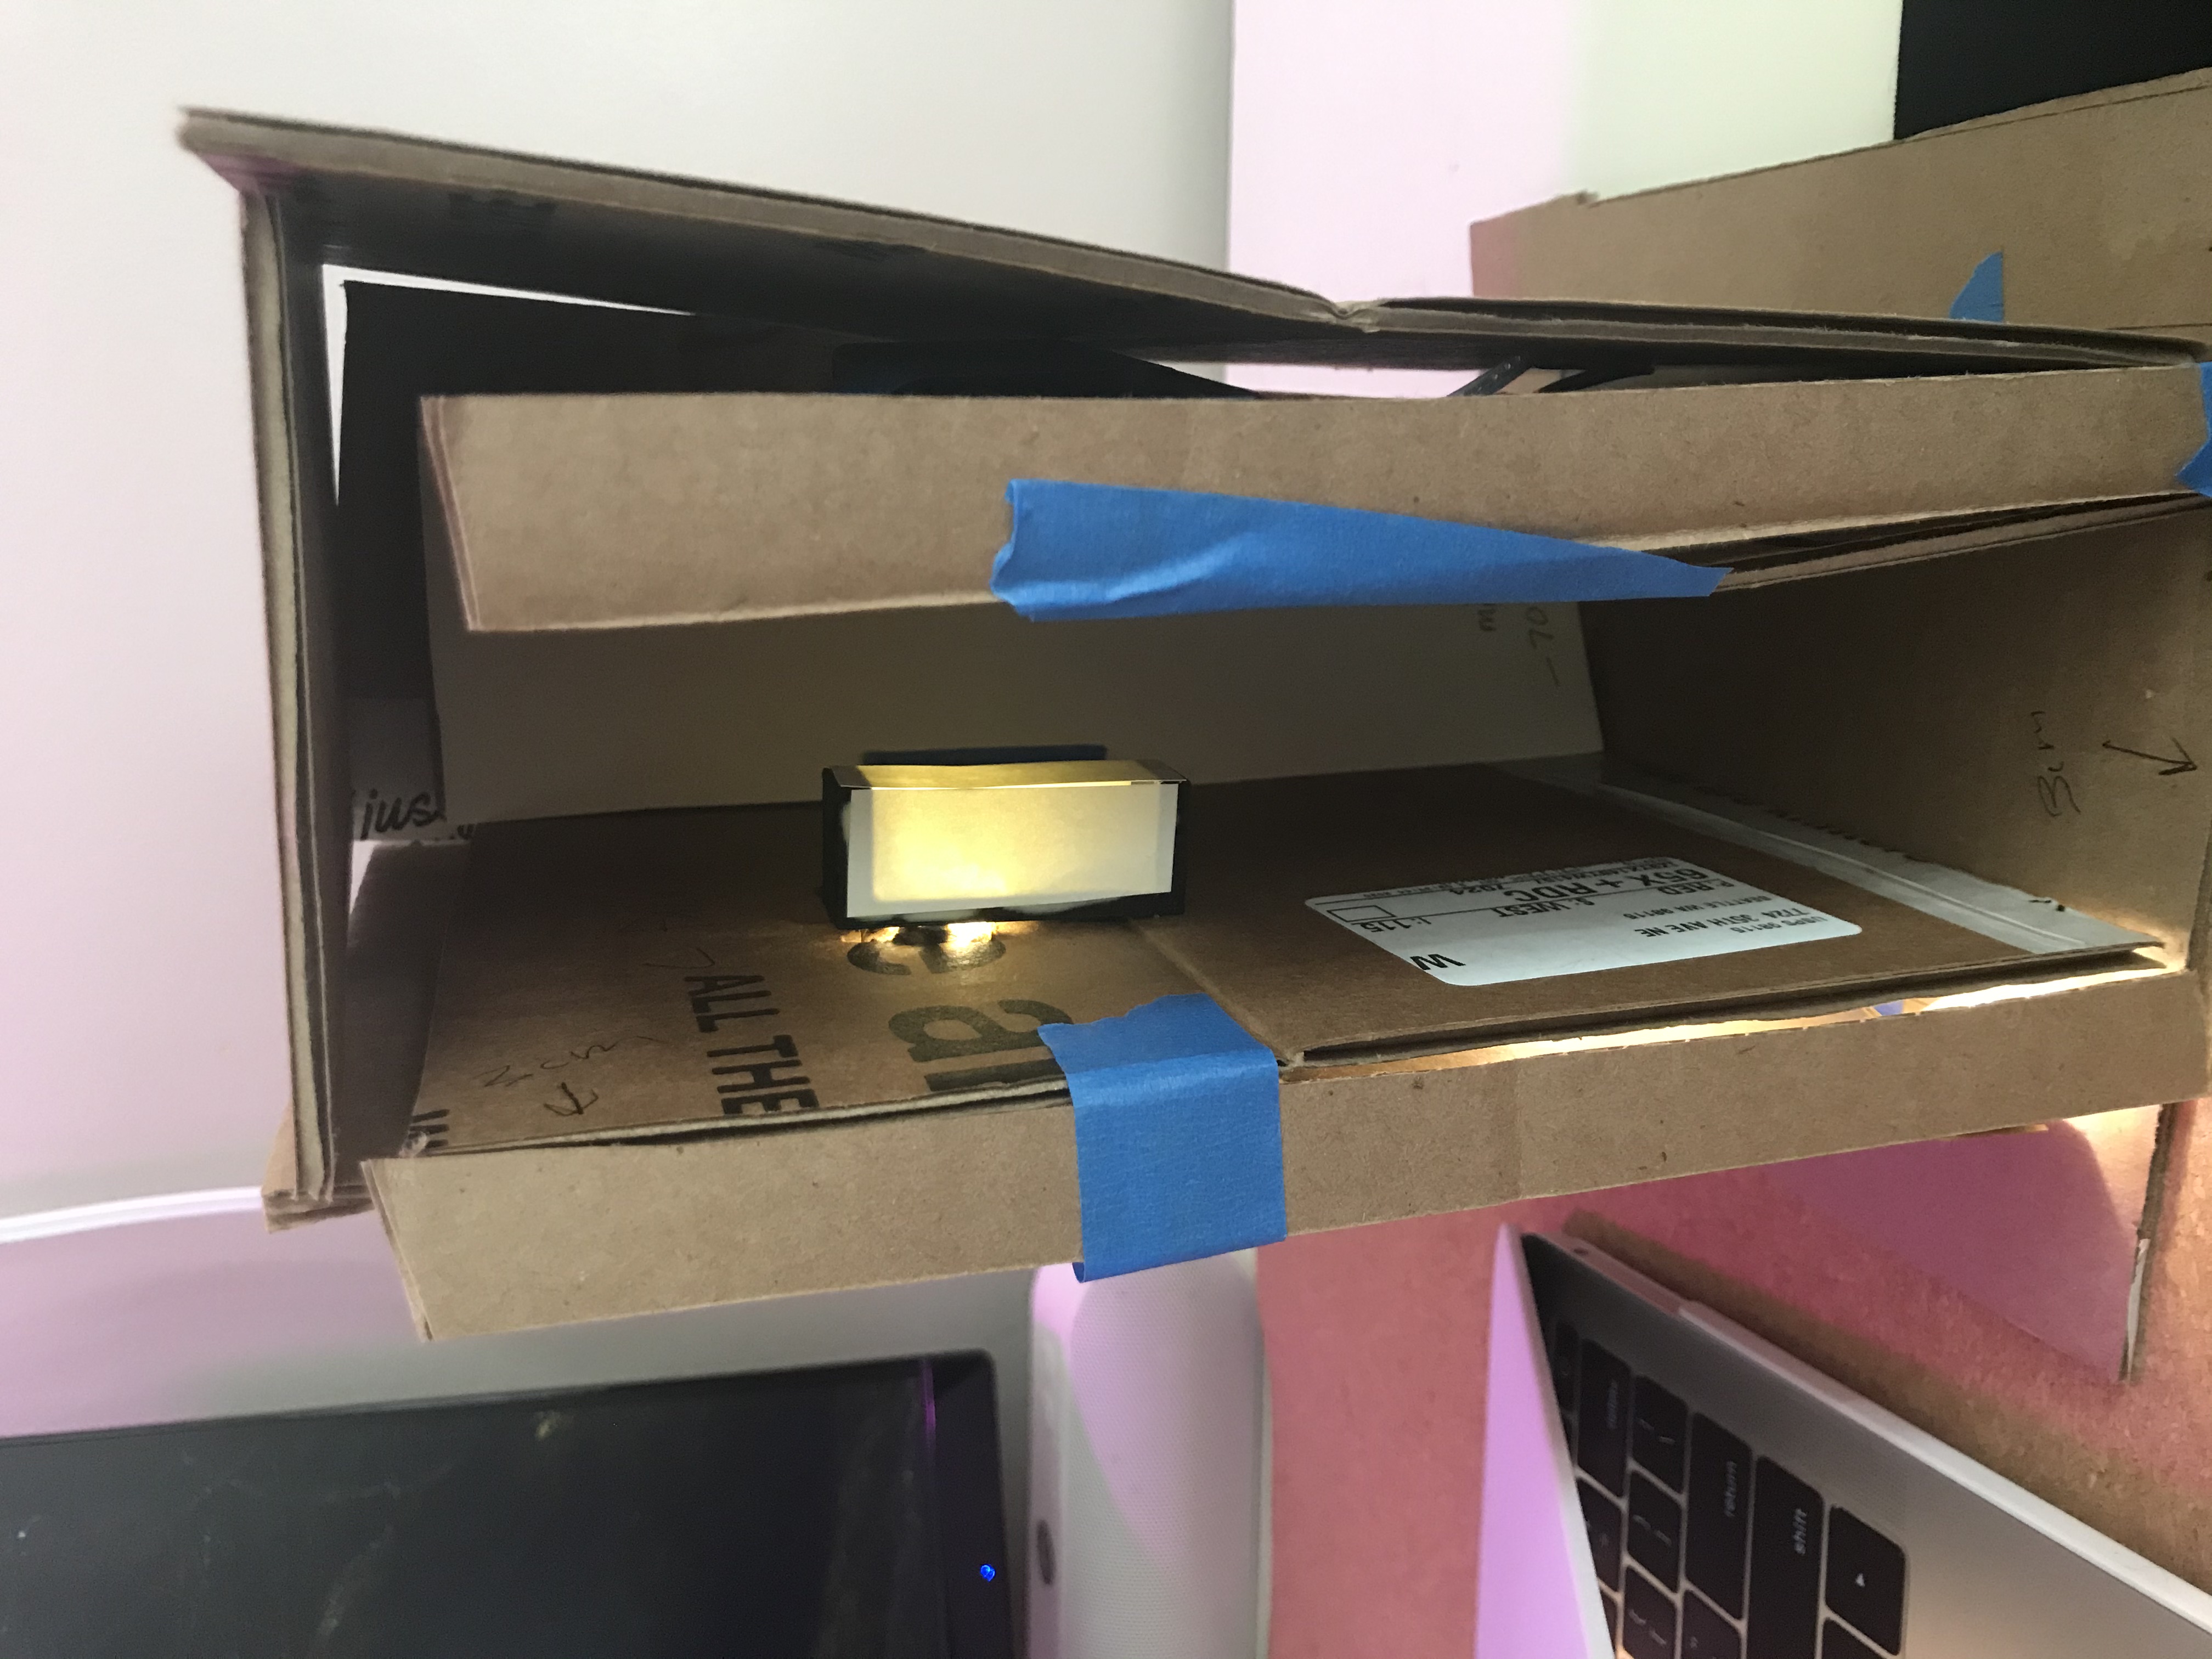
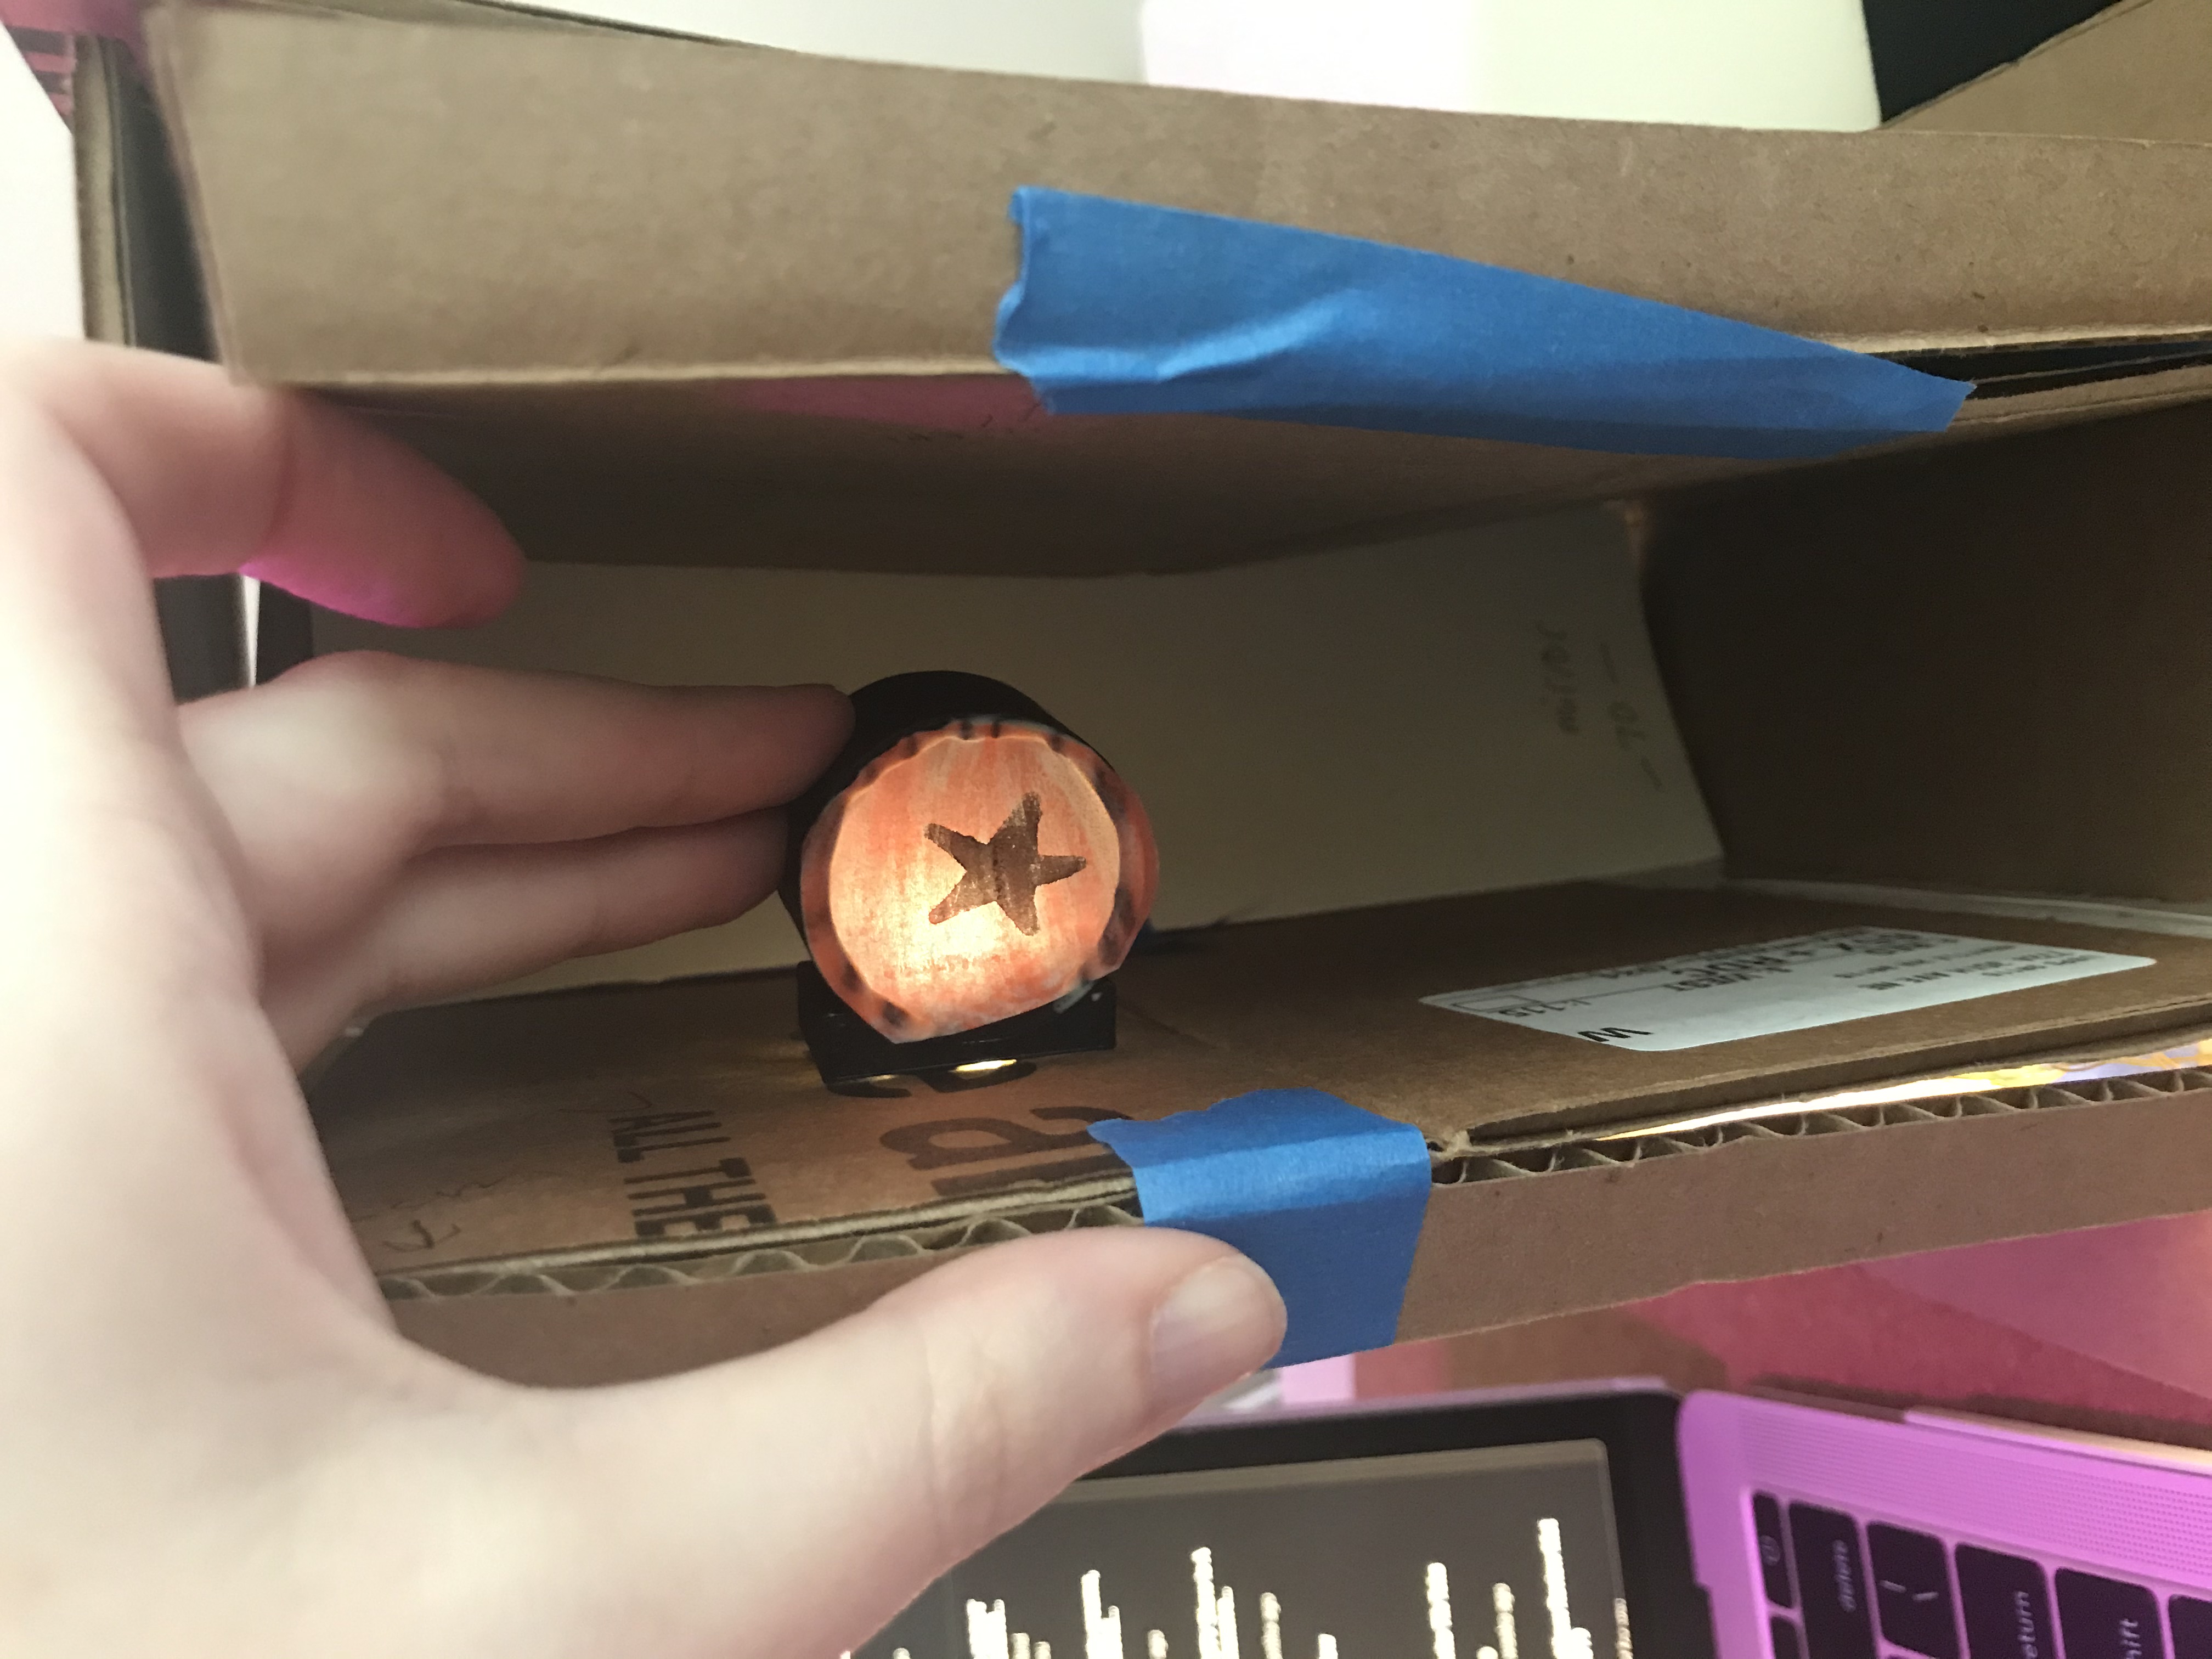
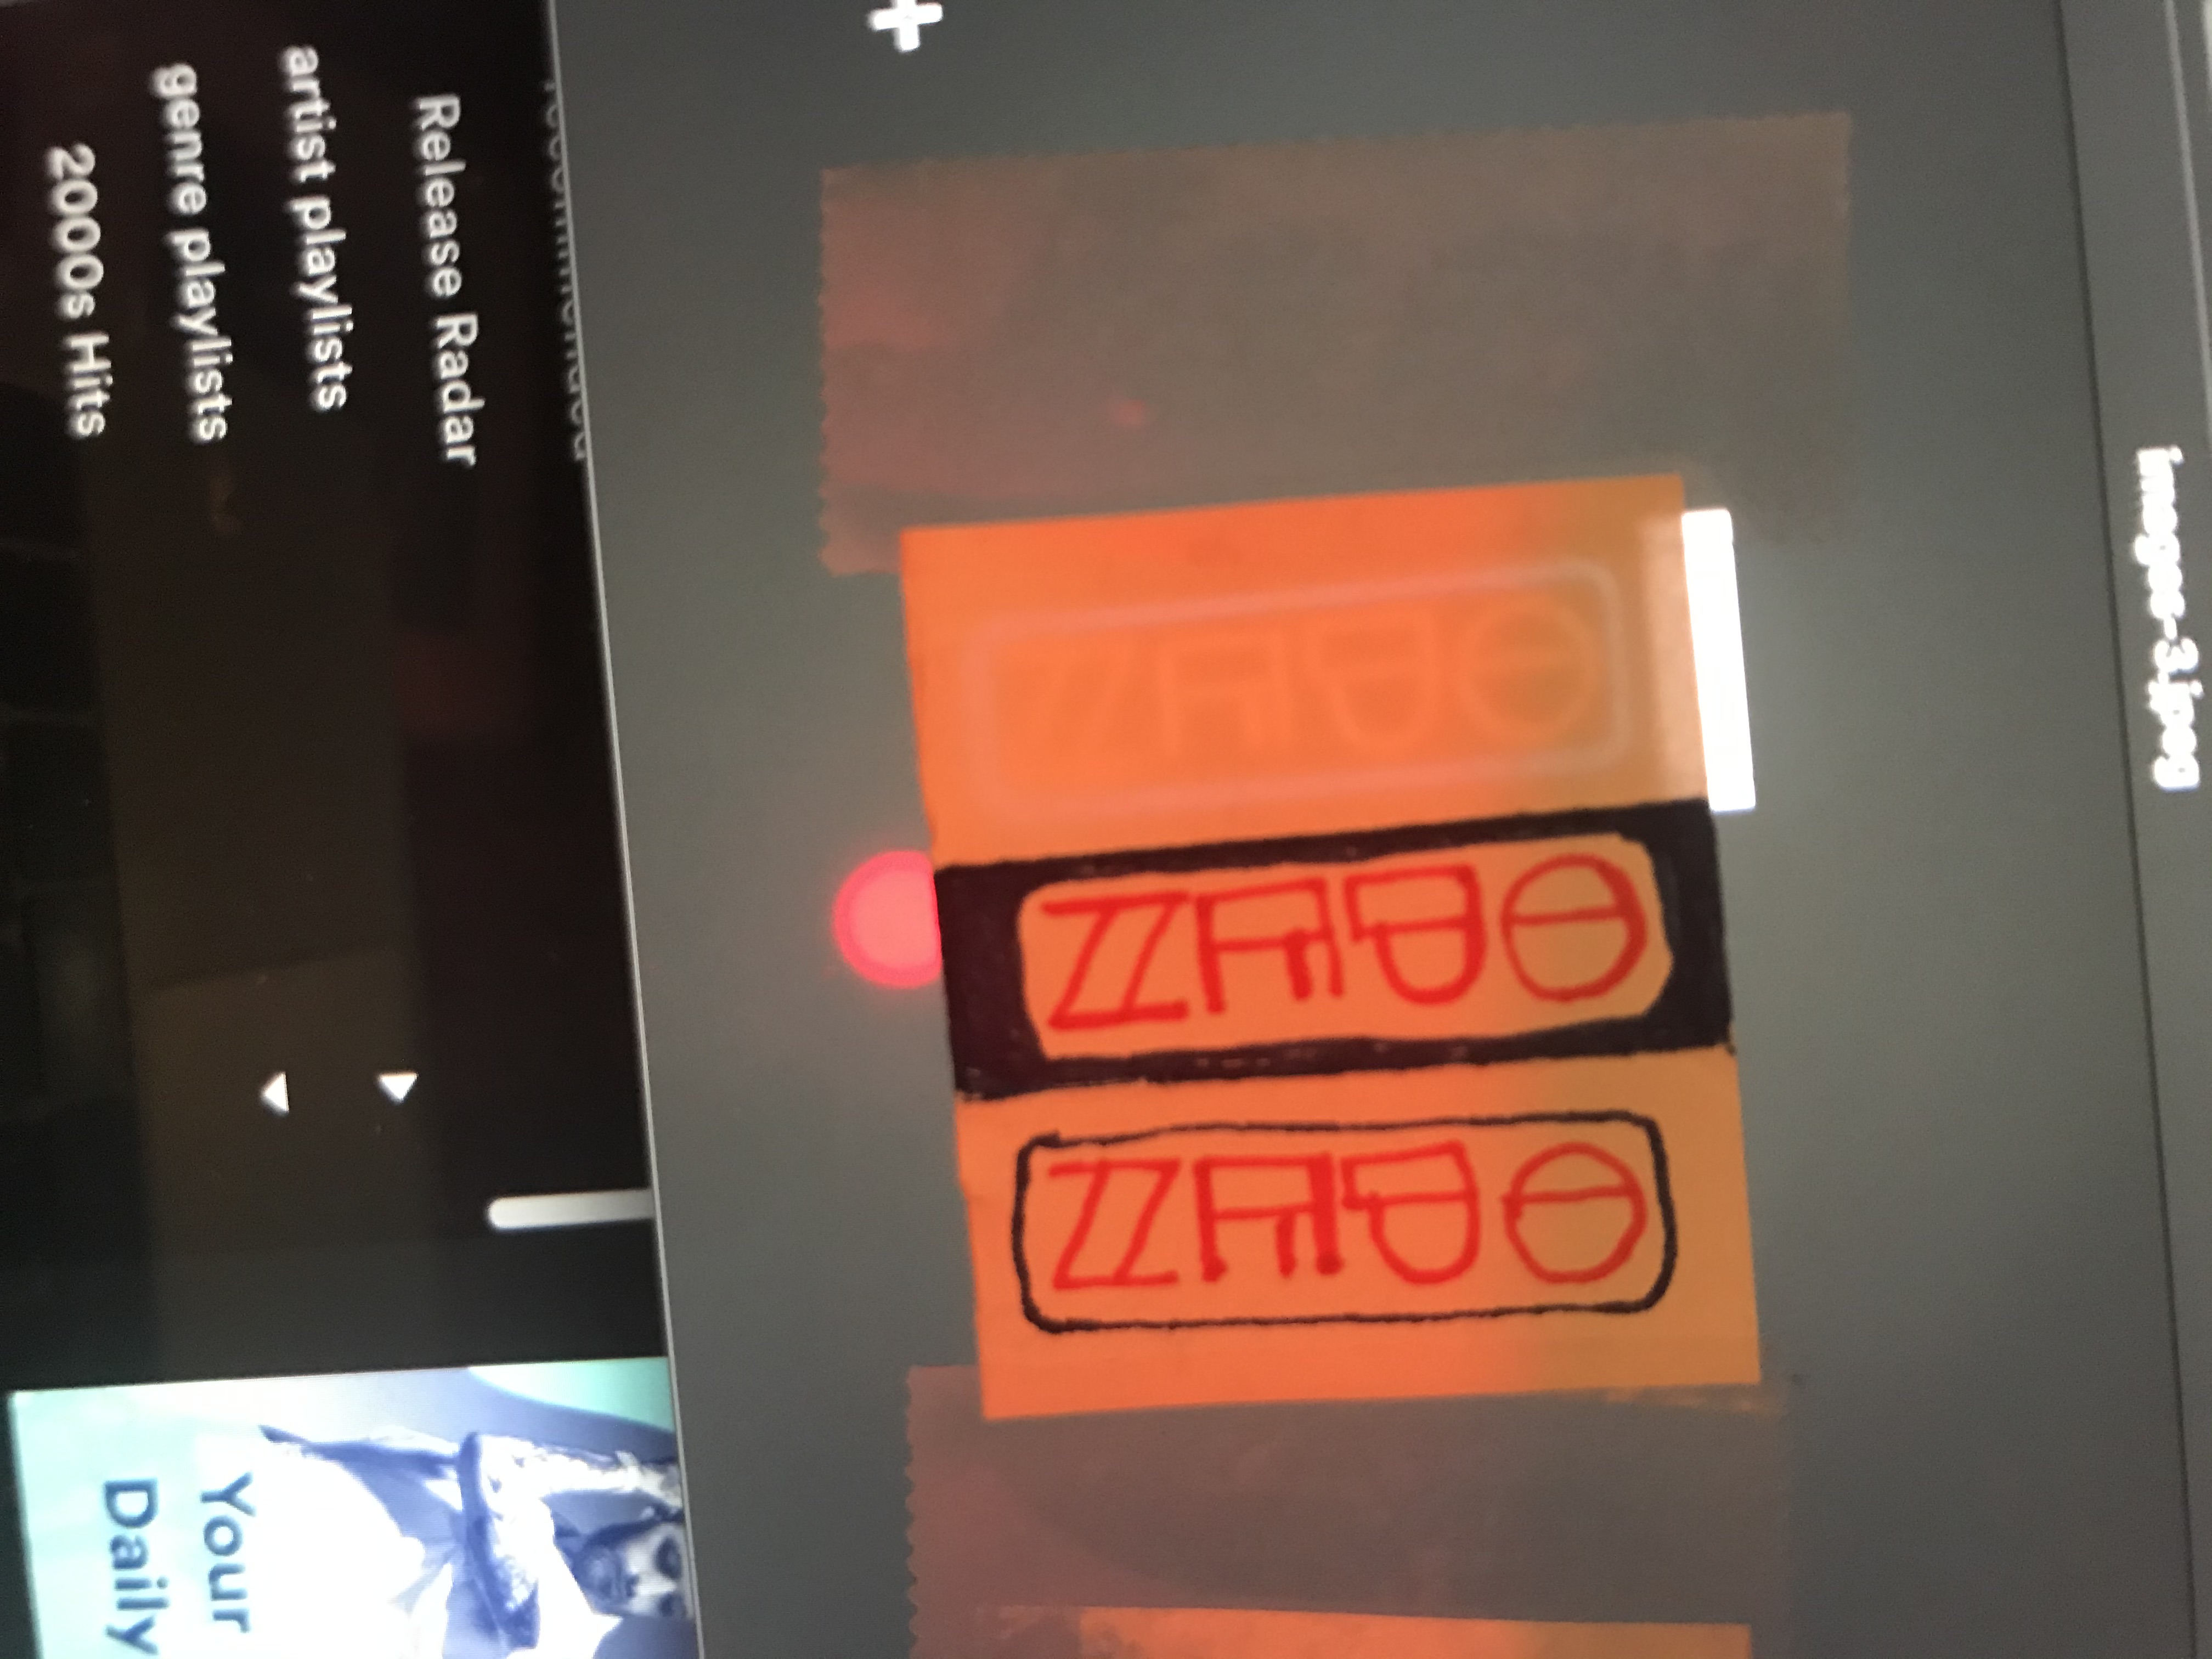
I also printed a test version of the signs so I could test how lights shine through colored paper. I tried a couple different weights of paper and installed the lights in my cardboard prototype. I liked how the light shines through the paper but decided to print my actual signs a little smaller than the test ones since the test ones were pretty bulky.
Modelling
My approach for designing the booknook was to design all of the pieces together in one Rhino file so I could correctly visualize what I was doing, then export each piece as a separate STL for printing.
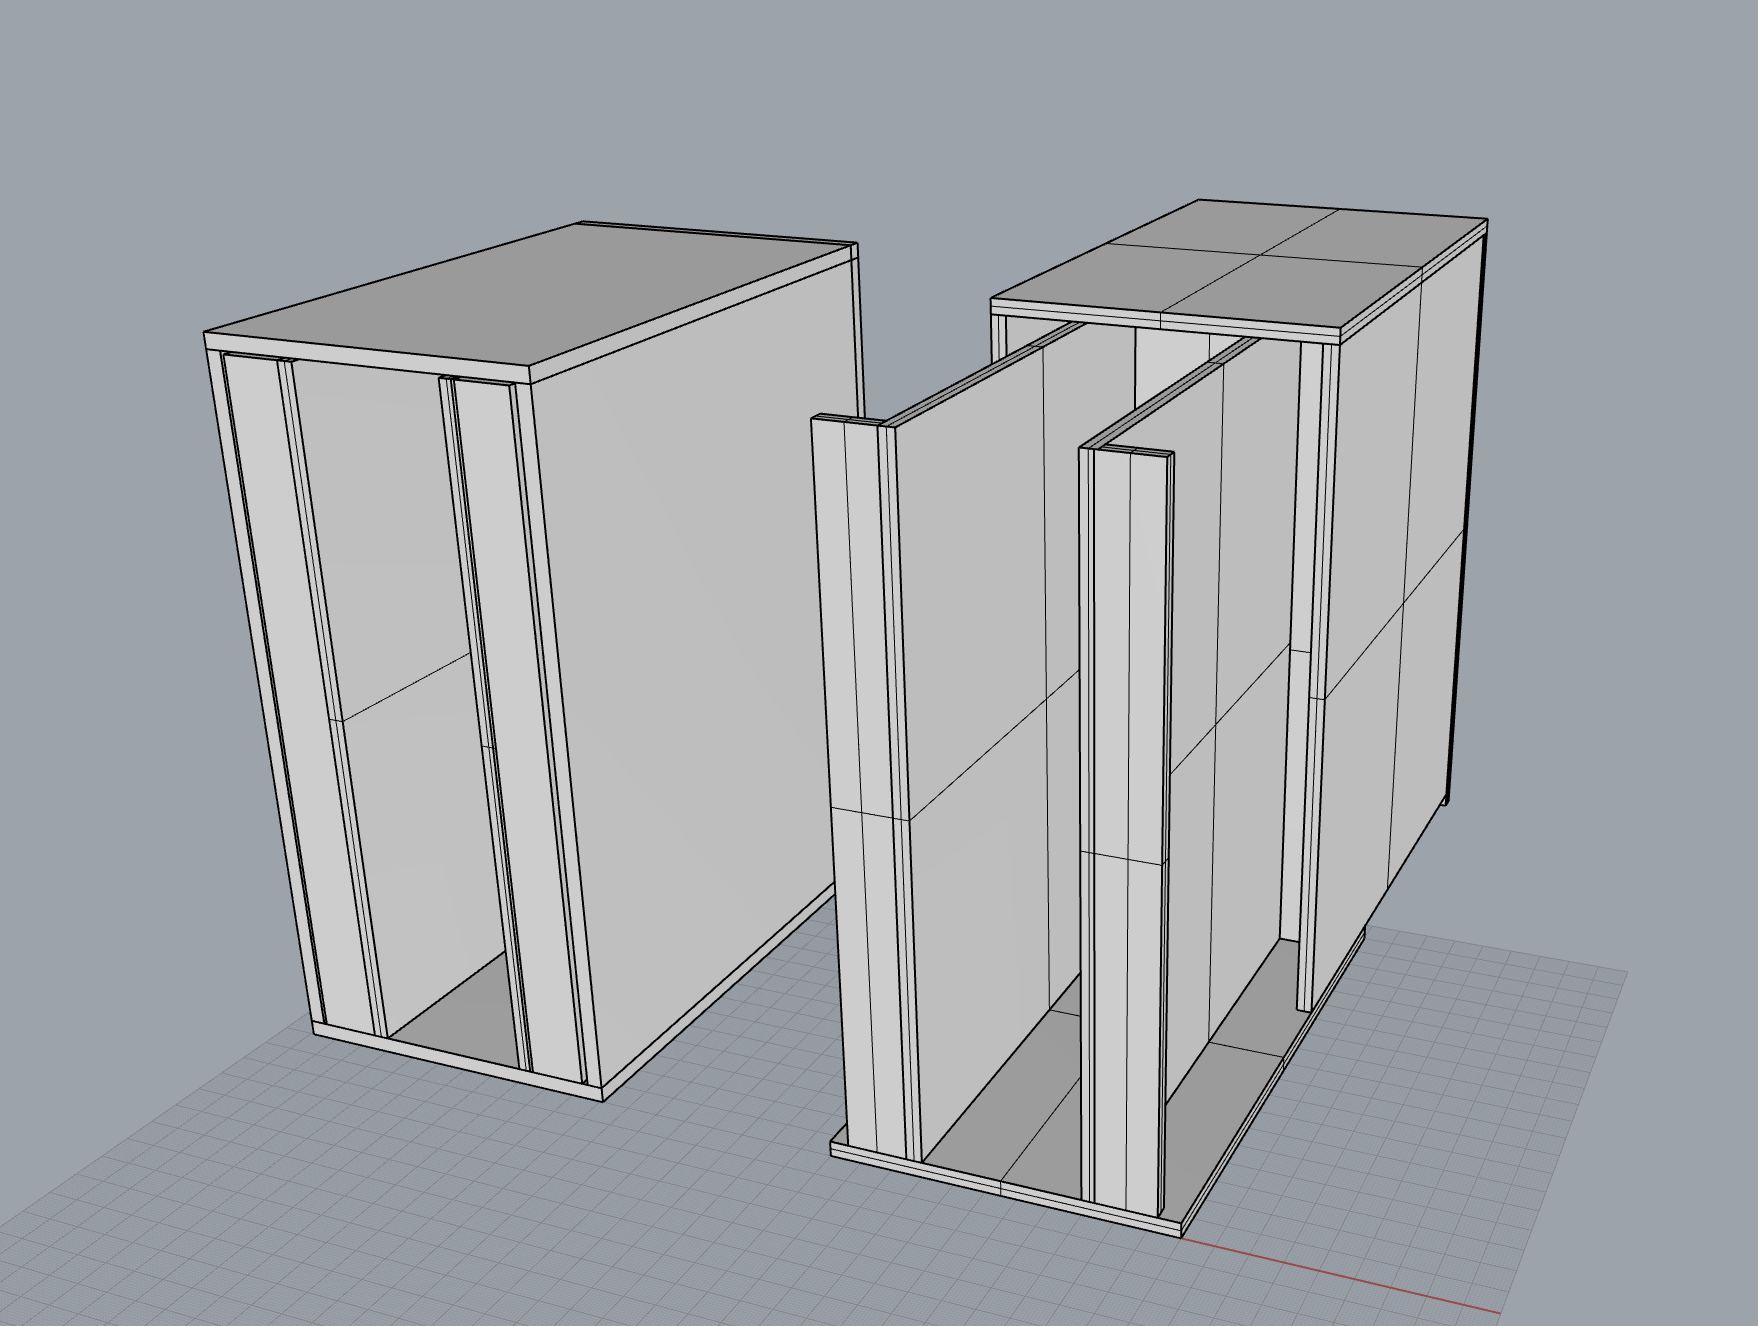
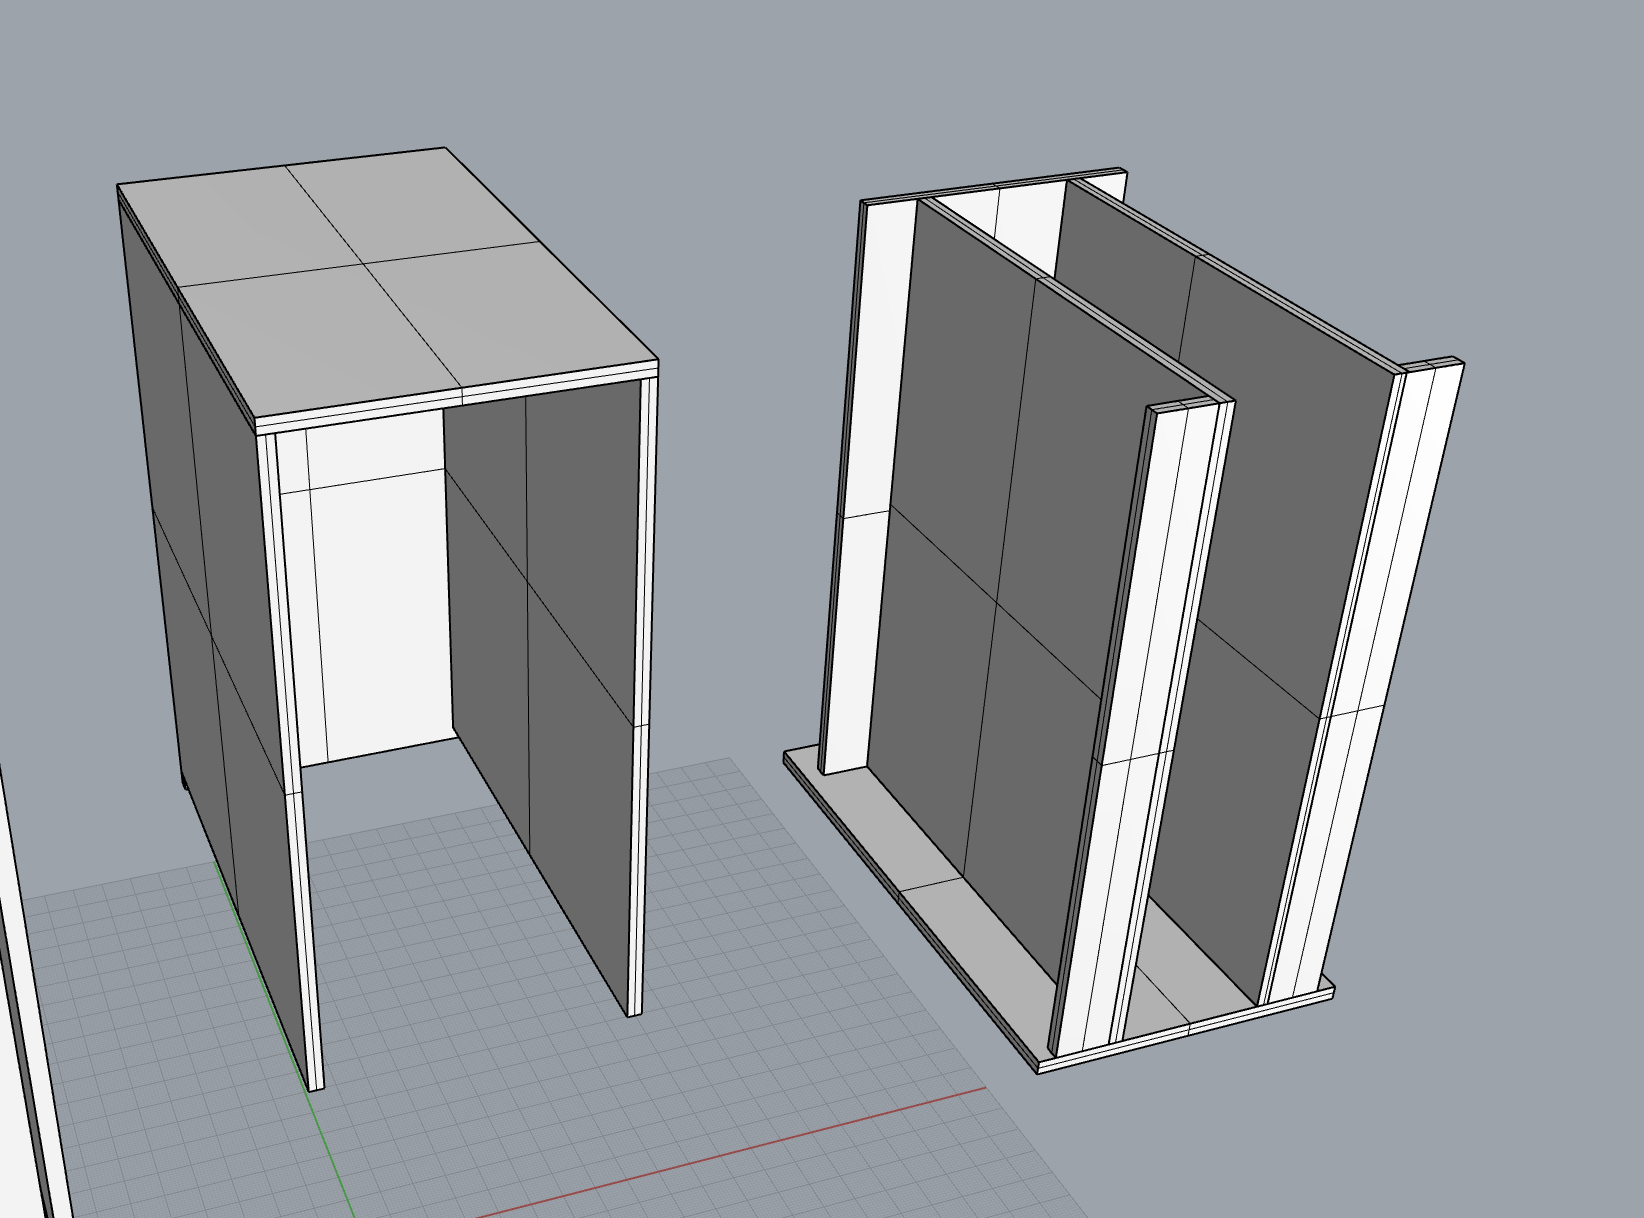
I began by modelling the walls of my booknook, using the cardboard prototype as a guide.
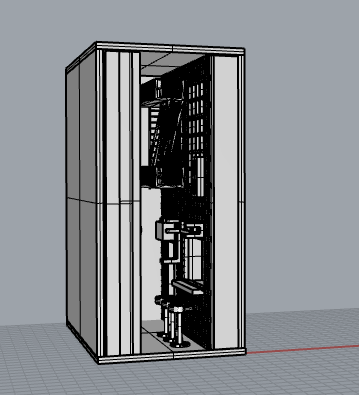
Then, using my sketch as a reference I designed the interior of the booknook.
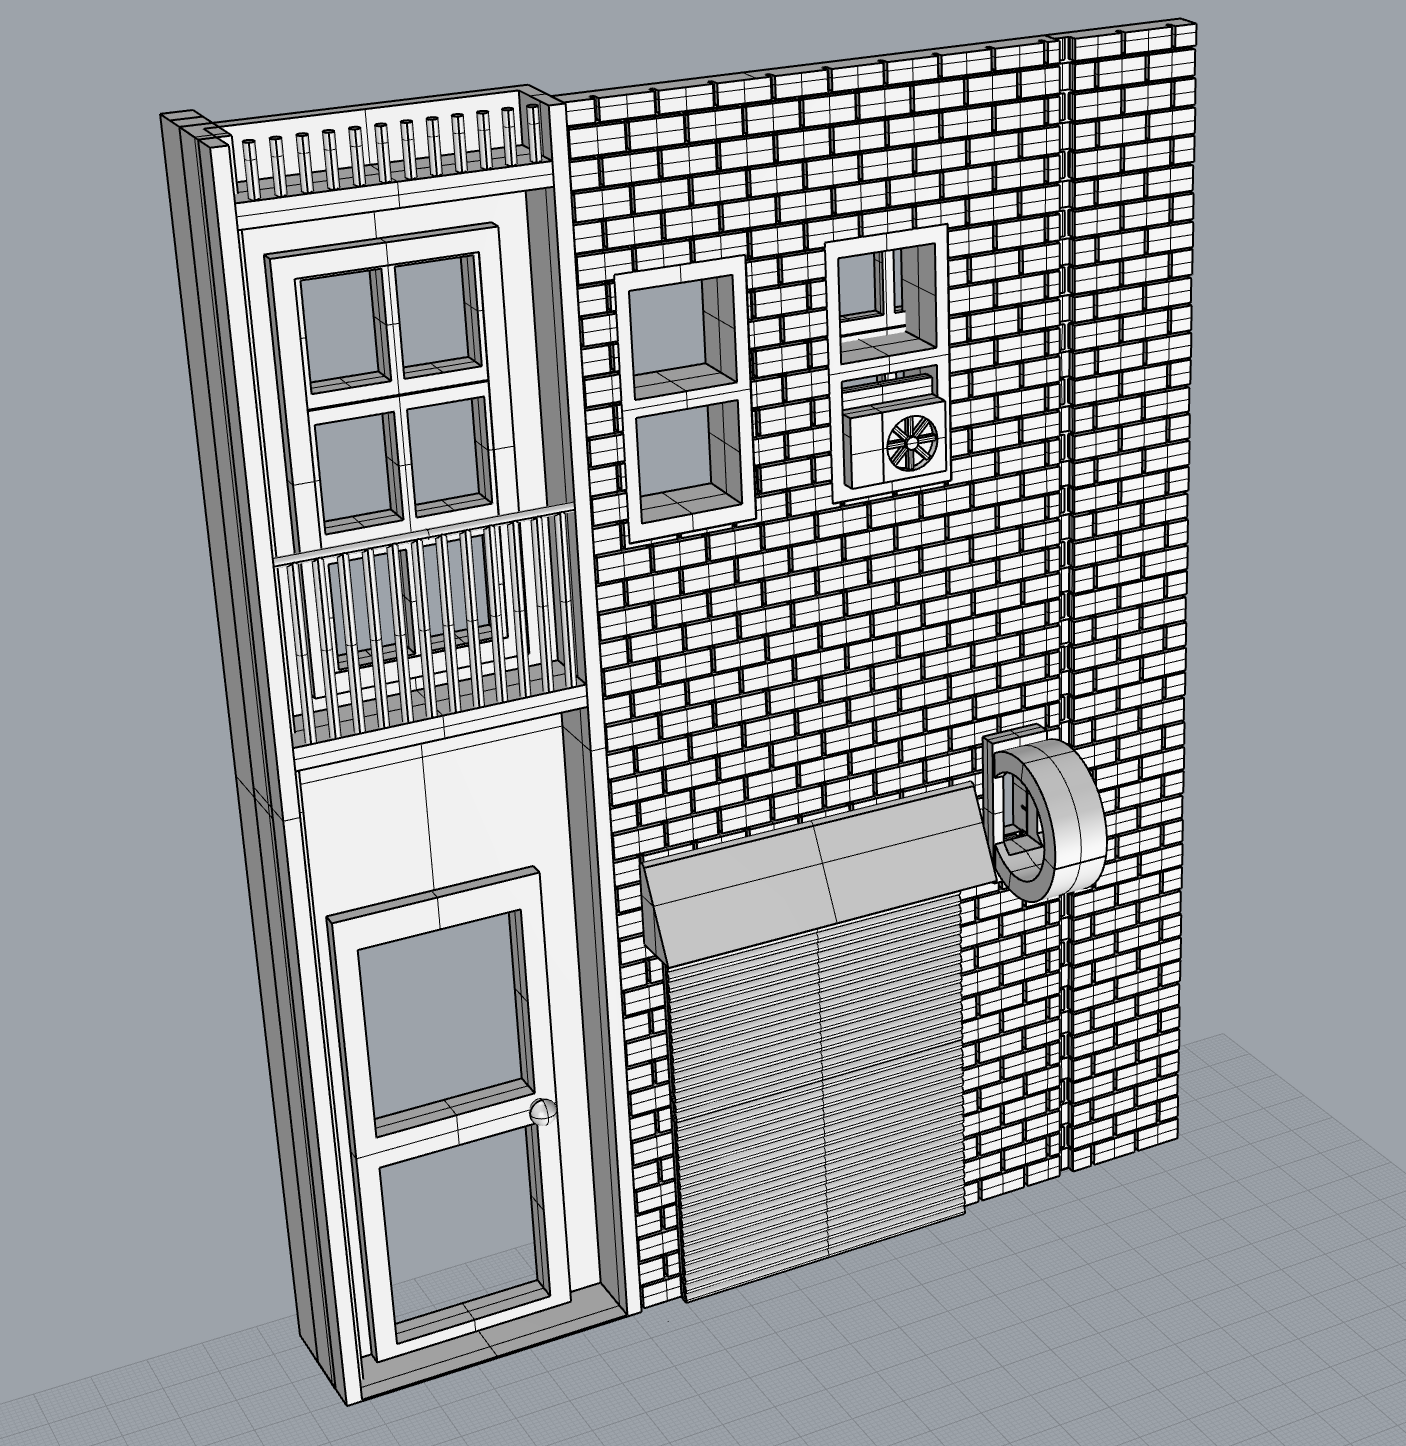
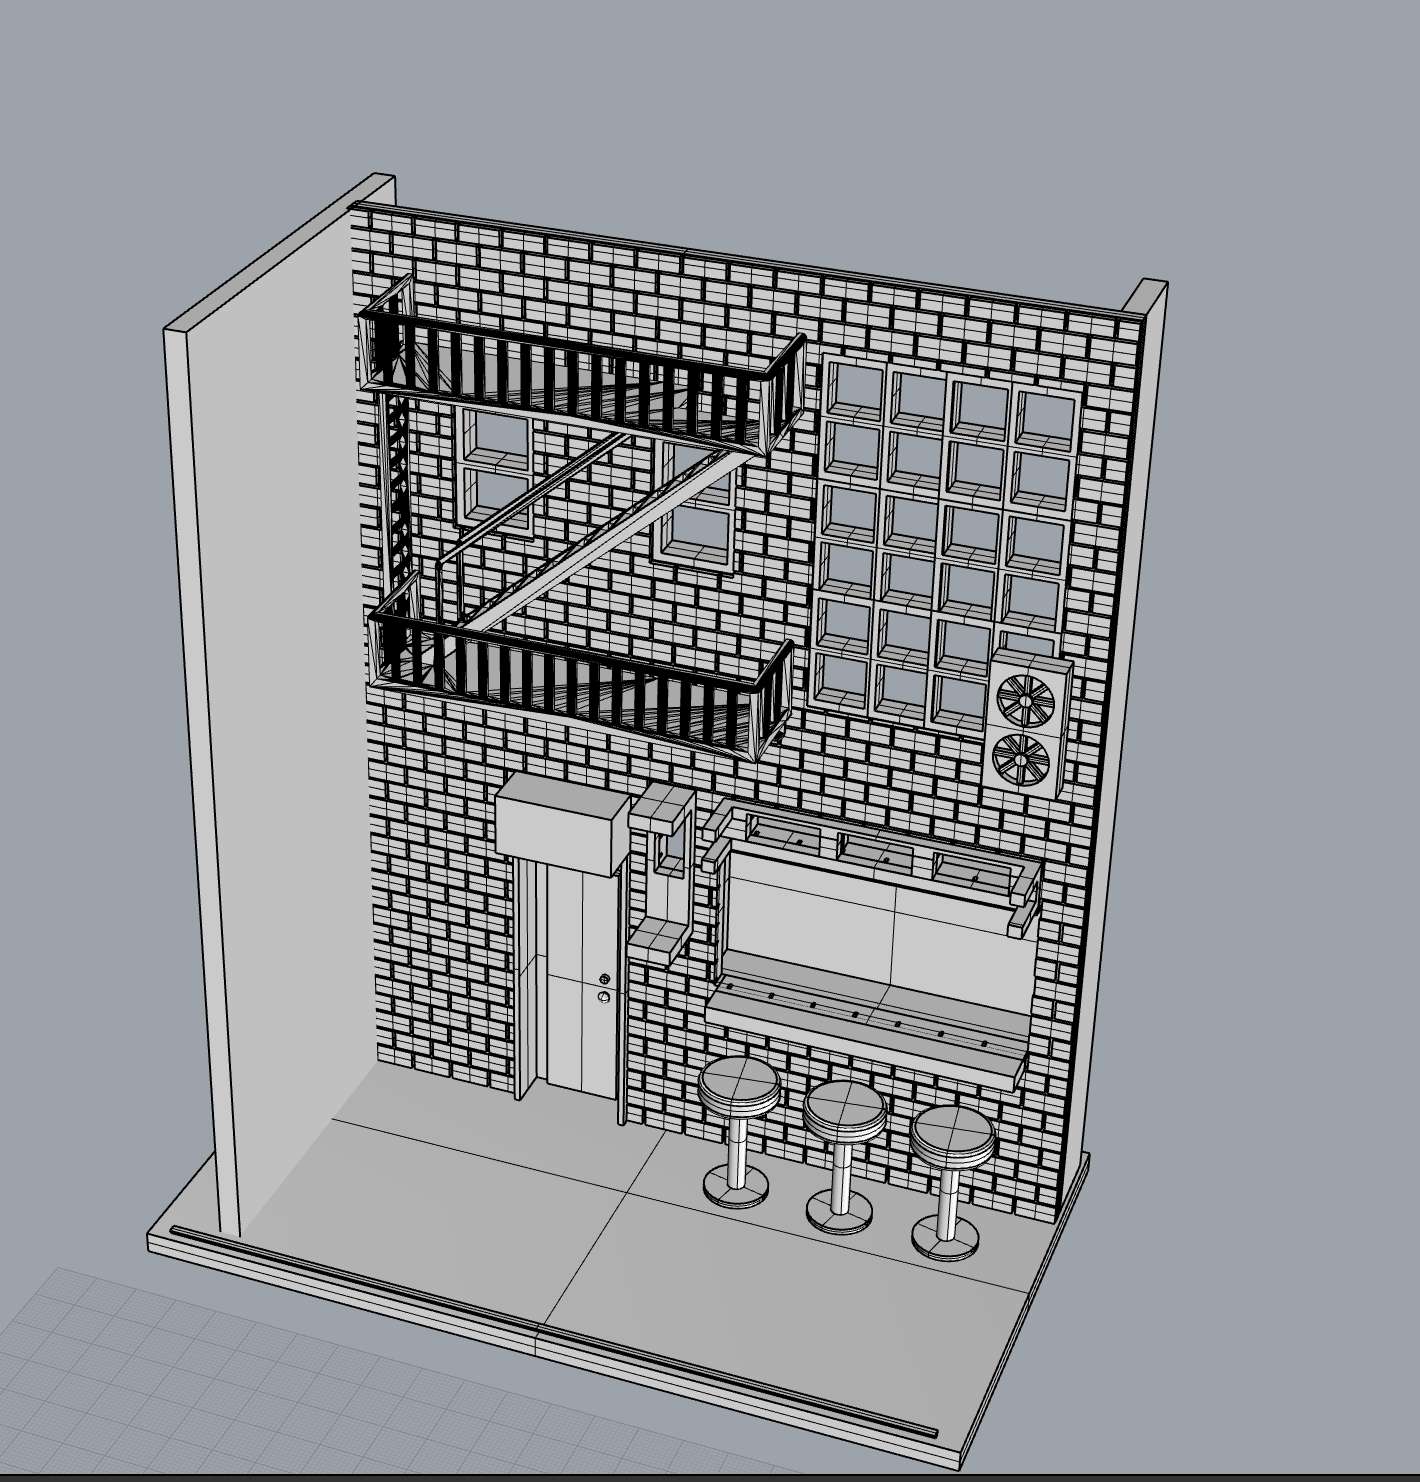
I made a few changes from the original sketch.
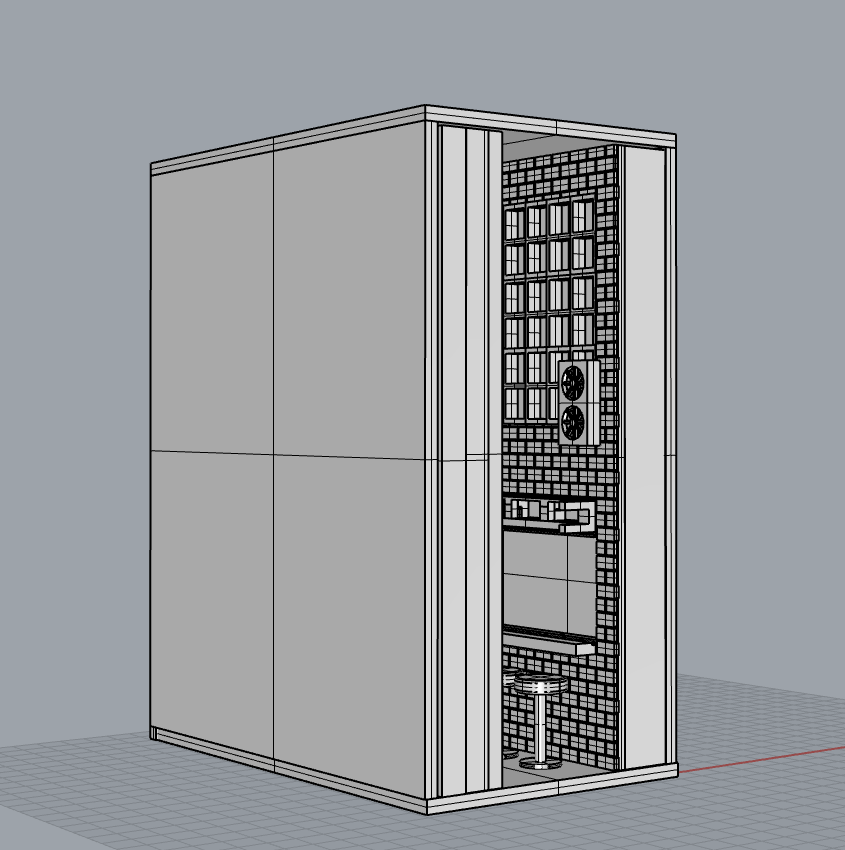
- I had to leave some empty space on the left wall, since I was going to put a tilted mirror in the back to create the illusion of the alleyway continuing in the background. I didn't have room to put the full 2 story balconies with door and window that I was intending, so I replaced it with windows with mini balconies.
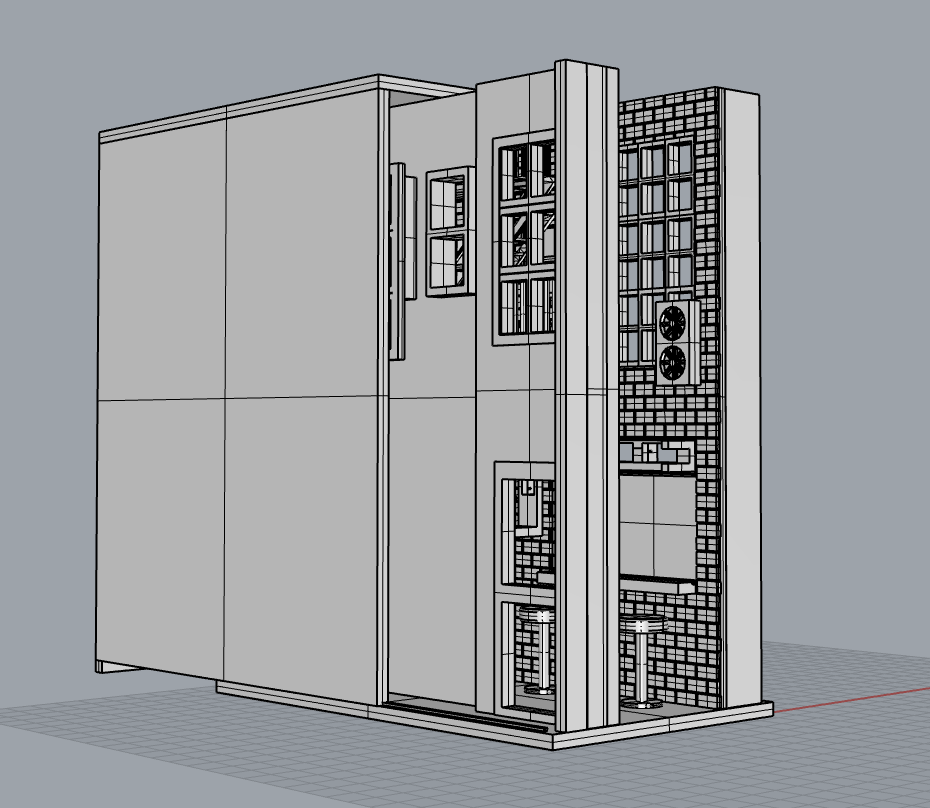
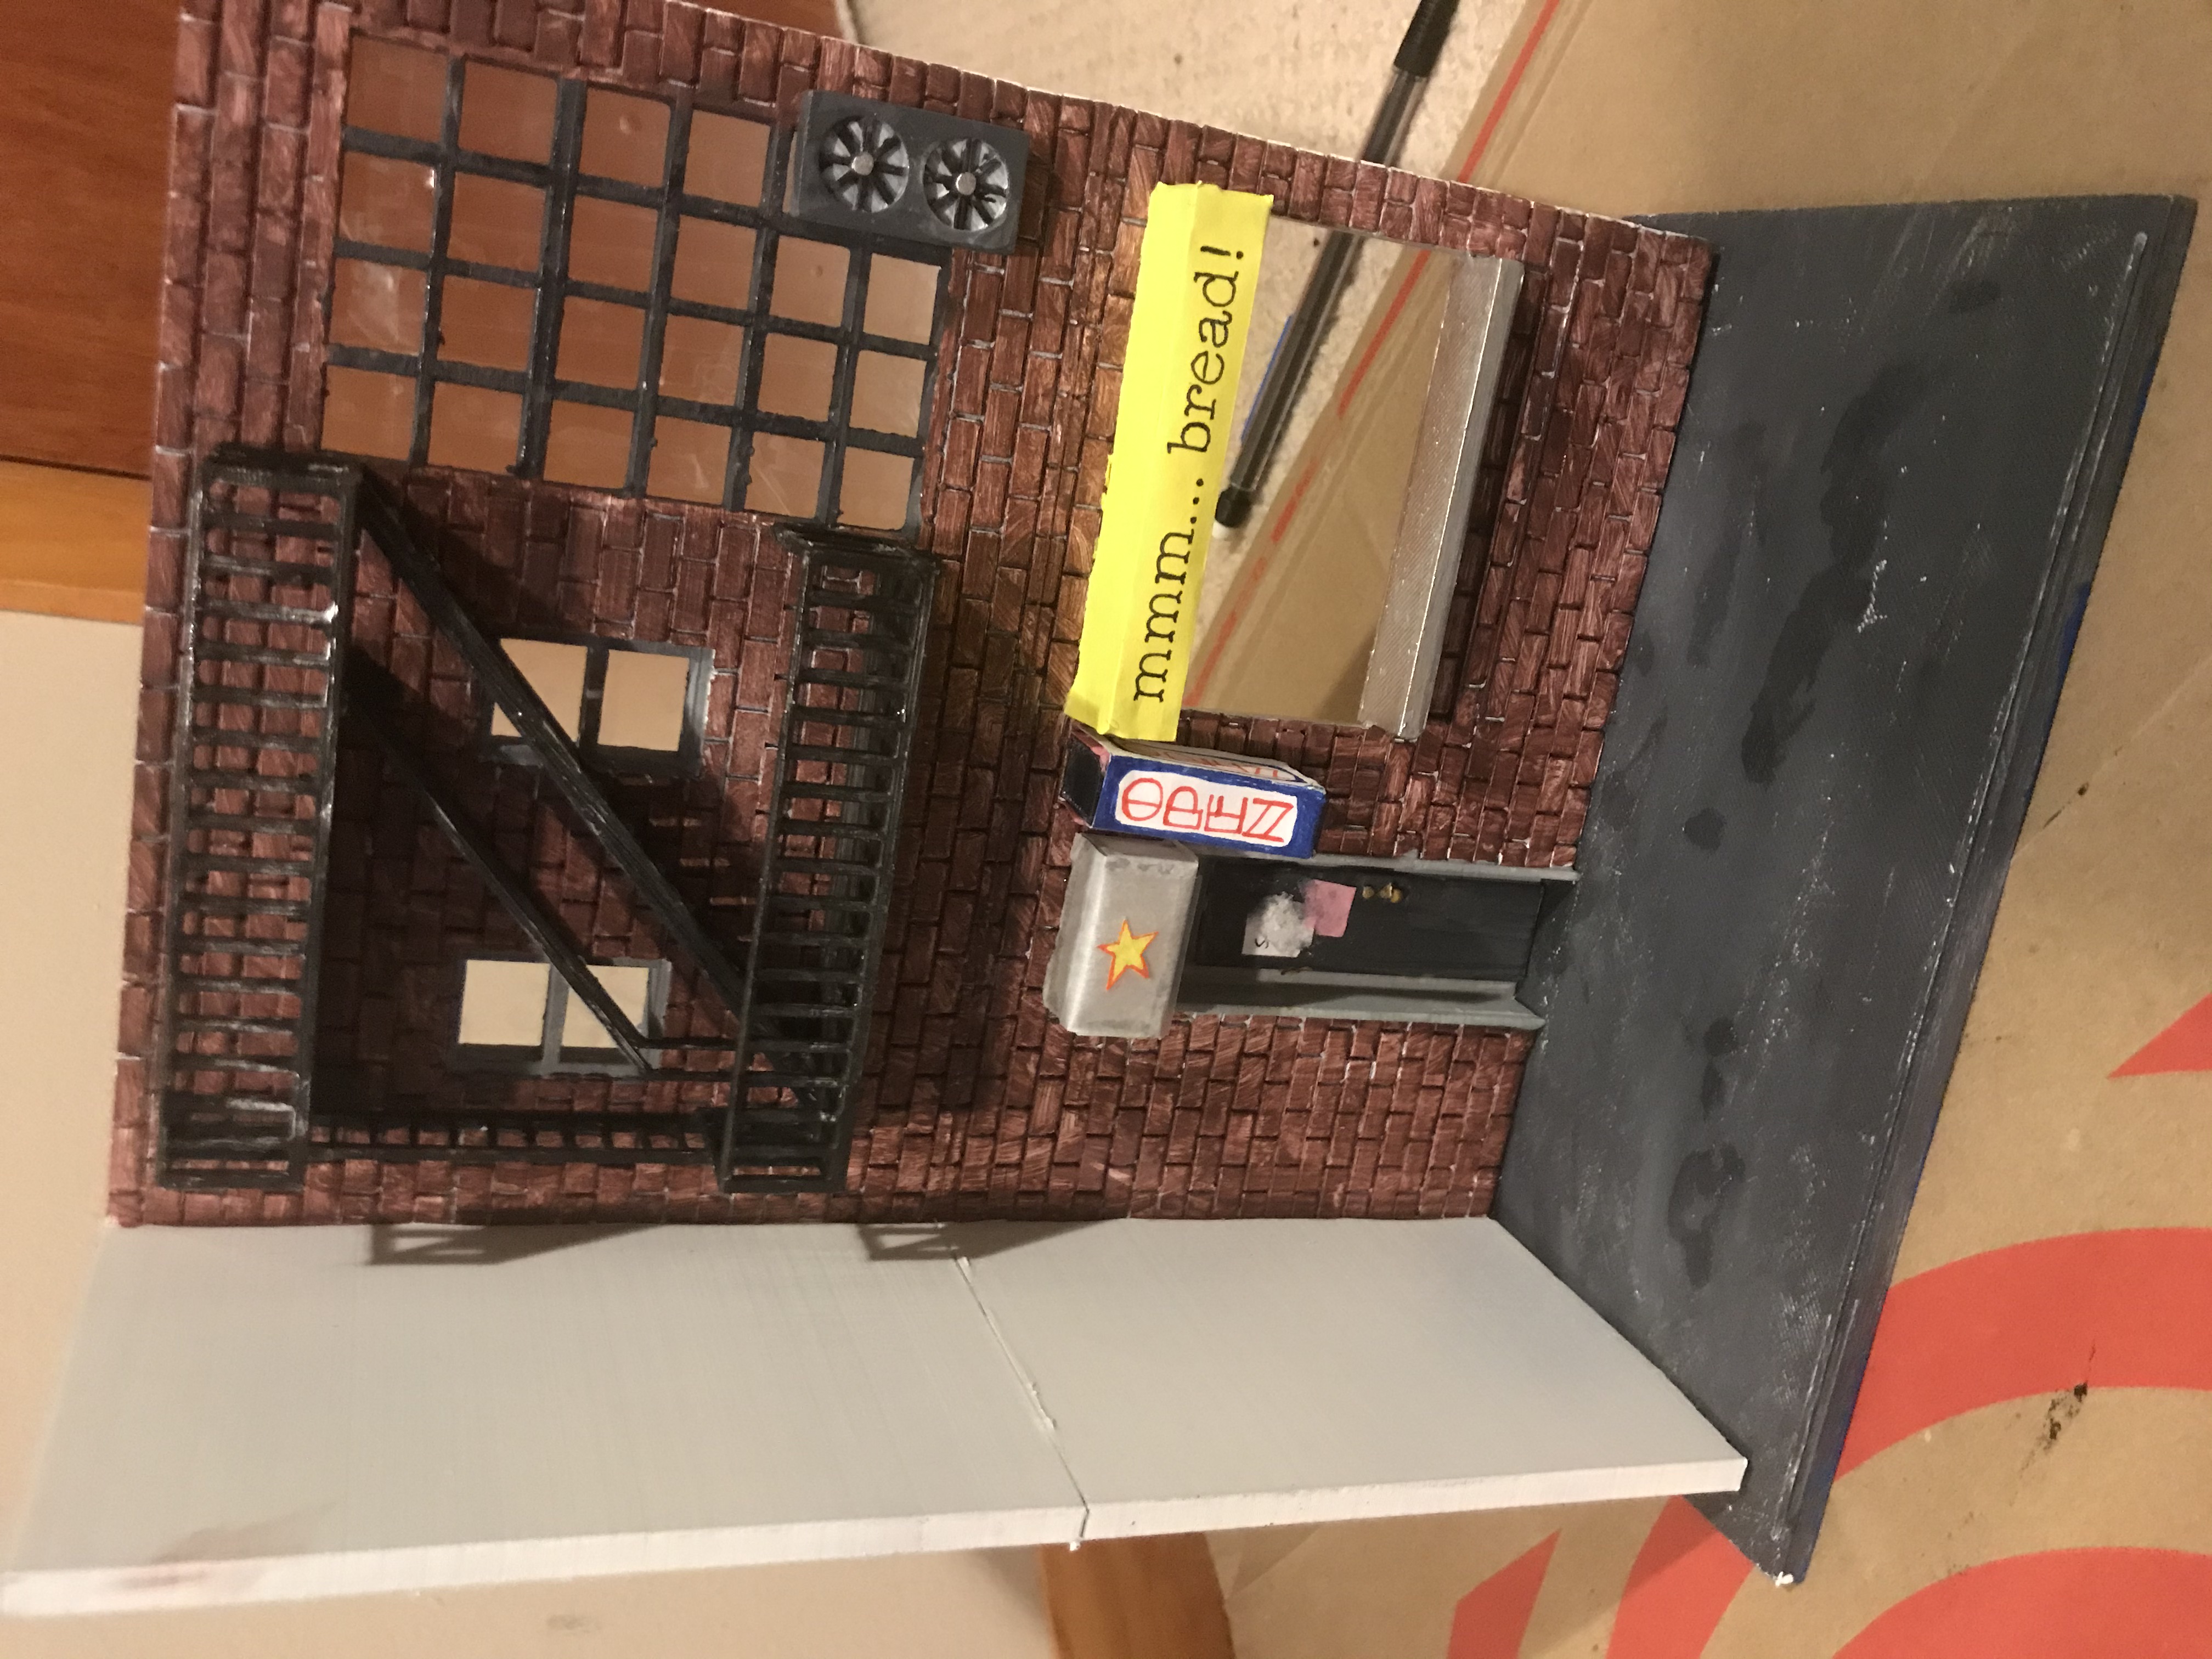
- I originally had a little shuttered street café on the right wall based on this inspiration photo of a tokyo cafe, It was originally shuttered because I was too lazy to design an interior for the café, but my sisters convinced me to unshutter it with the idea of printing out a 2 dimensional image for the interior.
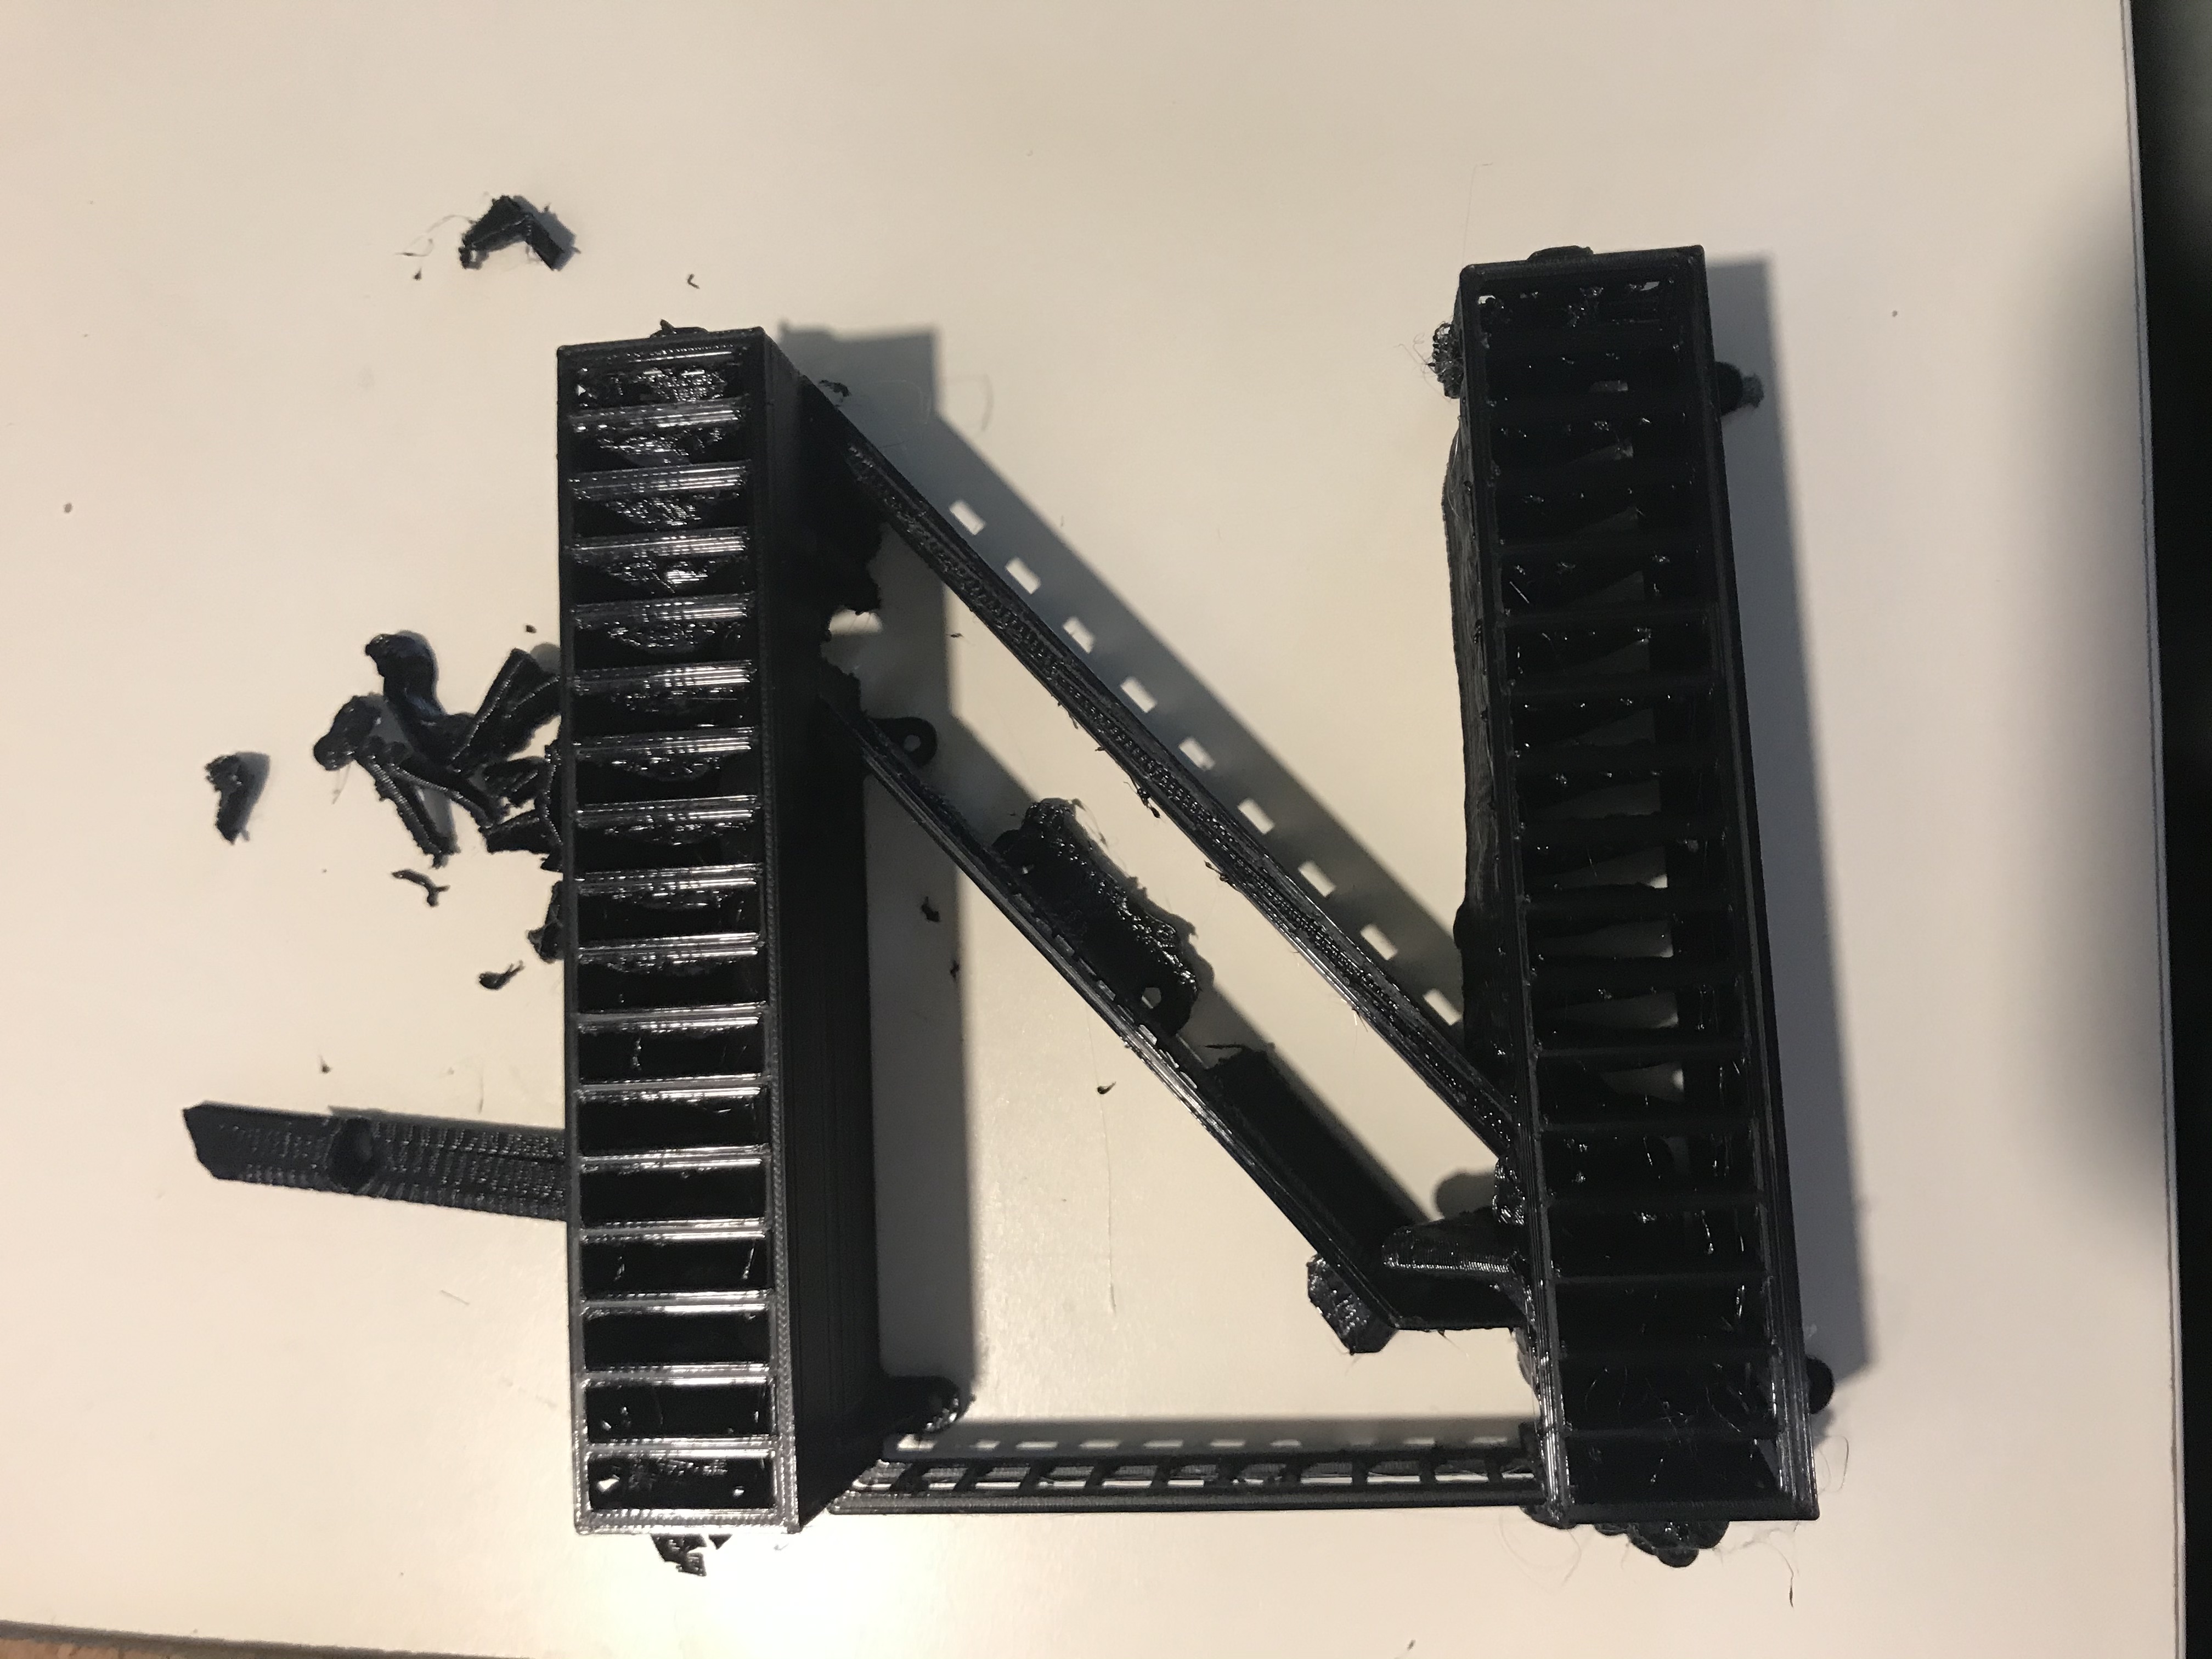
Each part of the interior was designed by me with the exception of the fire escape, which was designed by Robin Berndt and is available on Thingiverse
Printing
Now for printing! I'm glad I ironed out major wrinkles during the prototyping phase, because the printing part went pretty smoothly.
I separately printed interior pieces like signs, stools, fans, awning, and fire escape. For the interior walls and exterior cover I split them in half horizontally to mitigate the risk and time wasted if the print failed. In retrospect, I wish I had printed the exterior cover in one piece because I was not able to completely hide the seam line after joining the pieces. The interior walls glued together much more nicely since the brick walls hid the seam lines pretty well.
I was able to print most of the smaller interior pieces in the space of a day. The larger wall and exterior pieces took about one day each, with prints running from 7 to 14 hours each.
Painting
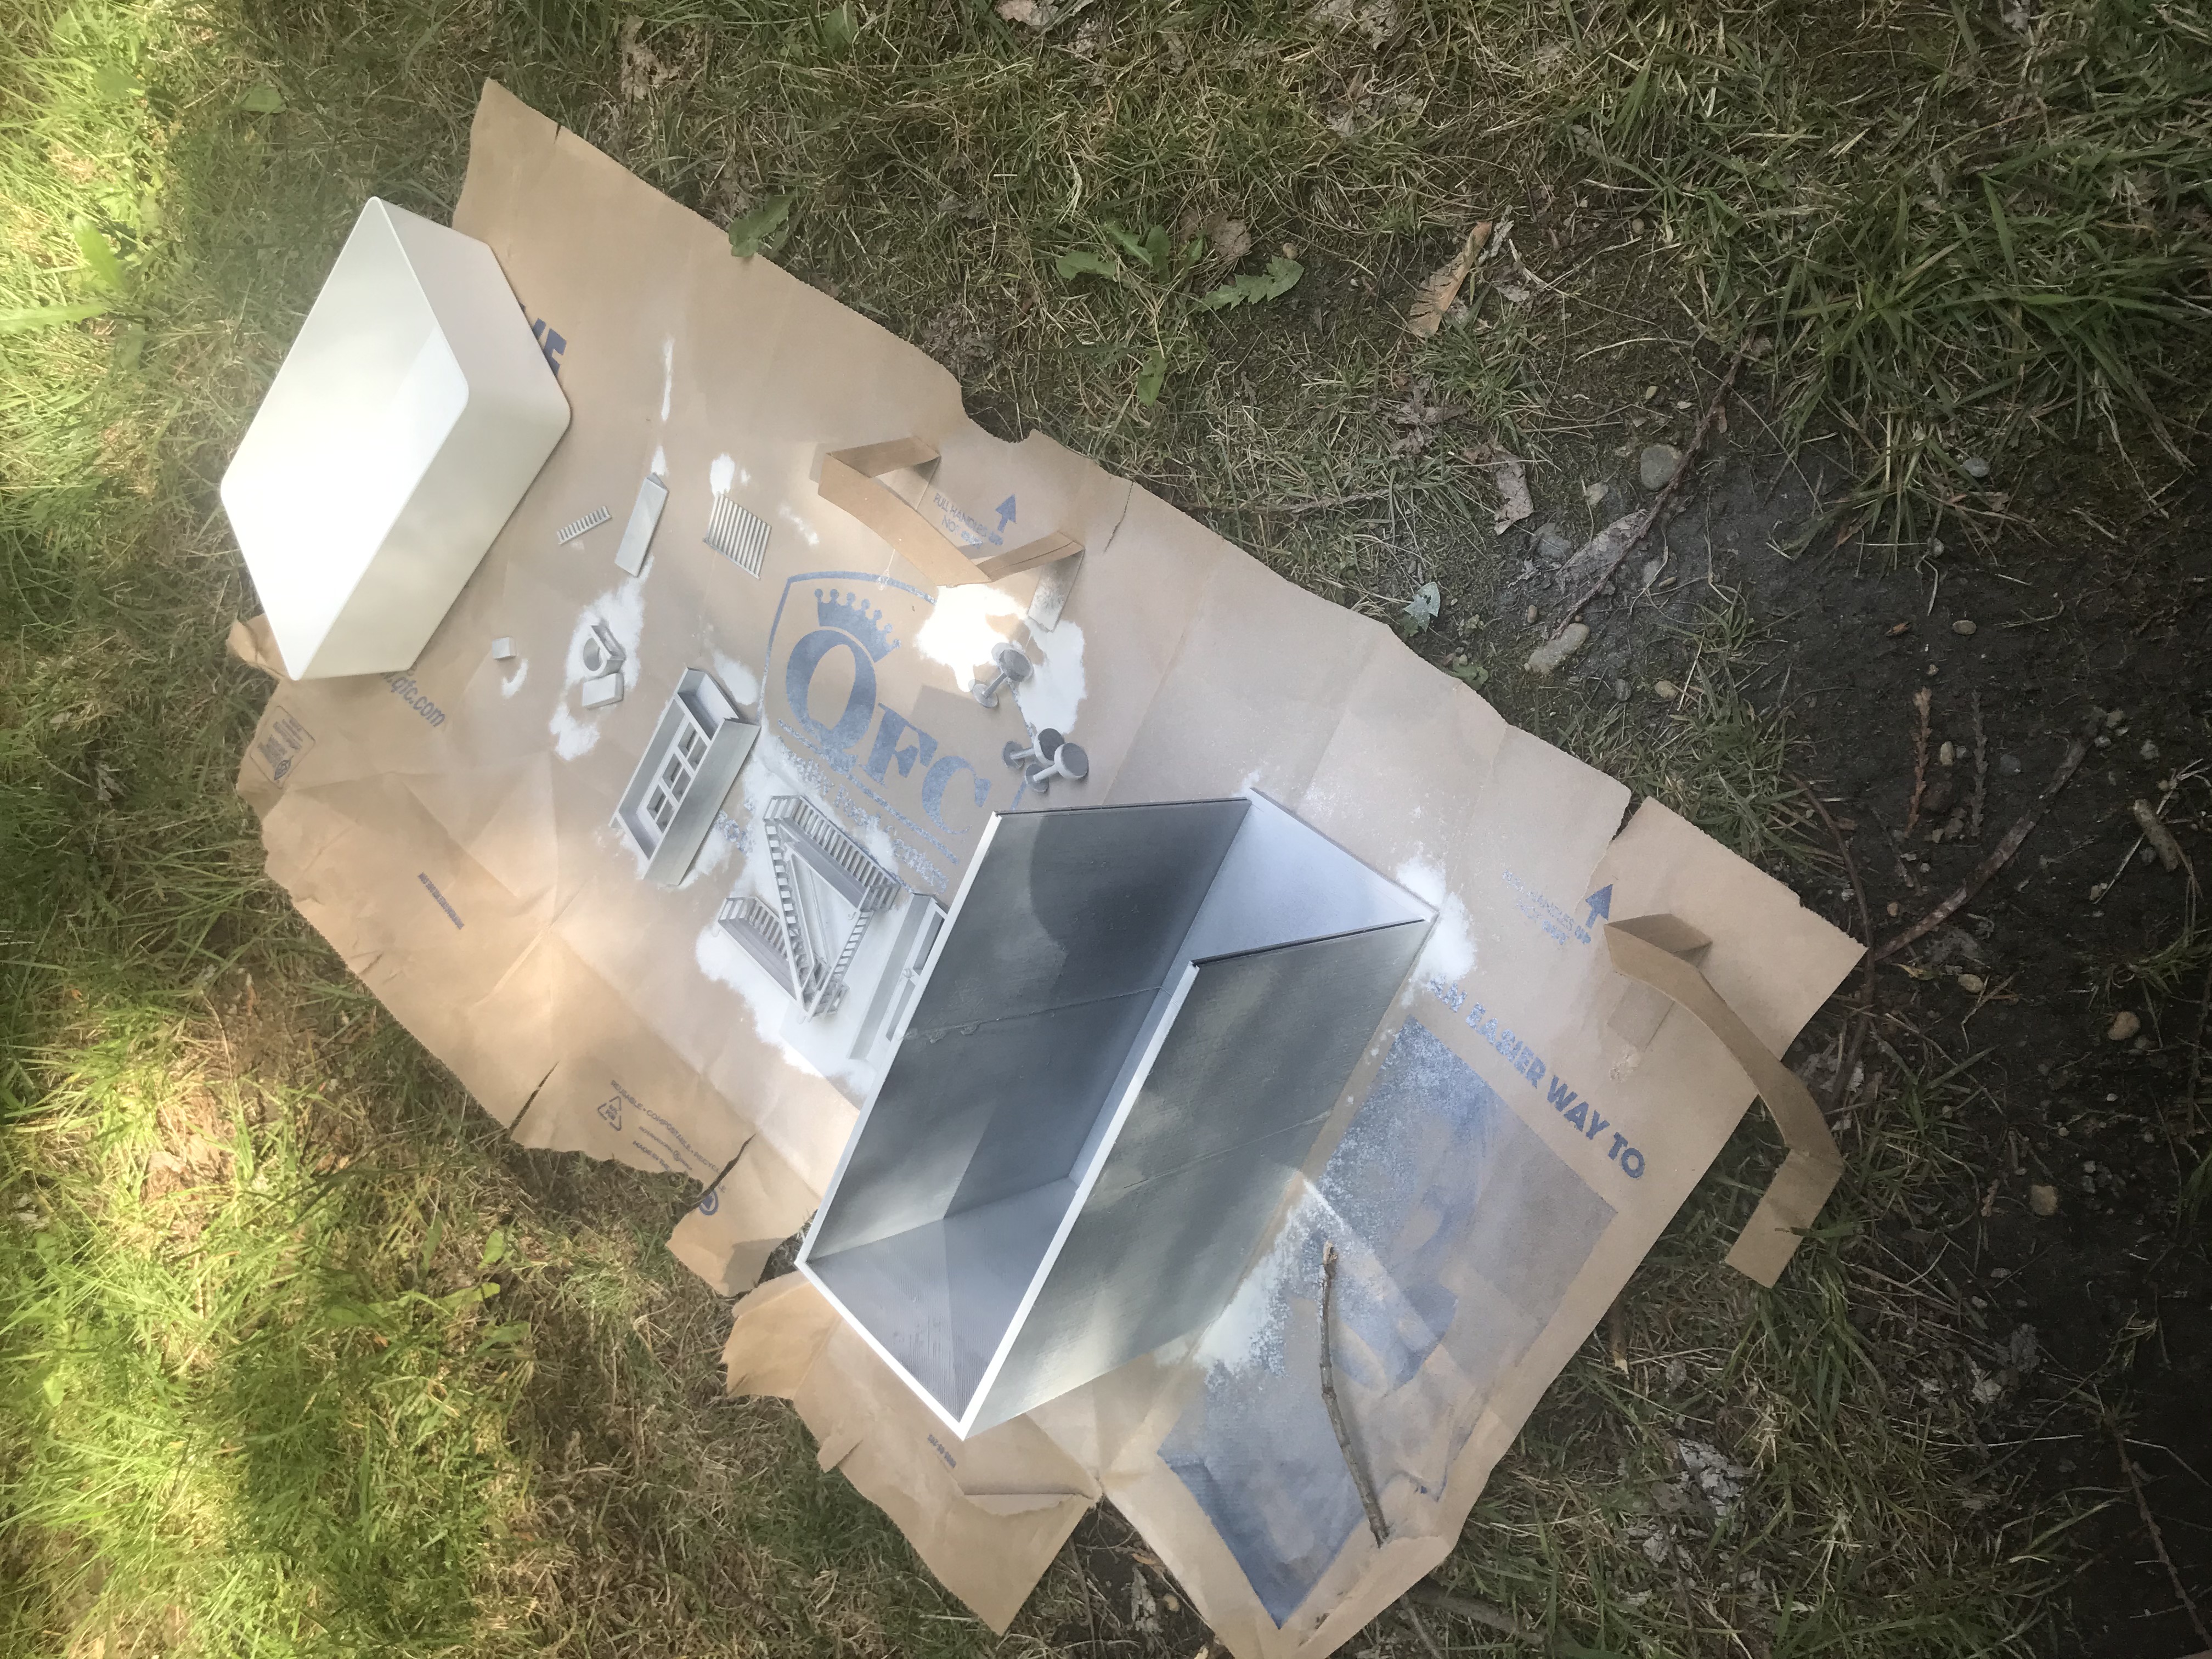
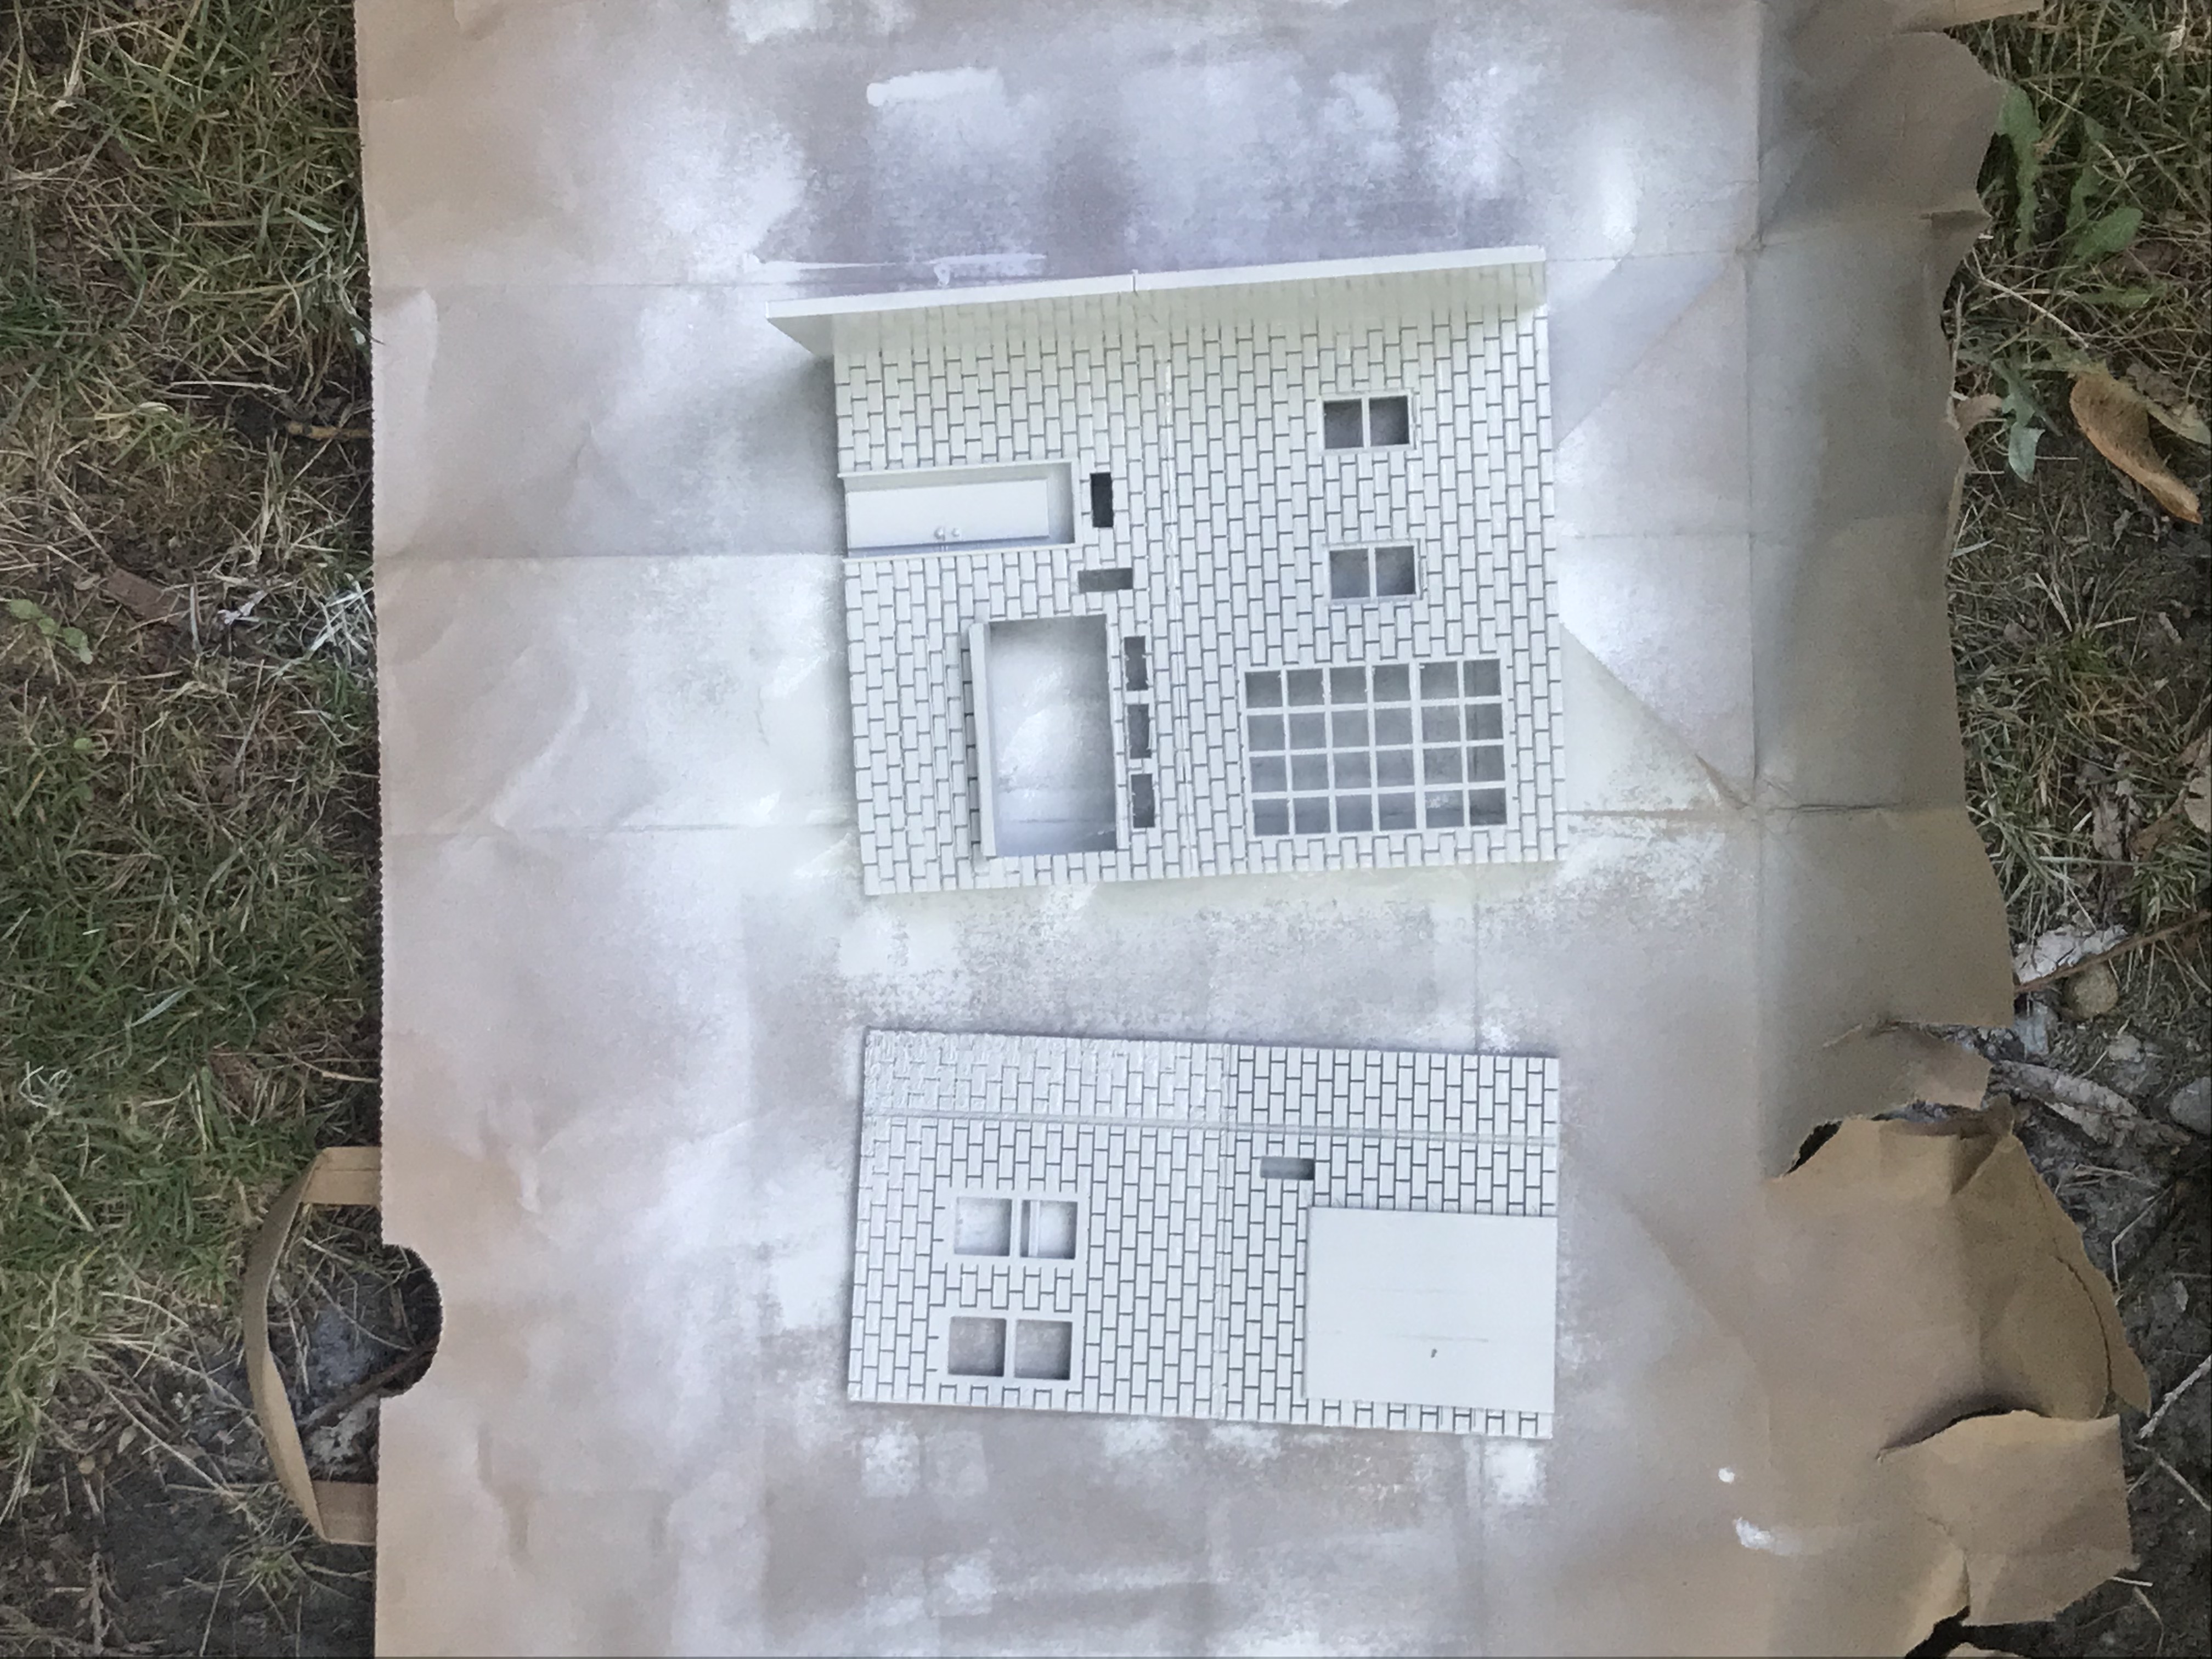
I sanded and primed pieces as they finished painting, and I started painting some of the smaller pieces as I was waiting for the big prints to finish.
Painting was probably the biggest difficulty during the process due to a number of factors including:
- Shaky hands — bad for small detail work
- I'm impatient – also bad for small detail work
- Paint accessibility — turns out other people want to paint stuff during quarantine too. Local stores were completely out of stock and paints online were on back order or marked up over 500%. I ended up doing some creative color mixing with paint I have leftover from previous projects and biting the bullet to order gold & silver metallic paint.
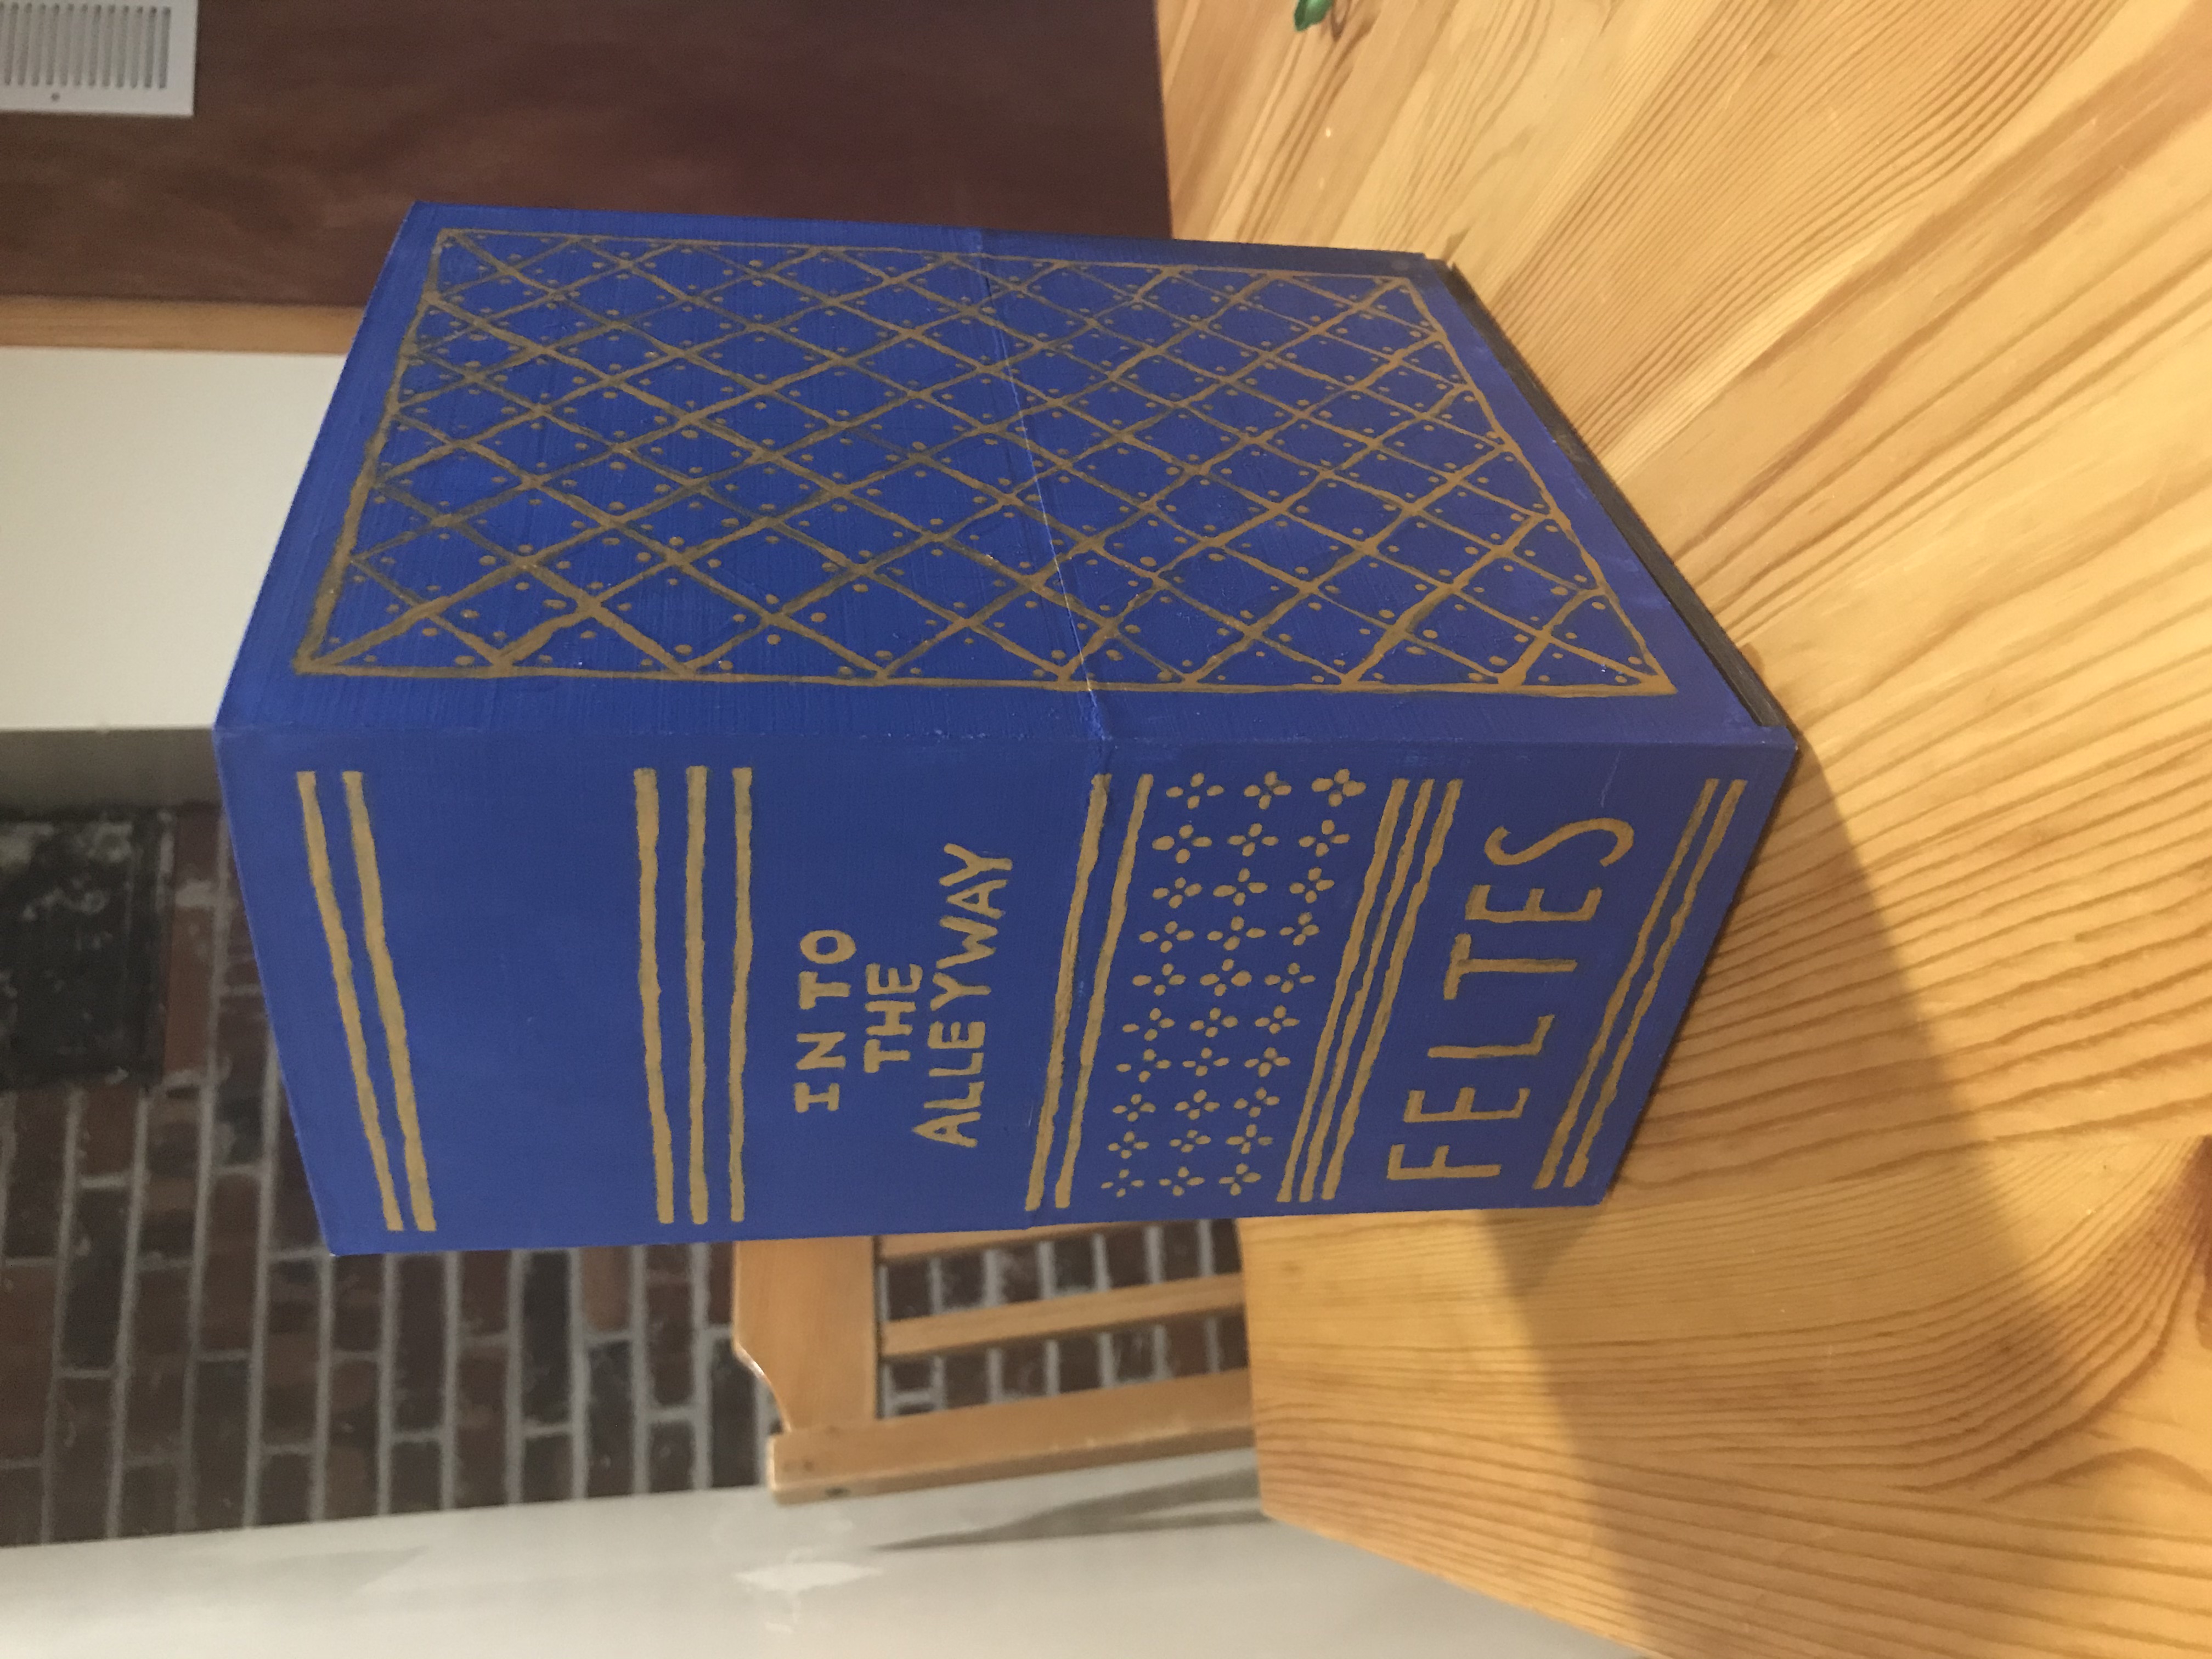
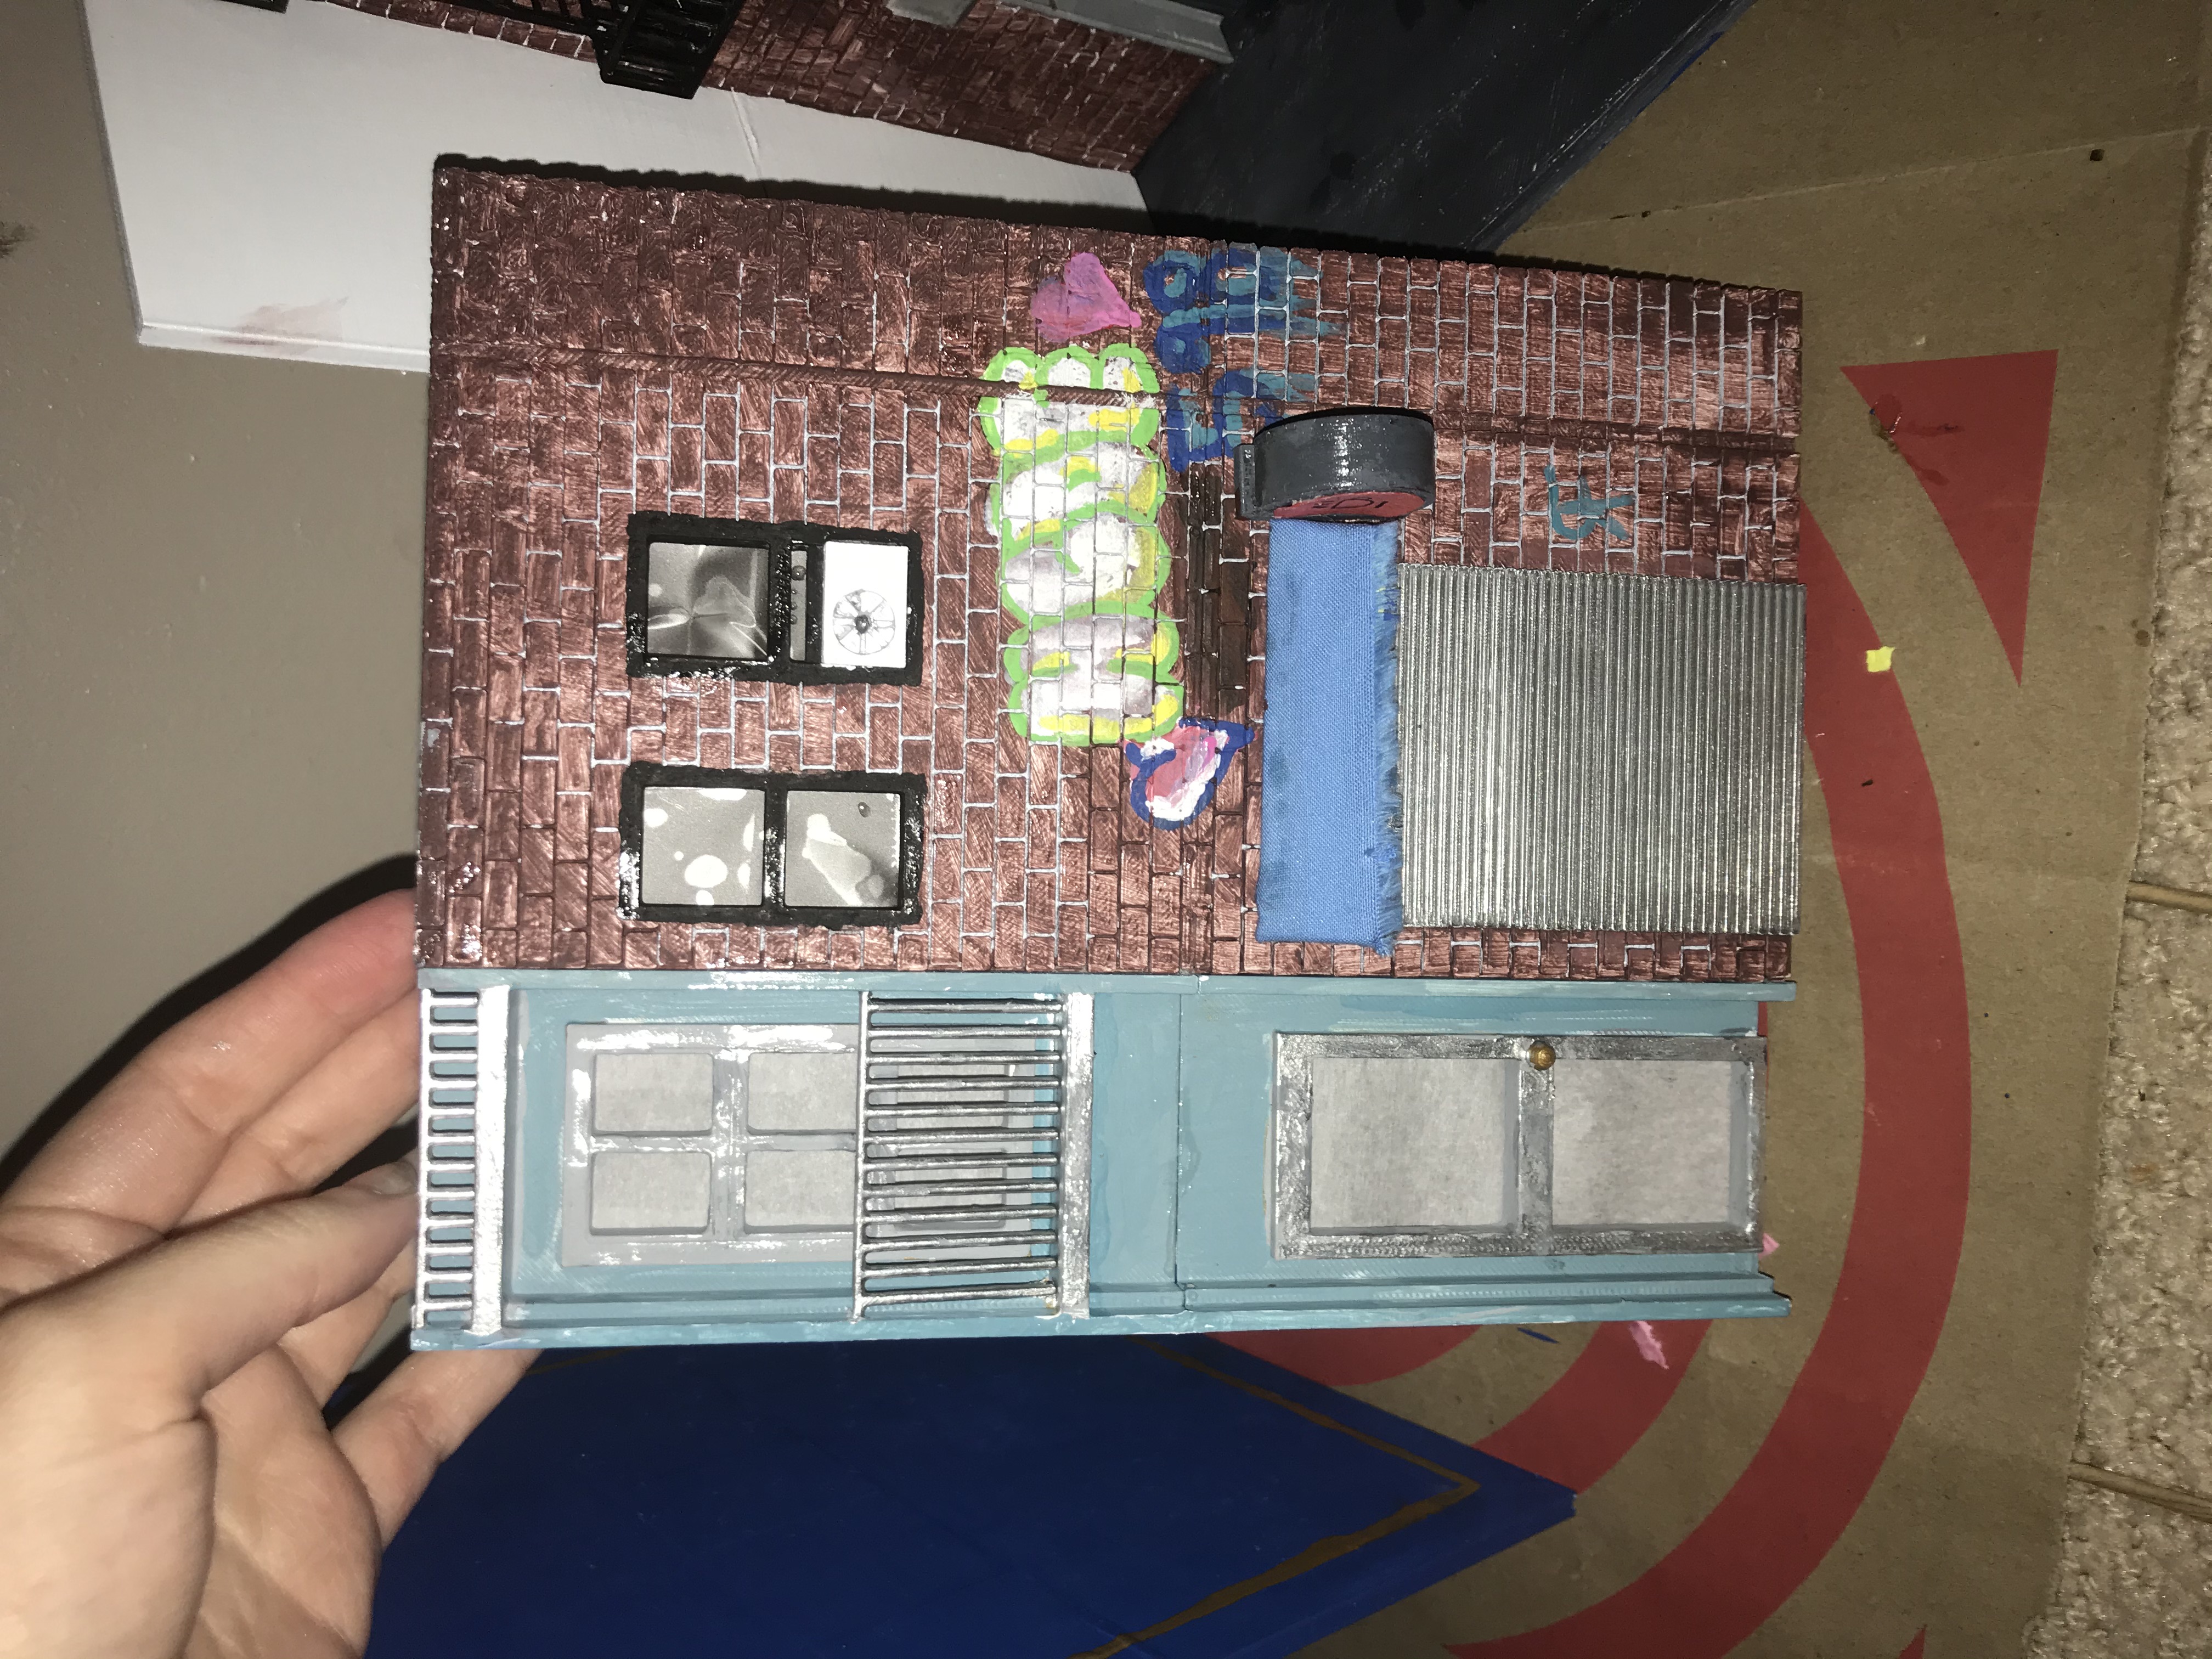
The exterior cover finished printing first so I painted it first. I designed it to look like a gold embossed book cover using blue and metallic paint.

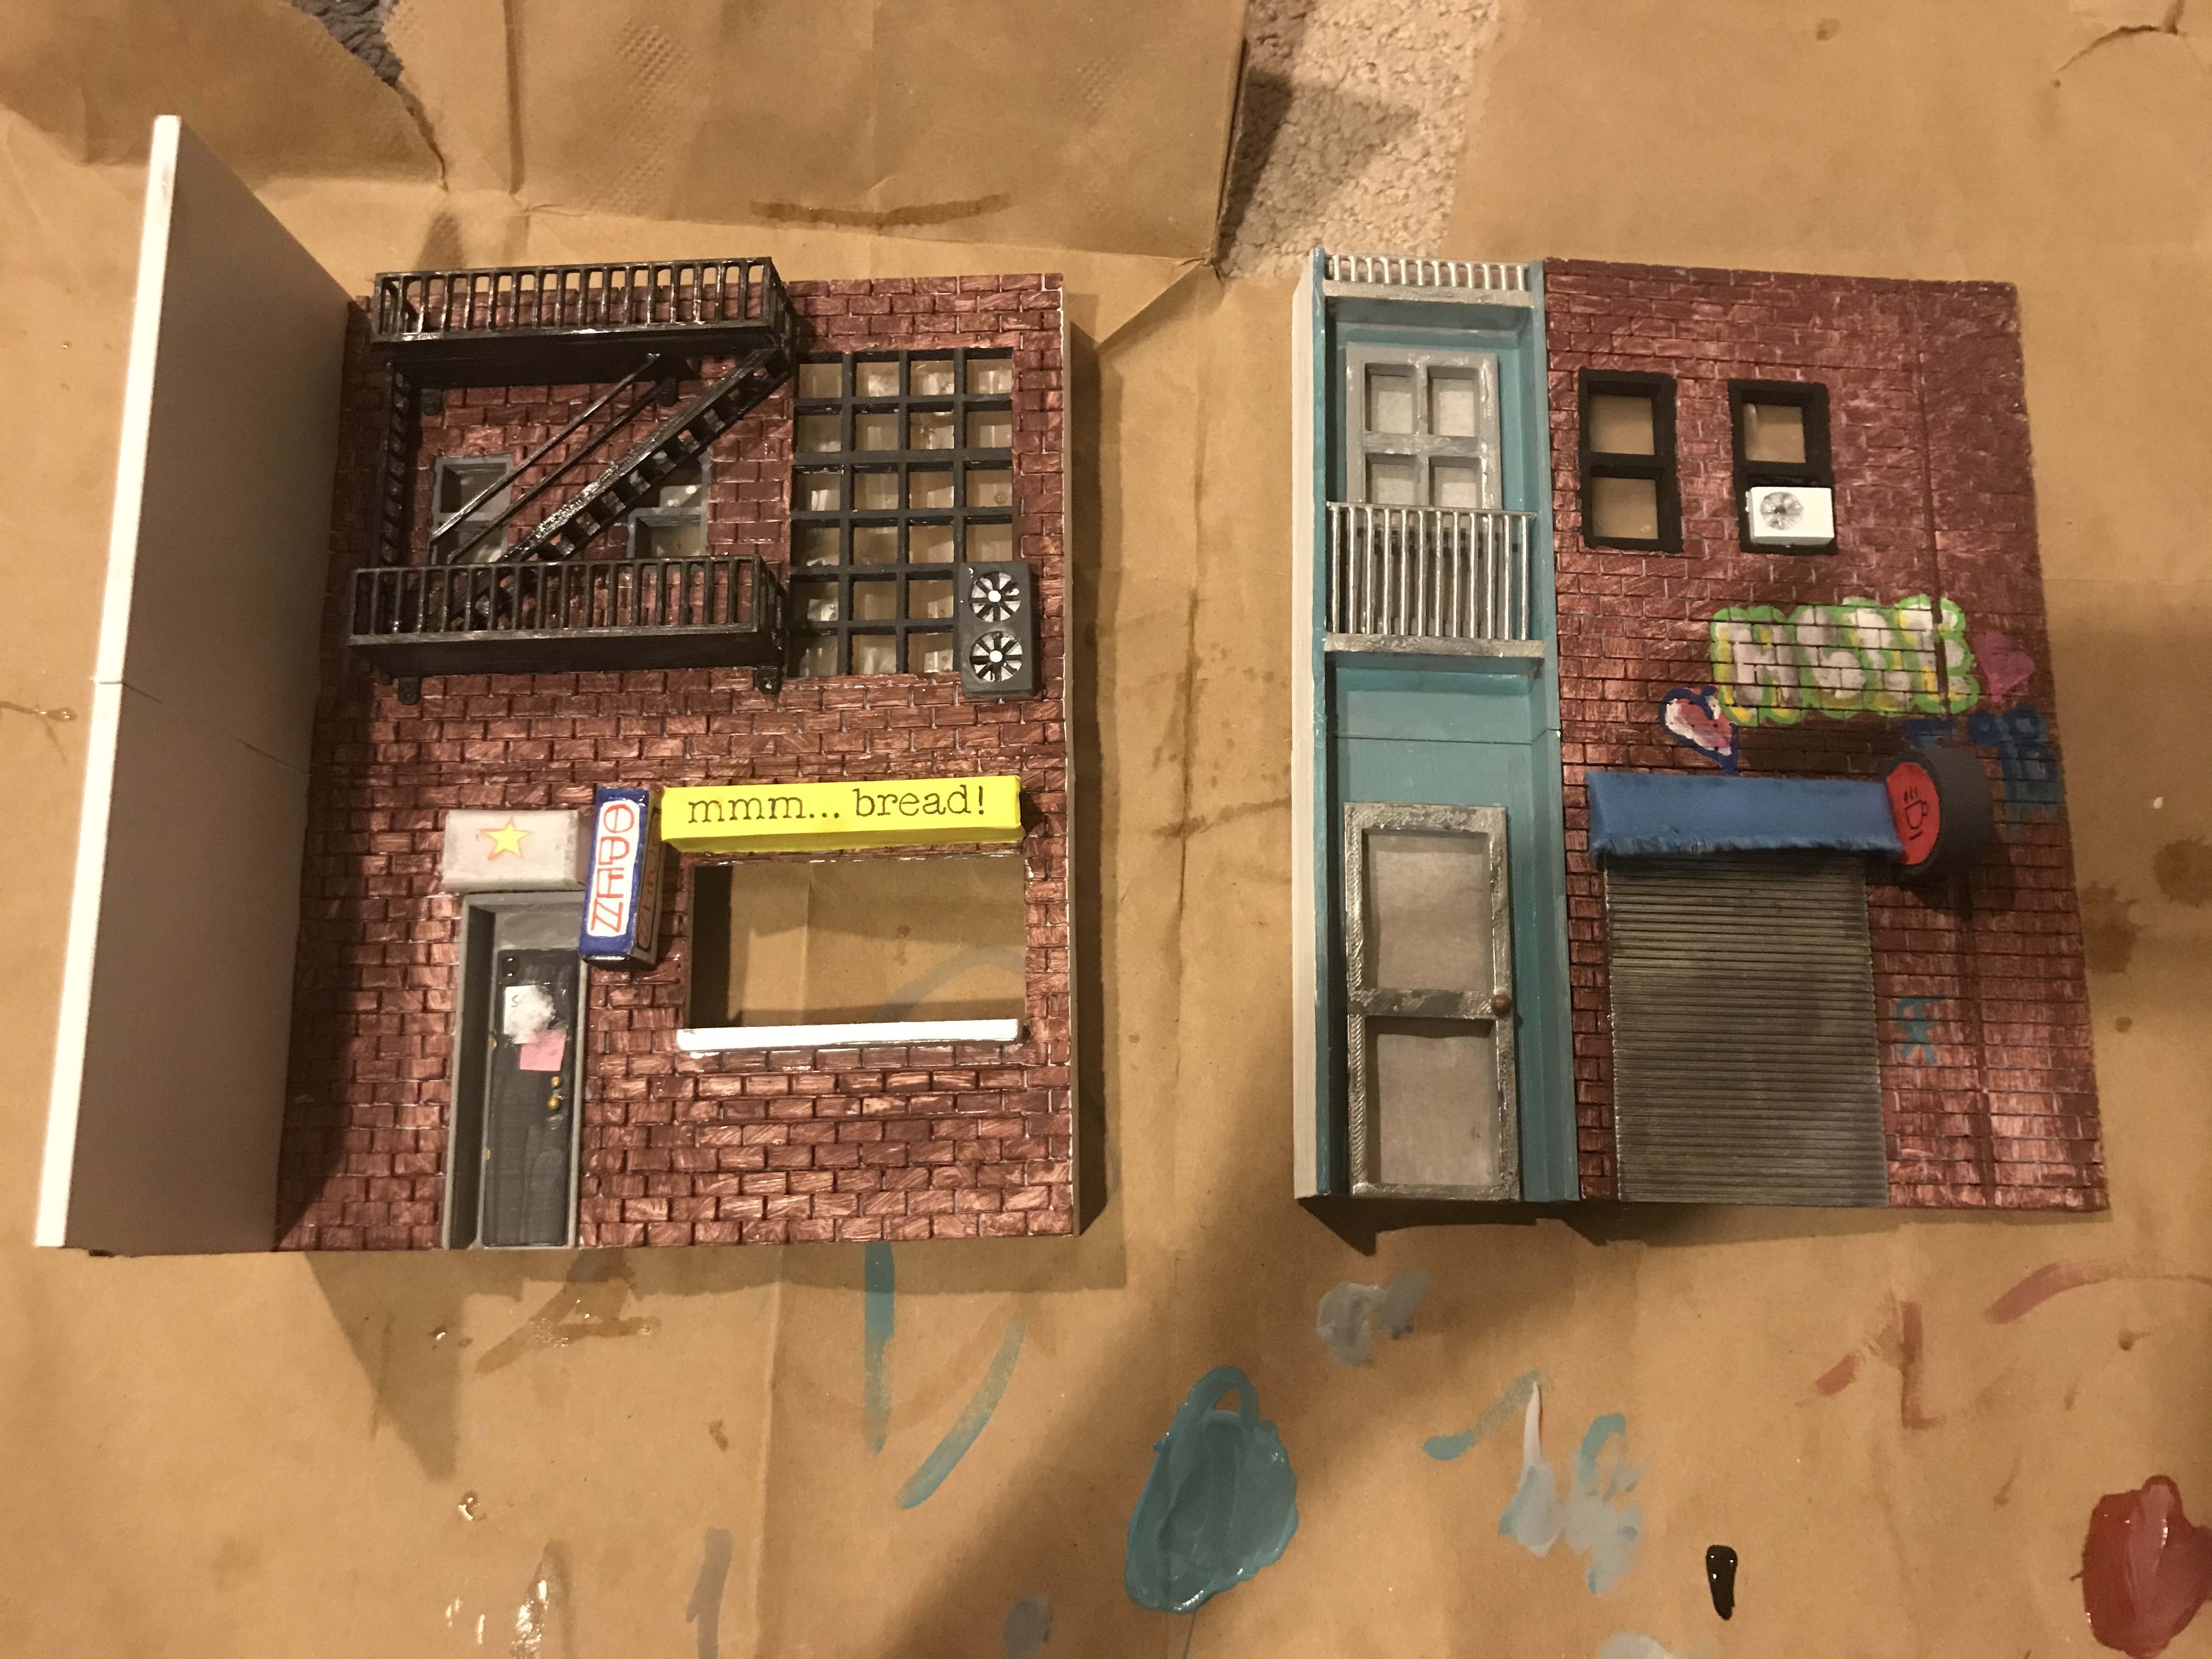
I'm the most proud of how the brick turned out, I think it looks the most realistic out of everything I painted. I even tried to add some HCDE-themed graffiti to moderate success.
Construction
From here, I started putting together pieces and adding finishing touches.
- Colored and glued on the paper for the signs
- Added fabric to the awning
- Pasted and ripped off some paper on one of the doors to look like ripped off flyers
- Added tape and parchment papers to the windows for glass
- Glued all the loose pieces to the walls
- Painted clear nail polish in patches over the model so it looks like it recently rained and there are puddles when the light reflects off it
To construct the signs I made a design in Illustrator, taped a piece of paper to my computer screen, and traced on the sign. Ideally I would have printed out the signs rather than hand drawing them, but at the time I don't have access to a 2D printer.
Now the scariest part… gluing the walls down. This part was scary for me since it meant all of the interior pieces would be harder to access if I wanted to make small adjustments. But at this point I was pretty happy with my paint job so I went for it.
I also drew lines along the front-facing support walls to make it look like book pages.

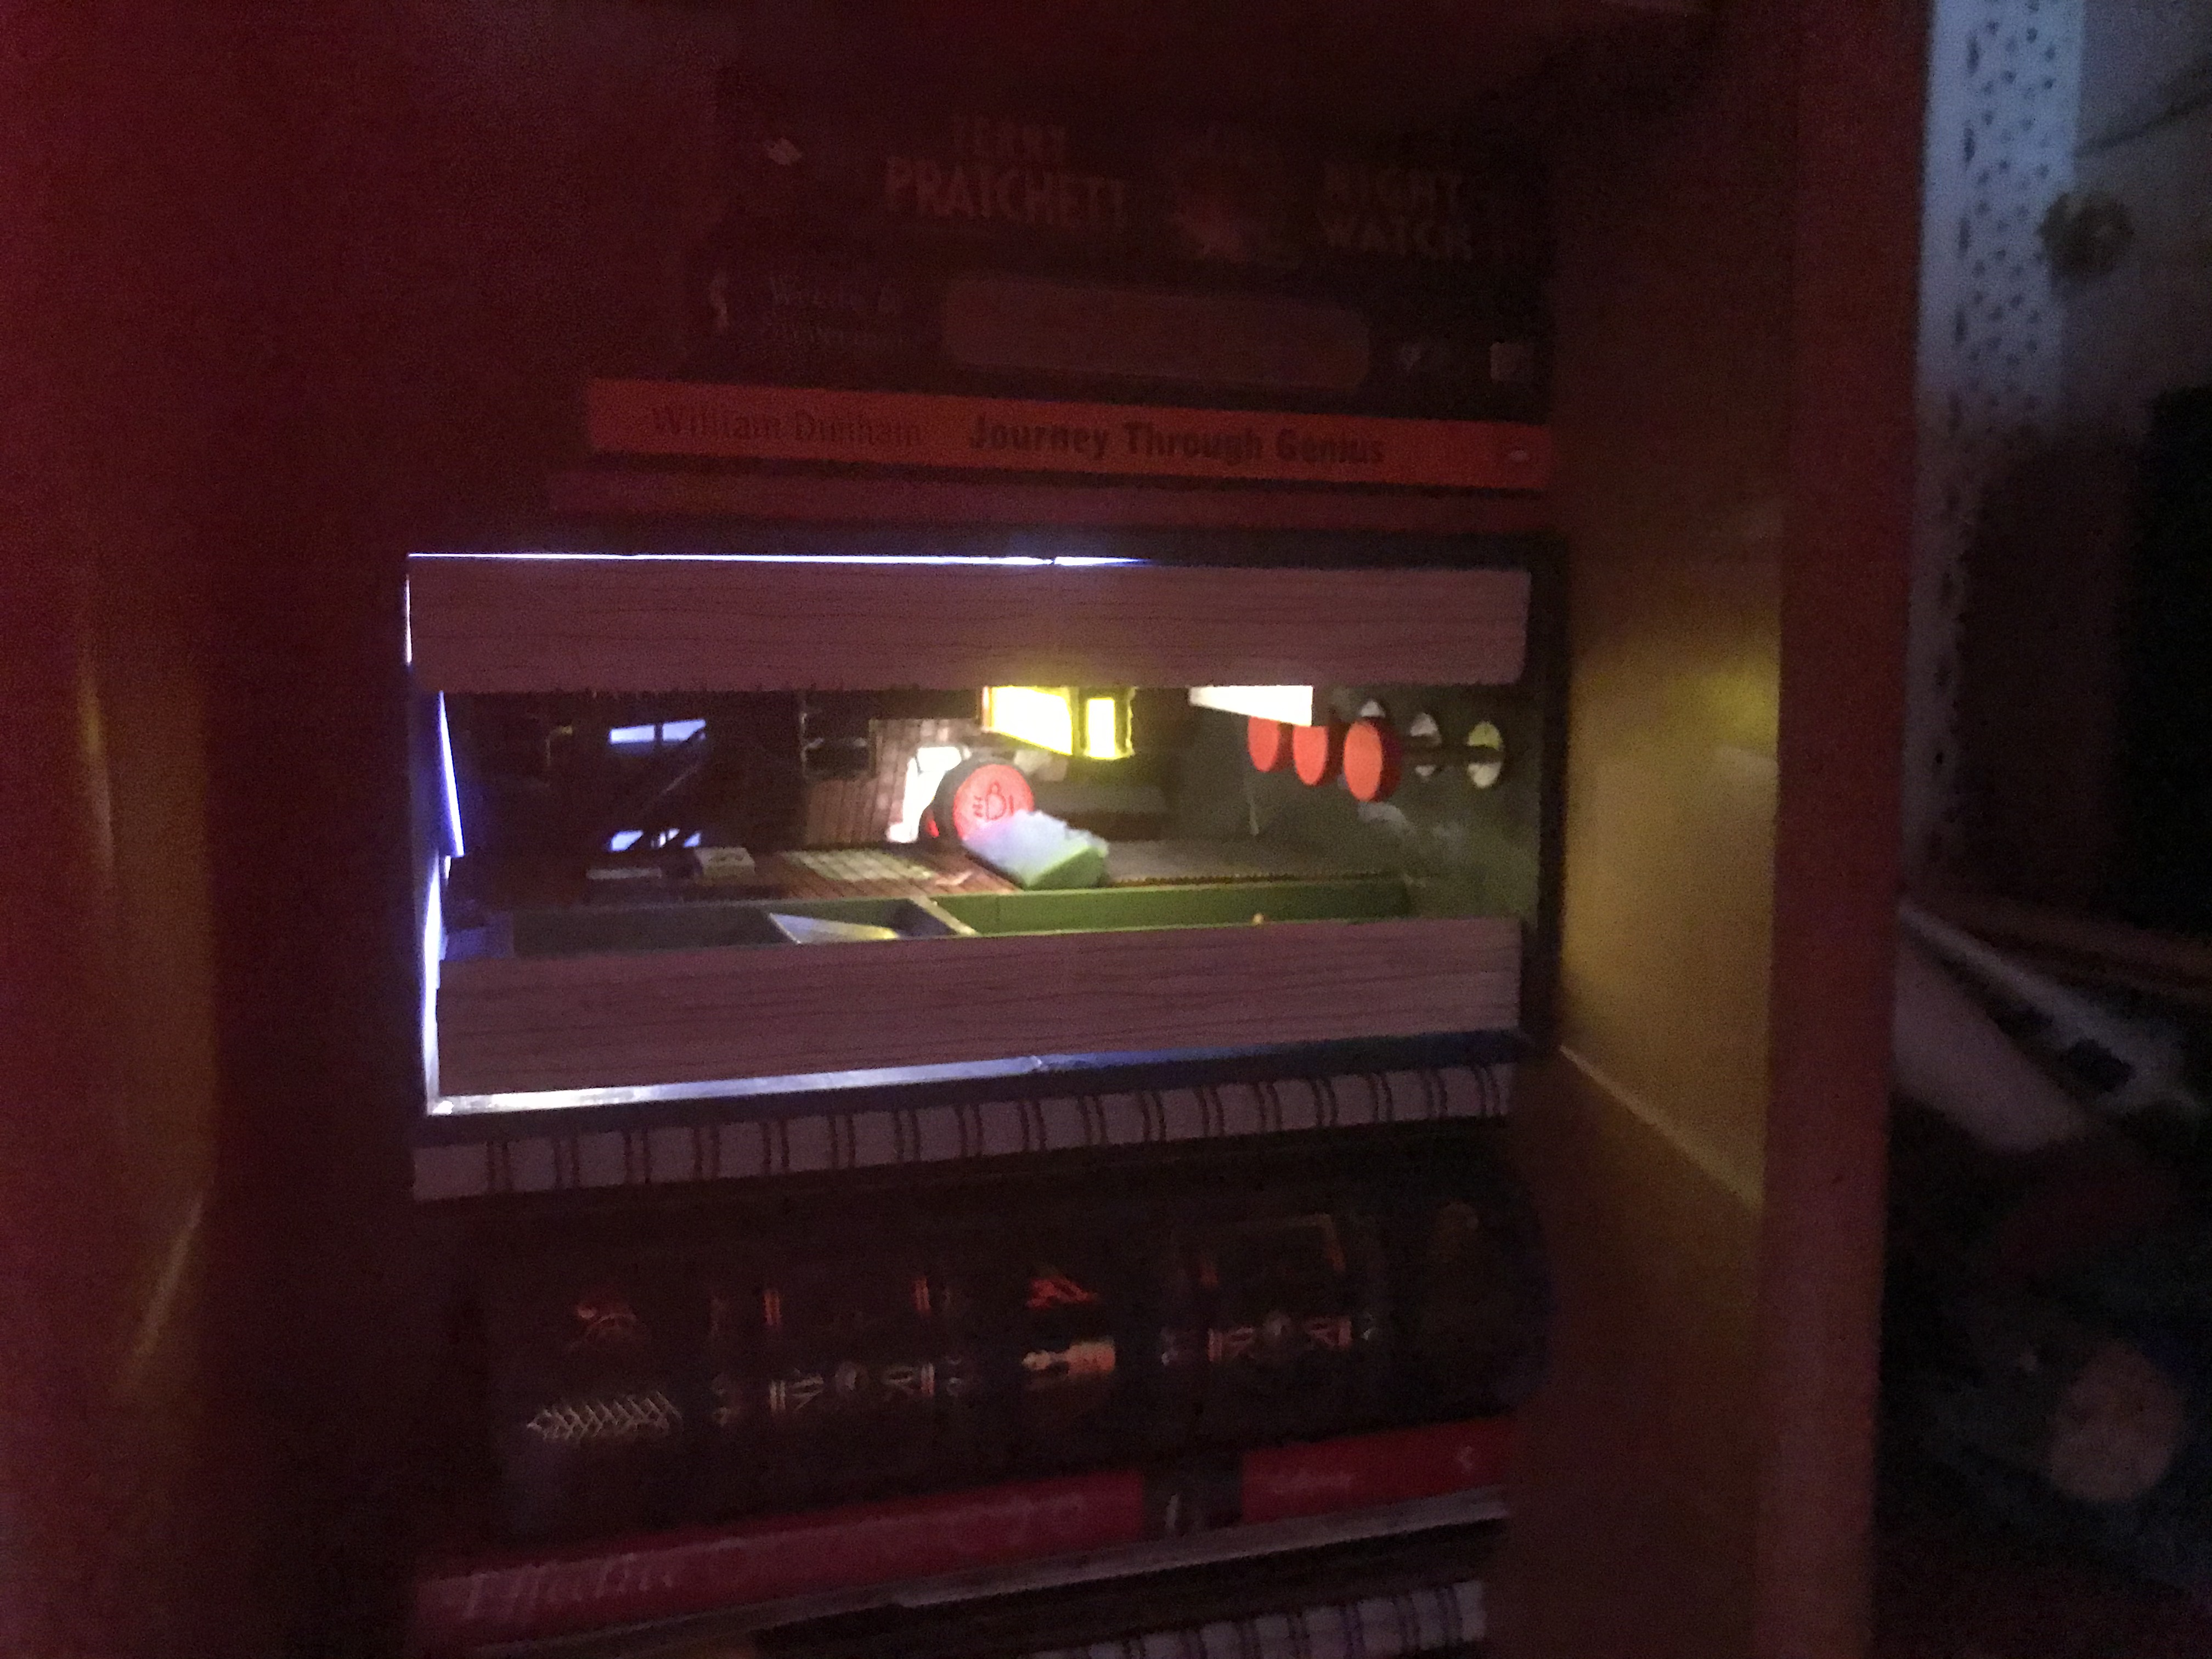
Next I installed the lights! I repurposed a small, battery-operated strand of fairy lights that I already owned. I fed the LEDs through holes in the interior walls so they sat inside of each of the signs. Before I got the lights installed I was kind of worried about the model because I couldn't get the level of detail up to the standard I wanted and I wasn't sure if it would turn out as good as I wanted, but when the lights went on it finally felt like my vision was coming true!
I did have an issue with fitting the exterior cover over the interior with the lights installed. When I measured the battery pack I forgot to include the dimension of the on/off switch, so to make room for the switch the two pieces don't fit together tightly and some light escapes through the cracks.
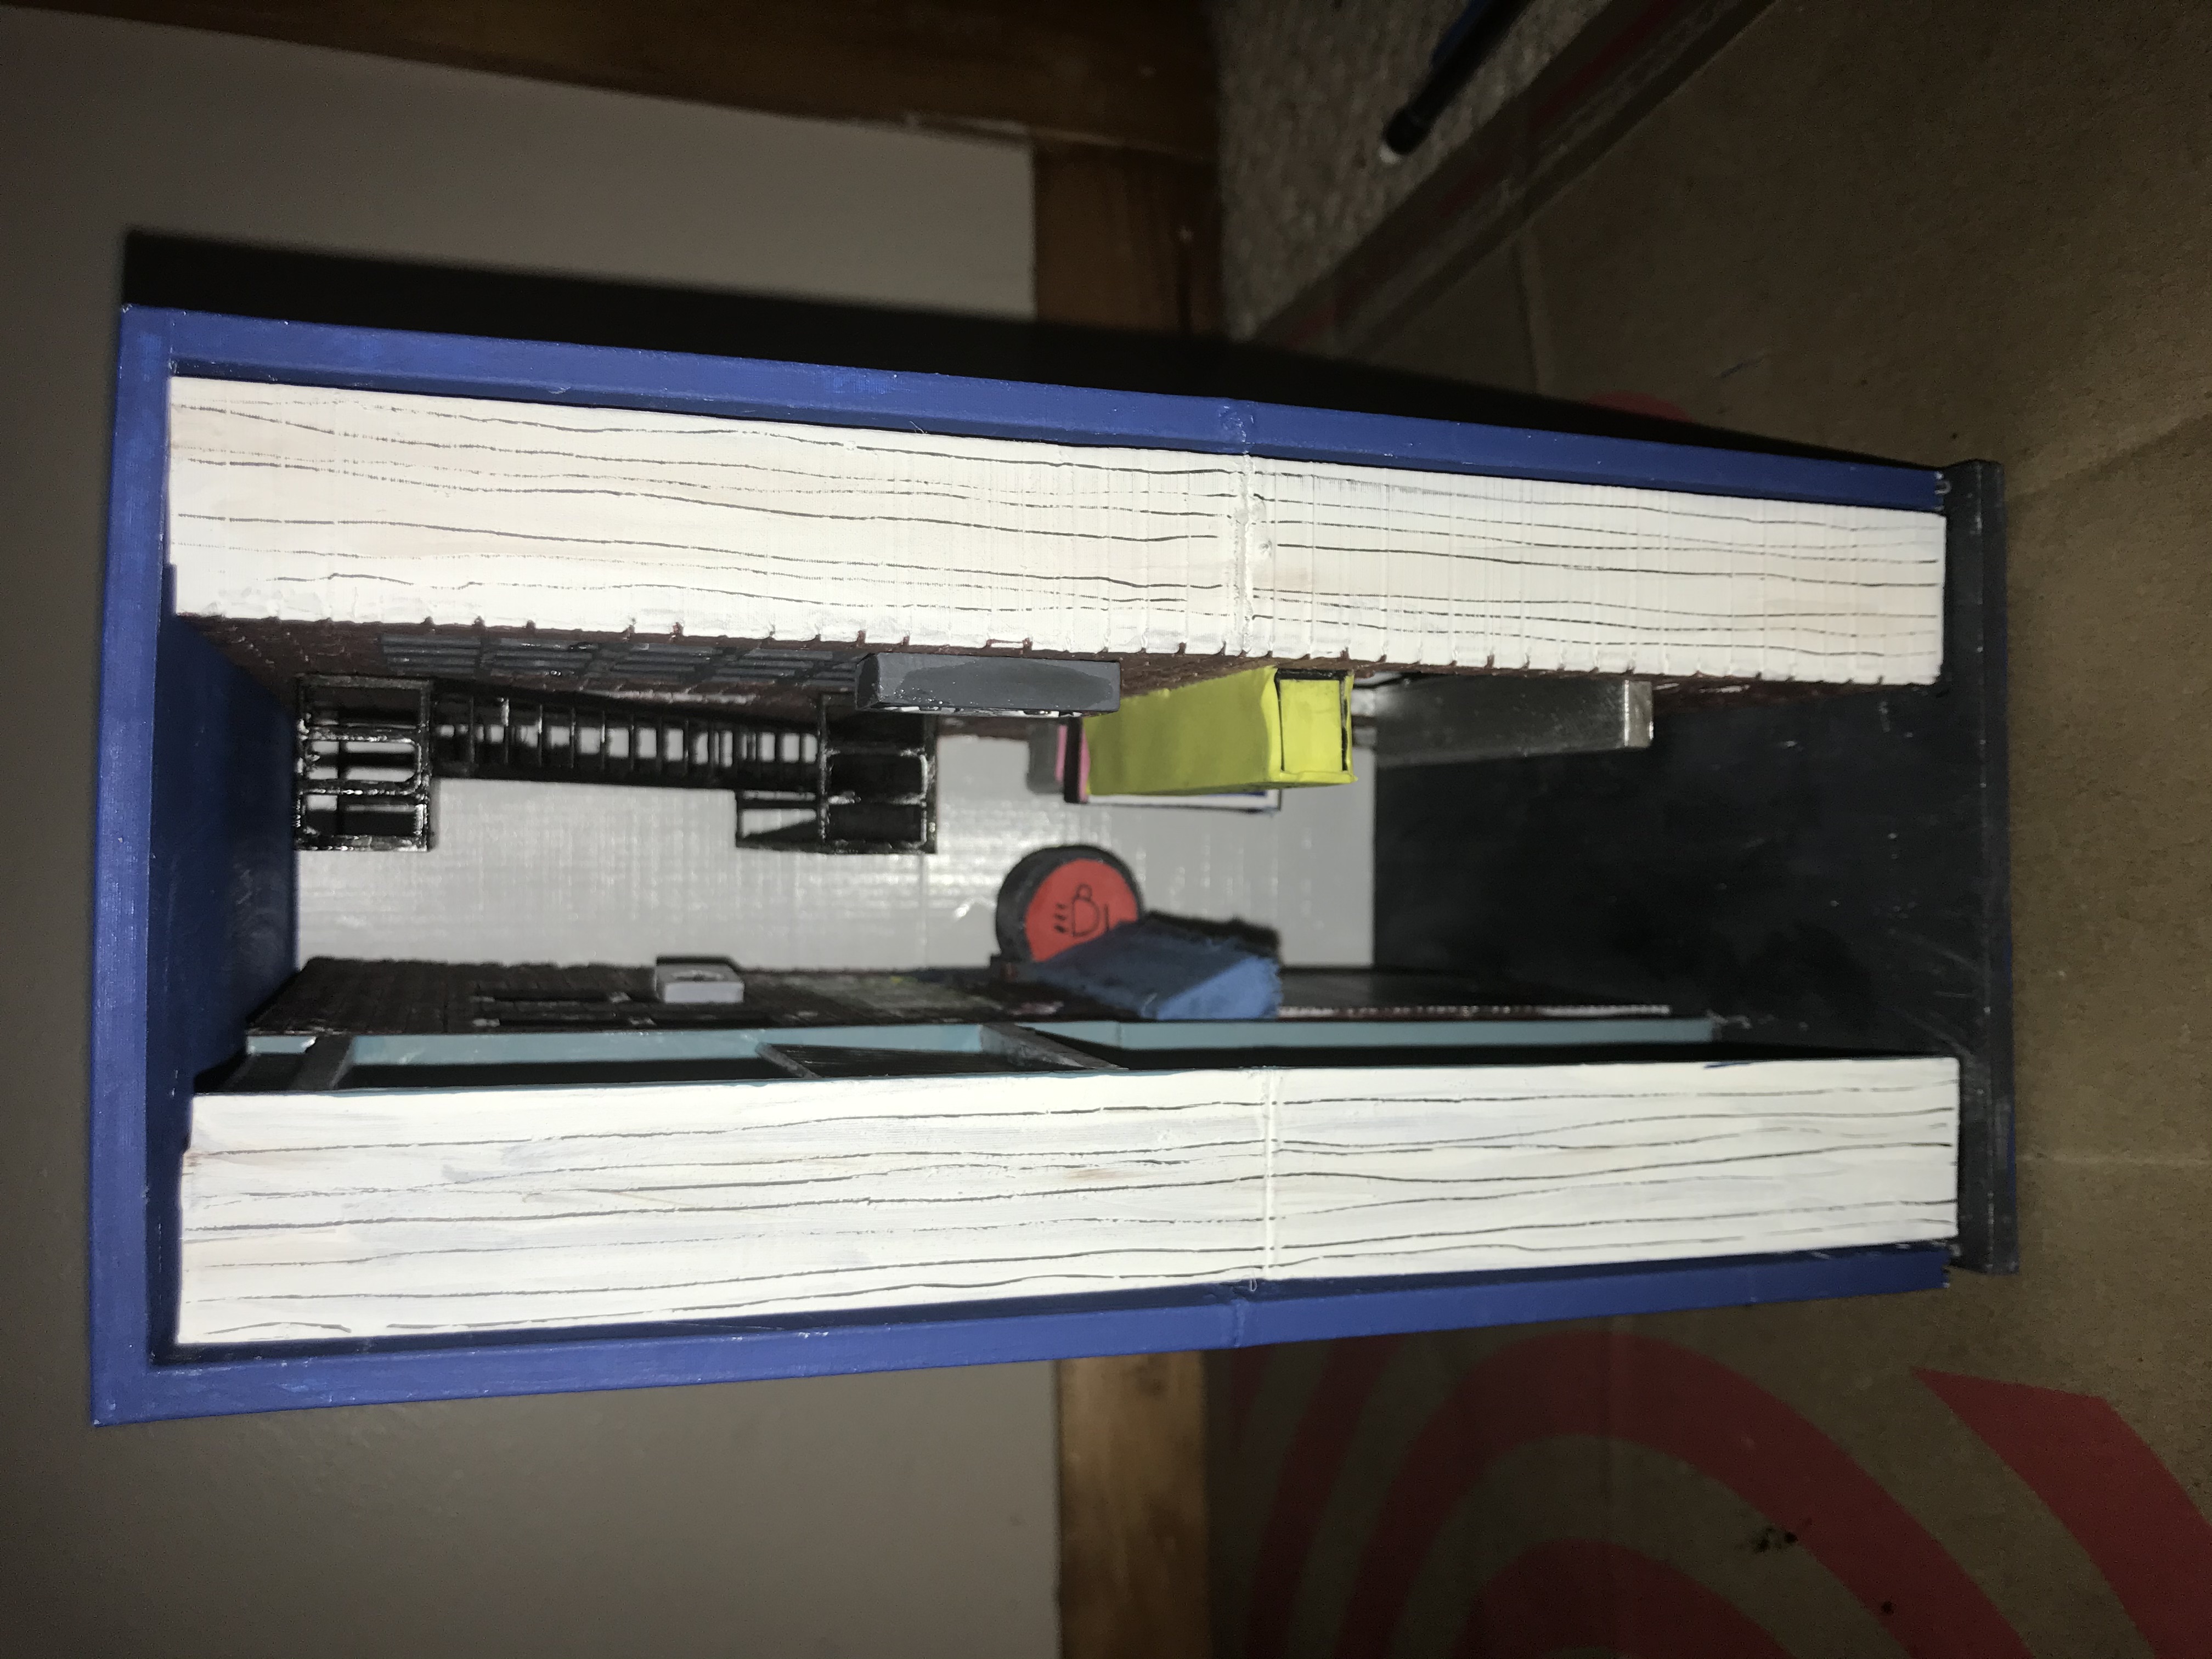
I also finally got the flexible mirror delivered, so I cut a piece to size and installed it. It looks really cool! The tilted mirror was an idea I saw on r/booknooks where it makes it look like the alleyway goes off into the distance at an angle.
